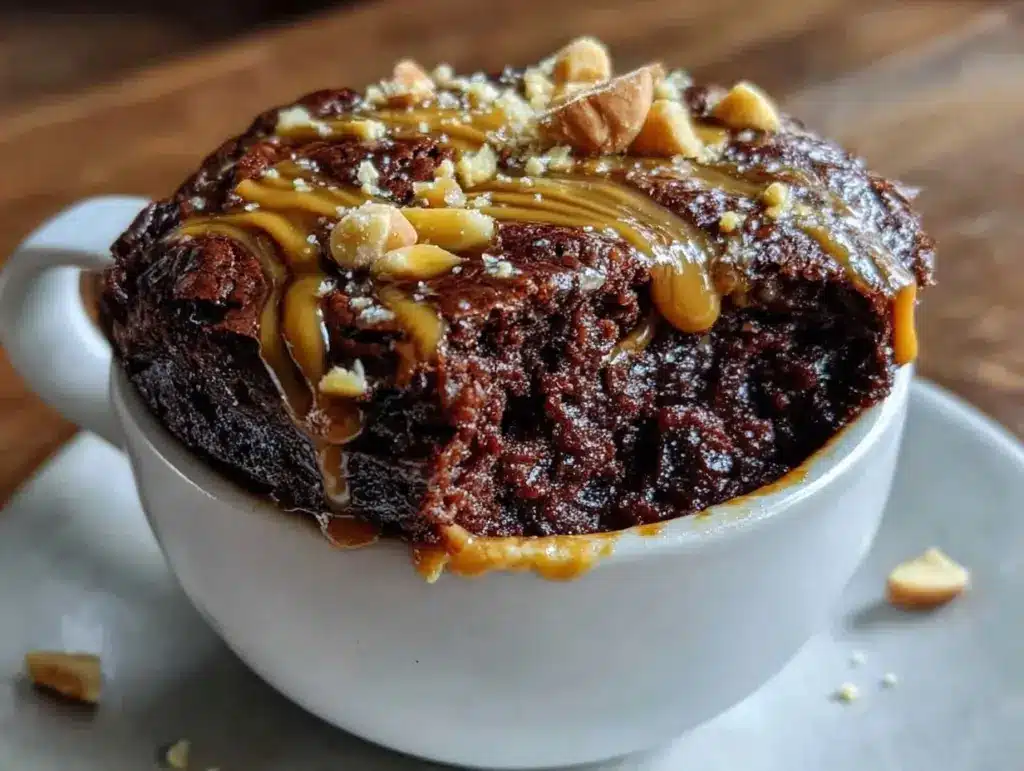
It was 11:30 PM on a Tuesday. I had just finished folding laundry, scrolled through Netflix for twenty minutes without clicking anything, and then, as if on cue, the craving hit. It wasn’t just “hungry.” It was that specific, desperate need for something sweet, warm, and chocolatey. But here’s the problem: I didn’t want to bake. I didn’t want to dirty a mixing bowl. And I certainly didn’t want to spend an hour waiting for a full-sized brownie to bake in the oven when I could just go to sleep.
So, I did what any rational late-night snacker does. I raided the pantry. I found some flour, sugar, cocoa powder, and a jar of peanut butter that was slowly turning into oil at the back of the cupboard. I threw them into a mug. I microwaved it for two minutes. And honestly? It was better than the takeout ice cream I was considering ordering.
This microwave mug brownie with peanut butter swirl is my go-to for those moments when your brain says “dessert” but your body says “I’m tired.” It’s not just a quick fix; it’s a genuinely delicious, fudgy, gooey treat that feels like a cheat code for late-night comfort. I’ve made this at least a dozen times since I first stumbled upon it during a particularly stressful week of deadlines, and it has never failed me. Not once.
If you’ve ever stared into the dark kitchen at midnight, wondering if you should make a real dessert or just eat a spoonful of peanut butter, this is your answer. It’s fast, it’s easy, and it tastes like you actually tried. Let me show you how to make the perfect 2-minute dessert that will save your sanity.
Why You’ll Love This Microwave Mug Brownie
Look, I’m not saying this is going to replace your grandmother’s famous chocolate cake. But for a single-serving dessert that requires zero cleanup and takes less time than it takes to boil water? It’s unbeatable. Here’s why this microwave mug brownie with peanut butter swirl has earned a permanent spot in my late-night rotation:
- Zero Prep, Zero Cleanup — Seriously. You mix it in the mug. You eat it from the mug. You rinse the mug. That’s it. No bowls, no spatulas, no measuring cups cluttering up your counter at midnight. If you can stir a spoon, you can make this.
- Two Minutes Flat — From start to finish, it’s 120 seconds. That’s faster than waiting for a pizza delivery. I’ve timed it. I’m not kidding. It’s the ultimate speed snack for when you’re hungry but exhausted.
- The Peanut Butter Swirl Factor — This is the game-changer. Plain mug cakes are good. But adding that salty, creamy peanut butter center? That’s the difference between “okay snack” and “I need to make this again tomorrow.” It adds richness and complexity that you just don’t get with plain chocolate.
- Pantry Staples Only — You don’t need to run to the store. Flour, sugar, cocoa, butter, milk, peanut butter. These are things I always have. It’s the culinary equivalent of wearing your favorite sweatpants. Comforting and reliable.
- Perfect Portion Control — Sometimes you want a brownie, but you don’t want a whole pan of them sitting in the fridge for a week. This is exactly one brownie. No guilt, no overeating, just the right amount of sweetness to satisfy the craving and let you sleep.
This is my answer to “5pm and nothing planned” when 5pm turns into 11pm and you’re still hungry. It’s that easy.
Ingredients You’ll Need
Here’s the best part: you probably have everything you need right now. I’m not asking you to buy anything special. This microwave mug brownie with peanut butter swirl relies on basic pantry items that we all keep around, just in case.
For the Brownie Base
All-purpose flour (4 tablespoons) — Standard stuff. I don’t bother with fancy flour for this. It’s a mug cake, not a wedding cake. Just make sure it’s not clumpy. If it’s been sitting in the cupboard for years, give it a quick whisk.
Granulated sugar (3 tablespoons) — White sugar works best here for that crispy top and fudgy center. Brown sugar is nice too, but it can make the texture a bit denser. I stick to white for consistency.
Cocoa powder (2 tablespoons) — Use unsweetened natural cocoa. Not the sweetened hot chocolate mix. If you have Dutch-processed cocoa, it’ll work, but natural cocoa gives that classic brownie tang. I use Hershey’s, but any brand works.
Baking powder (1/4 teaspoon) — Just a tiny pinch. This is what makes it rise slightly. Don’t skip it, or you’ll end up with a dense chocolate pancake.
Salt (a pinch) — Essential. It brings out the chocolate flavor. If you skip the salt, it’ll taste flat. Trust me on this.
Milk (3 tablespoons) — I use whole milk for the richest texture, but skim works if that’s all you have. It adds moisture. Don’t use plant milk unless you prefer it; dairy makes it fudgier.
Vegetable oil or melted butter (2 tablespoons) — Oil makes it moister. Butter makes it richer. I usually use oil because it’s easier to measure when I’m sleepy, but butter tastes slightly better. Your call.
Vanilla extract (1/4 teaspoon) — Optional, but I always add it. It makes it taste like a “real” dessert rather than just sweet chocolate.
For the Peanut Butter Swirl
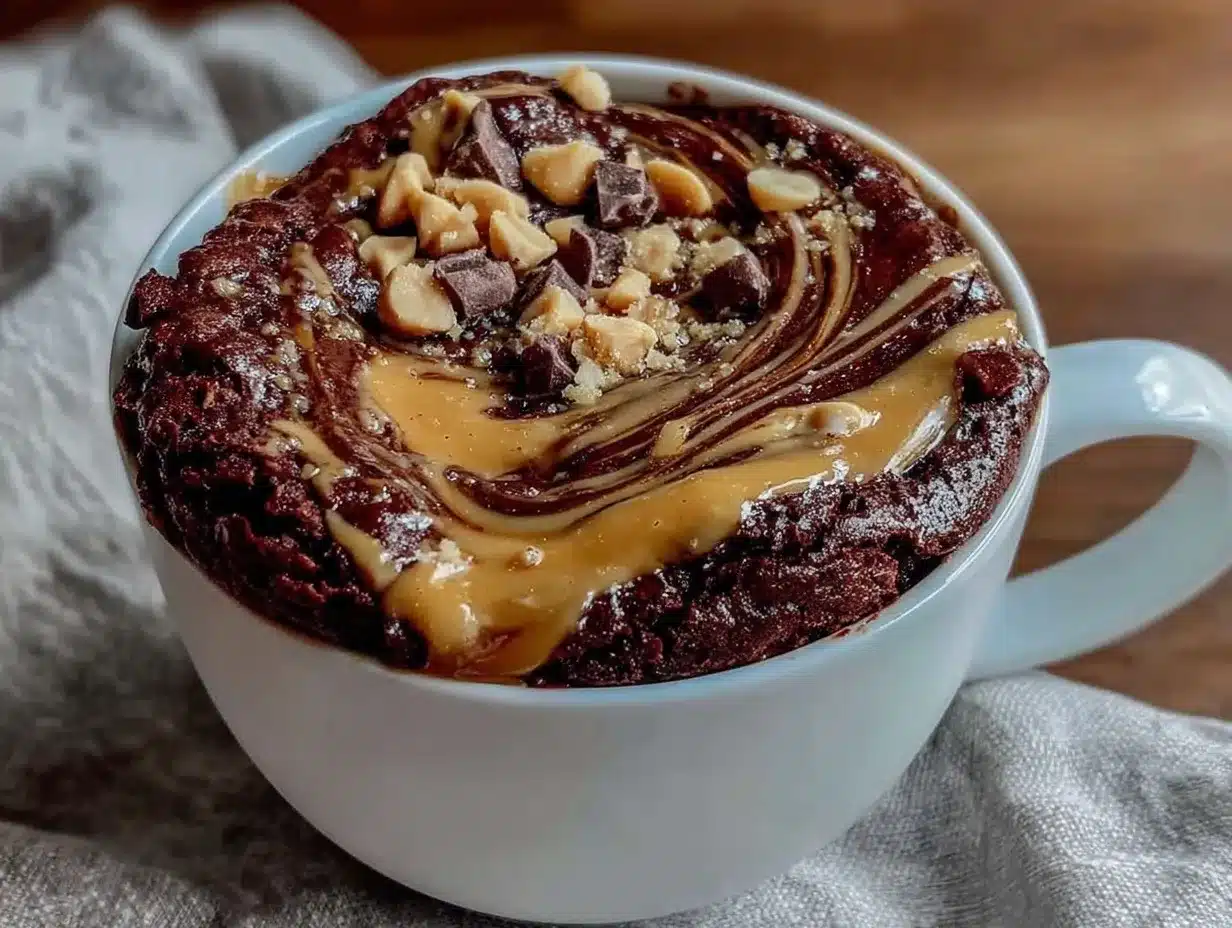
Creamy peanut butter (1 tablespoon) — This is the star of the show. Use regular Jif or Skippy. Natural peanut butter with separated oil can be tricky to swirl because it’s too runny. You want that thick, creamy consistency that holds its shape. If your natural peanut butter is stiff enough, it works, but standard creamy is foolproof.
Optional: A few chocolate chips — I sometimes throw in a few mini chocolate chips on top for extra goo. It’s not necessary, but if I’m feeling fancy, I add them.
Quick note on substitutions: No peanut butter? Almond butter works too. Sunflower seed butter if you have nut allergies. But honestly, the peanut butter is the reason I make this. It’s the salty-sweet combo that makes it addictive.
Equipment Needed
You don’t need any fancy gadgets for this. Here’s what I actually use:
- A large mug — This is crucial. I mean a LARGE mug. Not your tiny espresso cup. You need a 12-ounce mug, preferably one with a handle. If you use a small mug, the brownie will overflow and make a mess in your microwave. I use a big stoneware mug that I bought at a thrift store years ago. It’s perfect.
- A small spoon — A regular teaspoon works. I use a metal spoon because it’s what’s in the drawer, but a plastic spoon works too. Just make sure it’s clean!
- The microwave — Obviously. I have a standard 1000-watt microwave. If yours is weaker, you might need an extra 30 seconds. If it’s stronger, watch it closely so it doesn’t explode. (It won’t actually explode, but it might overflow.)
- A small bowl — For mixing. I sometimes mix it directly in the mug to save a dish, but mixing in a small bowl first ensures there are no lumps of flour. I prefer mixing in the bowl for smoother texture, then pouring it into the mug.
Pro tip: If you don’t have a small bowl, just mix it in the mug. It’s messy, but it saves cleanup. I do this all the time when I’m lazy.
How to Make It: Step-by-Step
Alright, let’s make this! I’m walking you through exactly how I do it. It’s so simple that you won’t believe how good it tastes.
Step 1: Mix the Dry Ingredients (1 minute)
In your small bowl (or directly in the mug), whisk together the flour, sugar, cocoa powder, baking powder, and salt. Make sure there are no lumps of cocoa powder. If you see white streaks of flour, keep whisking. This step is about getting everything evenly distributed so you don’t end up with a bite of pure sugar or a bite of dry flour.
Step 2: Add the Wet Ingredients (1 minute)
Add the milk, oil (or melted butter), and vanilla extract to the dry mixture. Stir it vigorously with your spoon until it’s smooth and glossy. The batter should be thick, like cake batter. If it looks too dry, add a teaspoon more milk. If it’s too runny, add a teaspoon more flour. You want a thick, pourable consistency.
Step 3: Pour into the Mug
Pour the batter into your large mug. Fill it about halfway to two-thirds full. Leave room at the top for it to rise. If you fill it to the brim, it will overflow. I learned this the hard way. It’s not pretty to clean up a chocolate explosion in the microwave.
Step 4: The Peanut Butter Swirl (30 seconds)
This is the fun part. Take your tablespoon of creamy peanut butter. Drop it onto the center of the brownie batter. Then, take the tip of your spoon and gently swirl it into the batter. Don’t mix it completely! You want little ribbons of peanut butter throughout, not a uniform brown color. Just a few swirls. This creates those pockets of salty goodness.
Step 5: Microwave (2 minutes)
Place the mug in the microwave. Cook on high for 90 seconds to 2 minutes. Start with 90 seconds. Check it. The top should look set, but the center might still look slightly soft. That’s good! It will continue to cook as it rests. If it looks raw or wet, add 15-30 seconds. Do not overcook it, or it’ll be dry and rubbery. I usually do 1 minute and 45 seconds for my microwave.
Step 6: Cool and Eat
Let it sit in the mug for 1-2 minutes. It will be extremely hot. I know the temptation to dig in immediately is strong, but let it cool just a bit so you don’t burn your tongue. The center will be molten and gooey. Dig in with a spoon and enjoy.
Troubleshooting: If your brownie is too dry, you microwaved it too long. Next time, reduce the time by 15 seconds. If it’s too raw in the middle, add 15 seconds. Every microwave is different, so you might need to tweak the time the first few times you make it.
Expert Tips & Tricks
Here’s everything I’ve learned from making this dozens of times. These tips will save you from my mistakes.
Don’t Skip the Swirl
It’s tempting to just mix the peanut butter in, but the swirl is key. It creates distinct pockets of flavor. If you mix it in completely, you just get peanut butter brownie batter. The swirl gives you that contrast of chocolate and peanut butter in every other bite. It’s the texture thing that makes it special.
Use a Large Mug
I can’t stress this enough. Use a 12-ounce mug. If you use an 8-ounce mug, it will overflow. I’ve done it. It’s a mess. A large mug gives the brownie room to rise without making a disaster. If you only have small mugs, make half the recipe. Don’t risk the cleanup.
Watch the Microwave Power
Microwaves vary. My microwave is 1000 watts. If yours is 800 watts, you might need an extra 30 seconds. If it’s 1200 watts, you might need to reduce the time. The first time you make it, check it at 90 seconds. The top should be matte, not shiny and wet. If it’s shiny, give it 15 more seconds.
Add a Pinch of Espresso Powder
If you have it, add a tiny pinch of instant espresso powder to the dry ingredients. It doesn’t make it taste like coffee; it just makes the chocolate taste more chocolatey. It’s a secret trick from professional bakers. I keep a jar of instant espresso in my pantry just for this. It’s a game-changer.
Top It Off
After microwaving, I sometimes add a dollop of whipped cream or a scoop of vanilla ice cream. It’s extra, but if I’m already up at midnight, I might as well go all out. A flake of sea salt on top is also amazing. It enhances the peanut butter flavor.
Variations & Substitutions
Once you’ve nailed the basic version, here’s how you can mix it up. I’ve tried all of these.
Chocolate Chip Peanut Butter
Add a tablespoon of mini chocolate chips to the batter before swirling the peanut butter. It’s like a peanut butter cup brownie. My kids love this version. It’s sweeter and more intense.
Marble Cake
Skip the peanut butter and swirl in a teaspoon of vanilla batter instead. It’s not as rich, but it’s pretty. I rarely do this, though. The peanut butter is the reason I make this.
Nut-Free Version
Use sunflower seed butter or soy nut butter instead of peanut butter. It works surprisingly well. I made this for a friend with a nut allergy, and she loved it. It’s slightly less salty, but still delicious.
Vegan Version
Use plant-based milk and oil. Swap the peanut butter for a vegan brand (most are already vegan, but check). It works great. I’ve made this with almond milk and it’s just as fudgy.
Gluten-Free
Use gluten-free flour blend. Most 1:1 blends work perfectly. I’ve used Bob’s Red Mill and King Arthur, and both worked. Just make sure the blend includes xanthan gum, or the texture might be slightly gummy.
Serving & Storage
How to Serve: I usually eat this straight from the mug with a spoon. It’s casual and comfortable. But if I’m having guests over (which is rare at 11 PM, but happens), I serve it in a small bowl with a dollop of whipped cream and a sprinkle of sea salt. It looks fancier than it is.
Side Dishes: This is a dessert, so it doesn’t need sides. But if you’re pairing it with something, a glass of cold milk is classic. Or a cup of decaf tea if you’re trying to avoid caffeine before bed. I usually just have it with water.
Storage: You can’t really store this. It’s best eaten immediately. If you have leftovers (unlikely), you can refrigerate the mug for up to 2 days. Reheat it in the microwave for 30 seconds to soften it up. But honestly, it’s not the same fresh out of the microwave. The texture changes. So eat it now.
Meal Prep: You can’t meal prep this. It’s a single-serve, instant dessert. It’s not meant to be made ahead. It’s meant to be made in the moment when you need it.
Nutrition Information
I’m not a nutritionist, but here’s the breakdown if you’re tracking. This is a treat, so keep it in mind.
Per Serving (1 mug brownie):
- Calories: ~350-400
- Protein: 8g
- Carbs: 45g
- Fat: 18g
- Sugar: 25g
It’s not a health food, but it’s not a bomb either. It’s a reasonable single-serving dessert. The peanut butter adds some protein and healthy fats, which helps keep you satisfied. If you’re watching calories, you can reduce the sugar to 2 tablespoons and the peanut butter to 1 teaspoon. It’ll be less sweet, but still tasty.
My Take: Look, this is a late-night snack. It’s not going to be your breakfast. But it’s better than eating a bag of chips or ordering a $15 dessert. It’s homemade, it’s controlled, and it’s satisfying. When you want something sweet at night, this is the way to go.
Final Thoughts
So that’s my go-to microwave mug brownie with peanut butter swirl! I’ve probably talked your ear off at this point, but when you make a recipe this often, you have a lot to say about it.
This has saved me more late nights than I can count. It’s my answer to “what’s for dessert” when I’m tired, don’t want to bake, and still want something that tastes really good. It’s fast, it’s easy, and it tastes like you actually tried. My kids love it, my husband loves it, and I love it because I’m not stressed about cooking.
Make it yours! Try different add-ins, swap in your favorite nut butter, adjust the sweetness. The best recipes are the ones you adapt to your tastes. If you make this, drop a comment and let me know what you think! I love hearing how recipes turn out in your kitchen. And if something doesn’t work, tell me that too—I’m here to help troubleshoot.
Happy cooking! And I hope your kitchen smells half as good as mine does right now.
Frequently Asked Questions
Can I use a bowl instead of a mug?
You can, but you need a microwave-safe bowl that’s large enough to prevent overflow. A mug is convenient because you eat from it, but a bowl works if you have a spoon. Just make sure it’s microwave-safe. Ceramic or glass is fine. Metal bowls are a no-go.
Why did my brownie turn out rubbery?
You probably microwaved it too long. Mug cakes cook very quickly. Overcooking dries them out and makes them rubbery. Start with 90 seconds and check. If it’s still wet, add 15 seconds. It’s better to undercook slightly than overcook.
Can I make this in advance?
No. The texture changes as it sits. It’s best eaten fresh. If you make it ahead, it will become dense and dry. Make it right before you want to eat it. It’s that fast, so there’s no point in making it ahead.
Can I use almond butter instead of peanut butter?
Yes! Almond butter works great. It’s slightly sweeter and less salty, but the flavor is delicious. Cashew butter or sunflower seed butter also work. Just use the same amount: 1 tablespoon.
Is this recipe gluten-free?
The base recipe contains flour, so it’s not gluten-free. But you can easily swap in a gluten-free flour blend. Most 1:1 gluten-free flours work perfectly in mug cakes. Just make sure the blend includes xanthan gum for texture.
Can I add other mix-ins?
Absolutely. Chocolate chips, crushed nuts, caramel swirl, or even a sprinkle of sea salt on top are all great additions. Get creative! I’ve added crushed pretzels before, and it was amazing. The salty-sweet combo is irresistible.
How long does it take to make?
About 2 minutes total. 1 minute to mix, 2 minutes to microwave. It’s the fastest dessert you can make. Faster than opening a package of cookies.
Pin This Recipe!
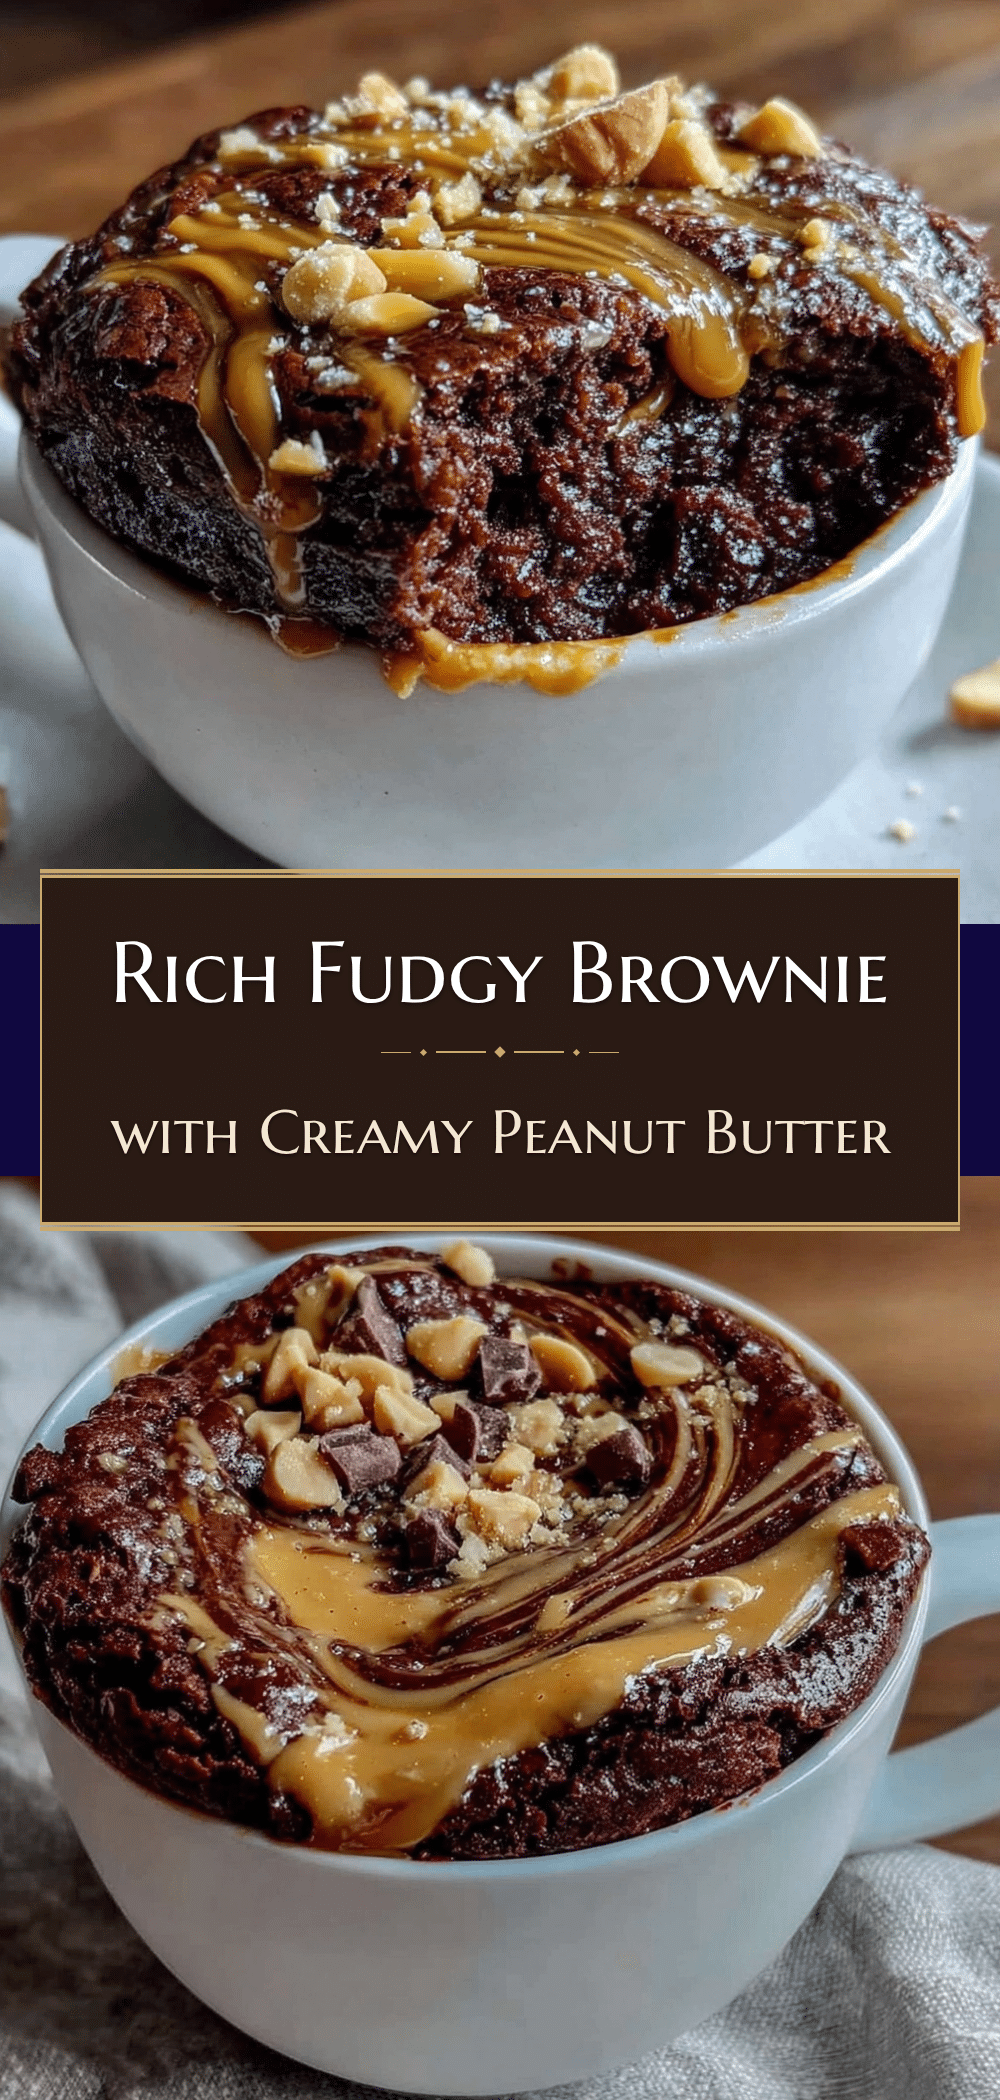
Microwave Mug Brownie: Easy 2-Minute Peanut Butter Swirl Dessert
- Total Time: 3 minutes
- Yield: 1 serving 1x
Description
A quick, fudgy single-serving chocolate brownie with a creamy peanut butter swirl, made entirely in a mug in just two minutes.
Ingredients
- 4 tablespoons all-purpose flour
- 3 tablespoons granulated sugar
- 2 tablespoons unsweetened cocoa powder
- 1/4 teaspoon baking powder
- 1 pinch salt
- 3 tablespoons milk
- 2 tablespoons vegetable oil or melted butter
- 1/4 teaspoon vanilla extract
- 1 tablespoon creamy peanut butter
- Optional: mini chocolate chips
Instructions
- In a small bowl or directly in a large mug, whisk together the flour, sugar, cocoa powder, baking powder, and salt until no lumps remain.
- Add the milk, oil (or melted butter), and vanilla extract to the dry mixture. Stir vigorously until the batter is smooth, glossy, and thick.
- Pour the batter into a large 12-ounce microwave-safe mug, filling it about halfway to two-thirds full to allow for rising.
- Drop the tablespoon of creamy peanut butter onto the center of the batter. Gently swirl it into the batter with the tip of a spoon to create ribbons; do not mix completely.
- Microwave on high for 90 seconds to 2 minutes. Start with 90 seconds, checking if the top is set but the center is still slightly soft. Add 15-30 seconds if needed, but avoid overcooking.
- Let the brownie cool in the mug for 1-2 minutes before eating to allow it to set and prevent burning.
Notes
Use a large mug to prevent overflow. If your microwave is weaker than 1000 watts, you may need an extra 30 seconds. For a gluten-free version, use a 1:1 gluten-free flour blend. For a vegan version, use plant-based milk and oil. Do not overcook or the brownie will become rubbery.
- Prep Time: 1 minute
- Cook Time: 2 minutes
- Category: Dessert
- Cuisine: American
Nutrition
- Serving Size: 1 mug brownie
- Calories: 375
- Sugar: 25
- Sodium: 150
- Fat: 18
- Saturated Fat: 5
- Carbohydrates: 45
- Fiber: 2
- Protein: 8
Keywords: microwave mug brownie, peanut butter swirl, 2 minute dessert, single serving dessert, easy late night snack, chocolate mug cake