It was 4:58 PM on a Tuesday. The kind of Tuesday where you’ve been in back-to-back Zoom meetings since 9 AM, your inbox is a war zone, and your energy levels are hovering somewhere between “zombie” and “do not speak.” I walked into the kitchen, stared at the empty pantry, and felt that familiar panic rising. My partner had mentioned casually over the phone earlier that day, “Maybe we could do something nice for dinner?” Nice. Right. Nice usually implies hours of prep, a trip to the store, and a sink full of dishes I’d have to scrub at midnight.
But then I saw the chocolate bar in the drawer. And the eggs. And a tub of vanilla ice cream that was slowly turning into a solid block in the freezer.
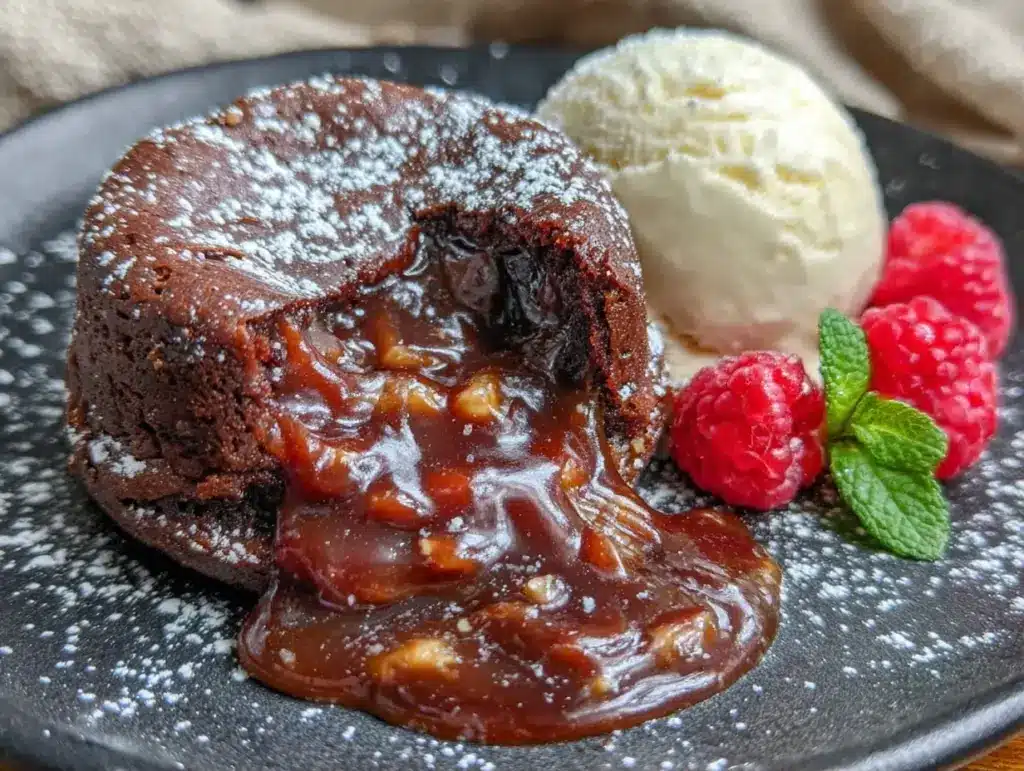
I didn’t have hours. I didn’t have a team. I had 25 minutes and a desperate need to prove I wasn’t a terrible human being. So, I threw together what I thought would be a mediocre, rushed dessert. I expected something that tasted like burnt sugar and regret. Instead, when I cut into that cake, warm, molten chocolate oozed out onto the plate like liquid gold. My partner took one bite, closed their eyes, and said, “You’re a genius.” It wasn’t genius. It was just the right amount of chocolate, the right amount of butter, and zero stress.
This Chocolate Lava Cake with Vanilla Ice Cream has been my secret weapon for over a year now. It’s the answer to “5pm and nothing planned.” It looks like you spent hours at a French patisserie, but it’s really just five ingredients and a ramekin. I’ve made this for date nights, for last-minute guests, and honestly, just for myself when I need a hug in dessert form. And get this—it’s easier than making those no-bake peanut butter oat bars I used to make for the kids’ lunchboxes. Seriously. If you can melt chocolate, you can make this.
Here’s the thing about lava cakes: everyone thinks they’re intimidating. They think you need tempered chocolate, a stand mixer, and a degree in pastry arts. Nope. You need a microwave-safe bowl, a whisk, and a little bit of courage to pull them out of the oven at the exact right second. Once you nail the timing, you’ll never buy dessert again. It’s that good.
Why You’ll Love This Recipe
I’ve tested this chocolate lava cake recipe about a dozen times in the last six months. I’ve tried different chocolates, different ramekins, and different oven temperatures. This version? It’s the winner. Here’s why it’s become my go-to when I need to impress without the hassle:
- Stupid Simple Ingredients — You probably have everything in your kitchen right now. Dark chocolate, butter, eggs, sugar, flour. That’s it. No weird flours or hard-to-find extracts. It’s pantry-friendly perfection.
- Lightning Fast — 10 minutes of prep, 12 minutes of bake time. Total clock time: 22 minutes. I’ve made this on weeknights after picking up takeout menus, and it beats waiting for a delivery driver every time.
- Zero Cleanup Stress — You only use one bowl for mixing and four ramekins for baking. If you have four ramekins (or even just two and you make them in batches), the cleanup is a 30-second rinse. No scrubbing baked-on cheese like you’d have with that crispy baked mac and cheese bites recipe. Just a quick wash.
- Restaurant-Quality Results — The center is gooey, warm, and molten. The outside is firm enough to hold its shape but soft enough to spoon into. It looks fancy because it *is* fancy, but the work isn’t.
- Customizable Vibes — Want it fudgier? Use more chocolate. Want it lighter? Add a teaspoon of espresso powder to deepen the flavor. It’s a blank canvas for your cravings.
This is my “I messed up dinner” rescue mission, my “I need to apologize” tool, and my “Friday night is here” celebration all in one. It’s comfort food that feels like a treat, not a chore.
Ingredients You’ll Need
Here’s the best part: this recipe is tiny. You don’t need a whole pantry raid. I’m being specific because with chocolate desserts, quality matters more than quantity. You don’t need expensive chocolate, but you do need real chocolate.
For the Lava Cakes
Semi-sweet chocolate chips or chopped bar (4 ounces / 115g) — I use Ghirardelli 60% cacao bars, chopped up. Chips work too, but bars melt smoother. Don’t use chocolate chips with added stabilizers if you can avoid it; you want pure melt. If you’re watching your budget, a good-quality baking bar is cheaper than fancy couverture.
Unsalted butter (2 tablespoons / 30g) — Real butter. No margarine, no butter substitutes. The flavor is everything here. Salted butter works if you reduce the added salt, but unsalted gives you control.
Eggs (2 large) — Room temperature eggs incorporate better. If I’m in a rush, I just run them under warm water for a minute. Don’t skip this; cold eggs can make the batter grainy.
Egg yolks (2 large) — Yes, two whole eggs AND two extra yolks. This is the secret to that rich, fudgy center. The yolks add fat and richness that whites alone can’t match.
Granulated sugar (¼ cup / 50g) — Standard white sugar. It dissolves easily in the warm butter-chocolate mixture. No need for brown sugar here; we want clean chocolate flavor.
All-purpose flour (1 tablespoon / 8g) — Just a dusting. It provides structure so the cake holds together, but not so much that it becomes a dry sponge. Be precise here; too much flour = cake, not lava.
Salt (a pinch) — Enhances the chocolate flavor. Don’t skip it.
For Serving
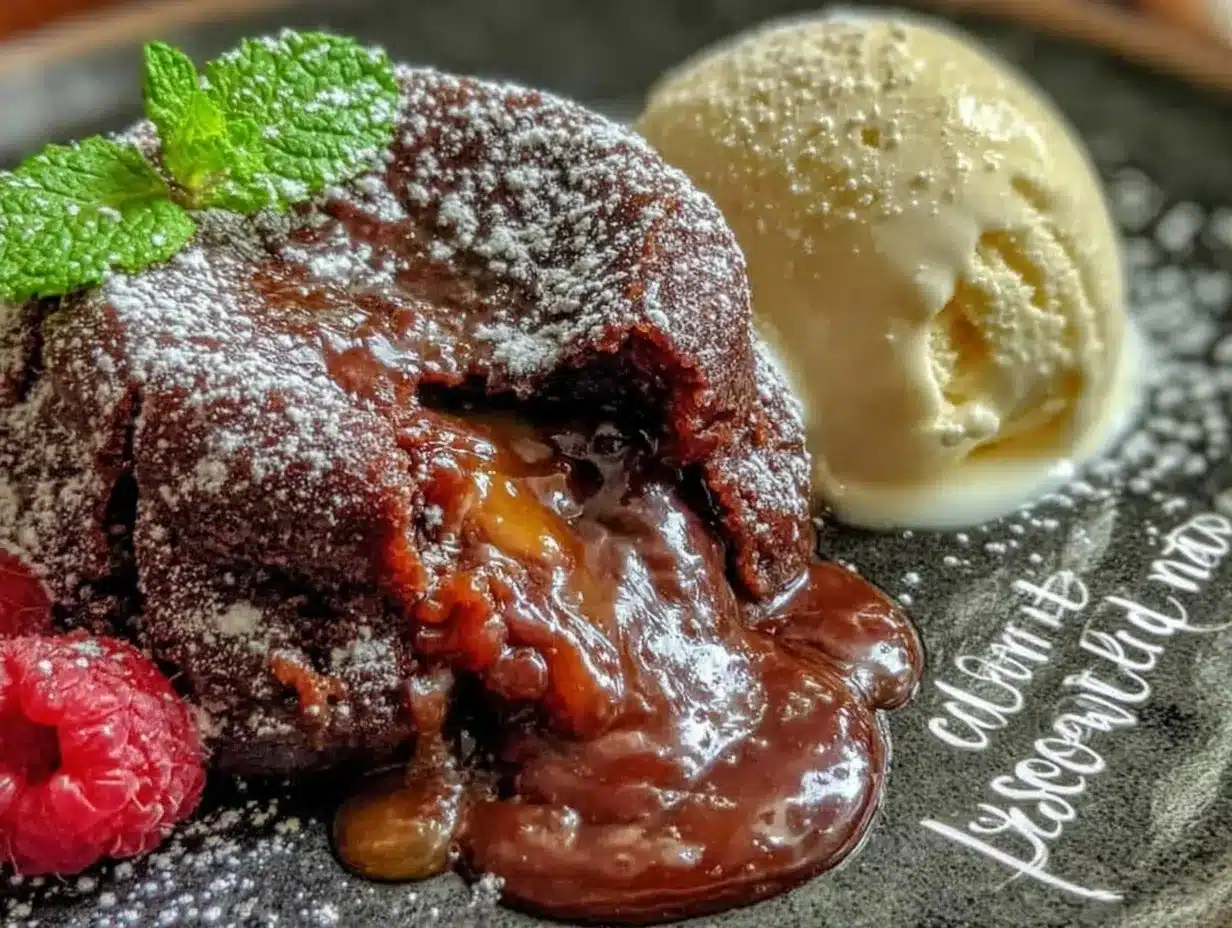
Vanilla ice cream — High quality makes a difference. I like Ben & Jerry’s or Talenti for that creamy texture that contrasts with the hot cake. If you’re avoiding dairy, coconut cream ice cream works, but it’s thinner.
Powdered sugar — For dusting. Makes it look pretty. Optional, but I always do it because it feels fancy.
Mint leaves or raspberries — For garnish. Adds a pop of color and freshness. Raspberries cut through the richness beautifully.
Butter for ramekins — You need to grease your ramekins well. I use softened butter and a pastry brush, or just my fingers if I’m being lazy. Dust with a little flour or cocoa powder to prevent sticking.
Equipment Needed
You don’t need fancy gear. Here’s what I actually use:
Ramekins — I use four 6-ounce ceramic ramekins. They’re cheap at any kitchen store. If you don’t have four, you can make two large ones or do two batches. Just don’t use metal ramekins if you’re baking in a standard oven; ceramic holds heat better for that molten center.
Microwave-safe bowl — For melting the chocolate and butter. Glass or ceramic works best. I use a 2-cup measuring cup with a spout.
Whisk — A small whisk is perfect for mixing the eggs and sugar. No stand mixer needed.
Spatula — Silicone spatula for scraping the bowl clean. You want every bit of that chocolate batter.
Baking sheet — I put the ramekins on a baking sheet for easy transport to and from the oven. Also catches any potential spills (though they rarely spill if your ramekins are filled correctly).
Microplane or box grater — For grating the chocolate if you’re using a bar. Or just chop it finely with a knife.
Cooling rack — Optional, but nice for letting the ramekins sit for a minute before serving.
How to Make It: Step-by-Step
Alright, let’s make this! I’m walking you through exactly how I do it, including the little tricks I’ve picked up so you don’t end up with a solid chocolate brick.
Step 1: Prep Your Ramekins (2 minutes)
Start by buttering your ramekins generously. Use softened butter and coat every nook and cranny. Then, dust with a little cocoa powder or flour. Tap out the excess. This step is crucial. If you skip it, your cakes will stick, and you’ll be scraping for hours. I learned this the hard way with my first attempt. Now, I preheat the oven while I’m buttering.
Step 2: Melt Chocolate and Butter (1 minute)
Chop your chocolate into small pieces. Place it in the microwave-safe bowl with the butter. Microwave in 30-second intervals, stirring between each. It should take about 60-90 seconds total. You want it smooth and glossy. If it’s too hot, it’ll scramble the eggs later. Let it cool for just a minute.
Step 3: Whisk Eggs and Sugar (2 minutes)
In a separate bowl, whisk the two whole eggs and two egg yolks with the sugar and salt. Whisk vigorously for about a minute. You want the mixture to lighten in color and become slightly fluffy. This incorporates air, which helps the cakes rise. Don’t rush this step; it’s the foundation of the texture.
Step 4: Combine Everything (2 minutes)
Pour the melted chocolate mixture into the egg mixture. Whisk gently but thoroughly until combined. Sift in the flour (or add it if you’re lazy, but sifting prevents lumps). Fold it in with a spatula until just combined. The batter will be thick and glossy. It should look like a rich brownie batter.
Step 5: Fill and Bake (12 minutes)
Divide the batter evenly among the four ramekins. They should be about ¾ full. Place them on a baking sheet and put them in the preheated oven (425°F / 220°C). Bake for exactly 12 minutes. This is the most important part. The edges should be set and firm, but the center should still jiggle slightly when you shake the ramekin. If it’s solid, you’ve overbaked it. If it’s liquid, you’ve underbaked it. 12 minutes is the sweet spot for most ovens.
Step 6: Cool and Invert (2 minutes)
Remove the ramekins from the oven and let them sit for 1 minute. This lets them set just enough to hold their shape. Then, run a knife around the edge to loosen. Place a small plate upside down over the ramekin, flip it over, and lift the ramekin off. The cake should slide out smoothly. If it sticks, you didn’t butter enough. Don’t panic; just scoop it out and serve it in the ramekin. No one will judge.
Step 7: Serve Immediately
Top with a scoop of vanilla ice cream, a dusting of powdered sugar, and a raspberry if you have one. Cut into the center, and watch the lava flow. Eat it while it’s hot. Trust me.
Expert Tips & Tricks
Here’s everything I’ve learned from making this dozens of times. These tips will save you from my mistakes.
Timing is Everything — Use a timer. Set it for 11 minutes, check it, then decide if you need 1 more minute. Every oven is different. If your oven runs hot, start with 10 minutes. If it runs cool, 13 minutes. But 12 is your baseline.
Don’t Overmix the Flour — Once you add the flour, mix just until it disappears. Overmixing develops gluten, which makes the cake tough instead of tender. Gentle folds are your friend.
Room Temperature Ingredients — Cold eggs don’t mix well with warm chocolate. Take your eggs out of the fridge 15 minutes before you start. It’s a small step that makes a big difference.
Freezing for Later — You can actually prep these ahead! Fill the ramekins, cover tightly with plastic wrap, and freeze for up to a month. When you’re ready to eat, take them out of the freezer and bake for 15-18 minutes. No need to thaw. This is my secret for having dessert ready for unexpected guests.
The Knife Trick — Before inverting, run a thin knife around the edge. This breaks the seal and ensures a clean release. If you don’t do this, the cake might stick to the side.
Quality Chocolate Matters — Since there are only five ingredients, the chocolate is the star. Don’t use the cheapest chips you can find. A good semi-sweet bar will make your cake taste like it came from a high-end restaurant. I’ve tried both, and the difference is night and day.
Variations & Substitutions
Once you’ve nailed the basic version, here’s how you can mix it up. I’ve tried all of these.
Mocha Lava Cake — Add 1 teaspoon of instant espresso powder to the dry ingredients. It intensifies the chocolate flavor without making it taste like coffee. Perfect for coffee lovers.
Orange Chocolate — Add the zest of one orange to the batter. The citrus pairs beautifully with dark chocolate. It’s a sophisticated twist that feels fancy.
White Chocolate Version — Swap the semi-sweet chocolate for white chocolate. The center will be creamy and pale. It’s sweeter, so reduce the sugar slightly if you like. My kids prefer this version.
Gluten-Free — Use a 1:1 gluten-free flour blend. It works perfectly. I’ve used Bob’s Red Mill and it has the same texture as all-purpose. Just make sure your chocolate is certified gluten-free.
Dairy-Free — Use dairy-free chocolate chips and coconut oil instead of butter. The texture will be slightly different, but it still works. Top with coconut cream ice cream.
Single Serve — Make it in a mug? Yes! Use a large mug, reduce ingredients by half, and microwave for 60-90 seconds. It’s not quite the same as the oven version, but it’s a quick fix. For a better mug version, try these cinnamon apple nachos if you want something fruity instead.
Serving & Storage
How to Serve — I serve these straight out of the oven, on small plates. The contrast of hot cake and cold ice cream is the whole point. Don’t wait. They start to set quickly. If you’re serving a group, make them in batches. The second batch is always just as good.
Side Dishes — These are rich, so pair them with something light. A simple green salad with a vinaigrette cuts the richness. Or, if you want something sweet and crunchy, serve with these frozen yogurt berry bites on the side for a balanced dessert plate.
Storage — Lava cakes are best eaten immediately. They don’t store well because the center continues to cook and set in the fridge. If you have leftover batter, you can refrigerate it for up to 24 hours, then bake fresh. Don’t store the baked cakes; they’ll become dense and dry.
Reheating — If you accidentally make too many, you can reheat them in the microwave for 10-15 seconds to warm the center. But fresh is always best.
Nutrition Information
I’m not a nutritionist, but here’s the breakdown if you’re tracking. Keep in mind, this is a dessert, so it’s rich in sugar and fat.
Per serving (1 cake with ½ scoop ice cream):
- Calories: 380
- Protein: 6g
- Carbs: 35g
- Fiber: 2g
- Sugar: 28g
- Fat: 24g
- Saturated Fat: 14g
Look, this is comfort food. It’s not a salad. But it’s homemade, so you know exactly what’s in it. If you’re watching sugar, use sugar-free chocolate or reduce the sugar to 2 tablespoons. You’ll still get the lava effect. Just don’t expect it to taste like a candy bar. It’s a sophisticated treat.
Final Thoughts
So that’s my go-to Chocolate Lava Cake with Vanilla Ice Cream! I’ve probably talked your ear off at this point, but when you make a recipe this often, you have a lot to say about it. This has saved my weeknight dinners more times than I can count. It’s my answer to “what’s for dessert” when I’m tired, don’t want to order out, and still want something that tastes really good.
My partner is happy, my kids are happy (when I make the white chocolate version), and I’m happy because I’m not stressed about cooking. It’s quick, it’s easy, and it tastes incredible. Make it yours! Try different chocolates, add different toppings, or just enjoy it as is. The best recipes are the ones you adapt to your family’s tastes.
If you make this, drop a comment and let me know what you think! I love hearing how recipes turn out in your kitchen. And if something doesn’t work, tell me that too—I’m here to help troubleshoot. Happy cooking! And I hope your kitchen smells half as good as mine does right now.
Frequently Asked Questions
Can I make this ahead of time?
You can prep the batter ahead! Fill the ramekins, cover with plastic wrap, and refrigerate for up to 24 hours. When you’re ready to eat, bake them directly from the fridge, adding 1-2 minutes to the baking time. This is great for dinner parties. Just don’t bake them and then store them; they’ll lose their molten center.
Why did my lava cake turn out solid?
You probably overbaked it. Oven lava cakes are all about timing. Check them at 11 minutes. The edges should be set, but the center should still jiggle. If it’s firm, you’ve baked it too long. Next time, reduce the time by 30 seconds. Also, check your oven temperature; some ovens run hot.
Can I use milk chocolate instead of semi-sweet?
You can, but it will be much sweeter and the center might be runnier. Semi-sweet or bittersweet chocolate holds its structure better when melted. If you use milk chocolate, reduce the sugar in the recipe slightly. I prefer semi-sweet for that rich, dark flavor.
Do I need a scale or can I use cups?
Cups work fine for this recipe. It’s forgiving. But if you have a scale, it’s more accurate. 4 ounces of chocolate is about 115 grams. ¼ cup of sugar is about 50 grams. Just be consistent with your measuring cups.
What if I don’t have ramekins?
You can use oven-safe mugs, small bowls, or even a silicone muffin pan. Just adjust the baking time slightly. Mugs might take 1-2 minutes longer. The key is to use a container that can go in the oven and release the cake easily.
Can I freeze the baked cakes?
I don’t recommend freezing baked cakes. The texture changes, and the center won’t be molten when you reheat it. It’s better to freeze the batter in the ramekins (covered tightly) and bake fresh when needed. Thaw in the fridge overnight before baking.
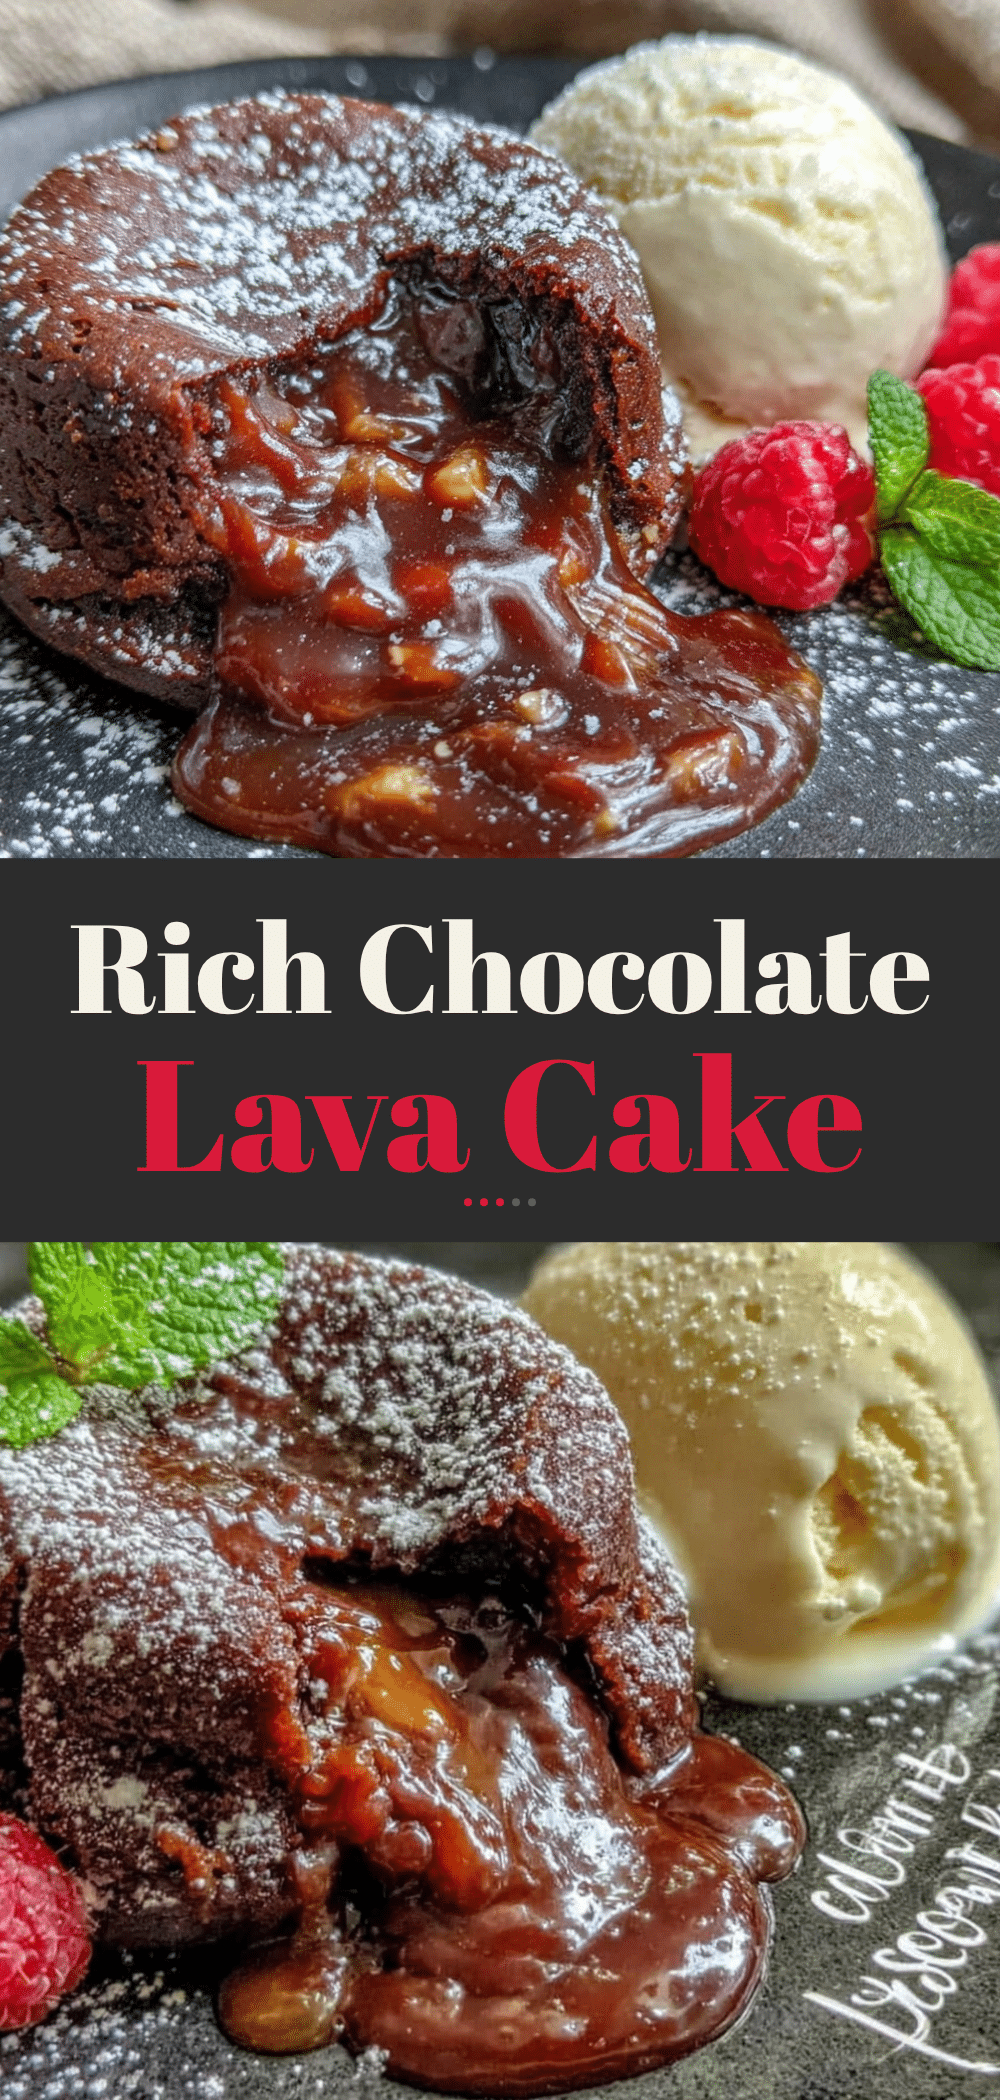
Pin This Recipe!
Chocolate Lava Cake with Vanilla Ice Cream
- Total Time: 22 minutes
- Yield: 4 servings 1x
Description
A quick and easy weeknight dessert featuring warm, molten chocolate centers served with vanilla ice cream. Ready in just 22 minutes with simple pantry ingredients.
Ingredients
- 4 ounces semi-sweet chocolate chips or chopped bar
- 2 tablespoons unsalted butter
- 2 large eggs (room temperature)
- 2 large egg yolks (room temperature)
- 1/4 cup granulated sugar
- 1 tablespoon all-purpose flour
- A pinch of salt
- Butter for greasing ramekins
- Cocoa powder or flour for dusting ramekins
- Vanilla ice cream for serving
- Powdered sugar for dusting
- Mint leaves or raspberries for garnish
Instructions
- Preheat oven to 425°F (220°C). Generously butter four 6-ounce ramekins and dust with cocoa powder or flour, tapping out excess.
- Chop chocolate into small pieces. Place chocolate and butter in a microwave-safe bowl. Microwave in 30-second intervals, stirring between each, until smooth and glossy (about 60-90 seconds). Let cool for one minute.
- In a separate bowl, whisk eggs, egg yolks, sugar, and salt vigorously for about one minute until the mixture lightens in color and becomes slightly fluffy.
- Pour the melted chocolate mixture into the egg mixture. Whisk gently to combine. Sift in the flour and fold with a spatula until just combined. The batter should be thick and glossy.
- Divide the batter evenly among the prepared ramekins, filling them about 3/4 full. Place ramekins on a baking sheet.
- Bake for exactly 12 minutes. The edges should be set and firm, but the center should still jiggle slightly when shaken.
- Remove from oven and let sit for 1 minute. Run a knife around the edge to loosen.
- Place a small plate upside down over a ramekin, flip it over, and lift the ramekin off to release the cake.
- Serve immediately topped with vanilla ice cream, powdered sugar, and fresh raspberries or mint.
Notes
Timing is critical; check at 11 minutes as ovens vary. Do not overmix the flour to avoid a tough texture. For make-ahead, fill ramekins and freeze for up to a month, baking from frozen for 15-18 minutes. Do not store baked cakes as they will lose their molten center.
- Prep Time: 10 minutes
- Cook Time: 12 minutes
- Category: Dessert
- Cuisine: French
Nutrition
- Serving Size: 1 cake with 1/2 scoo
- Calories: 380
- Sugar: 28
- Fat: 24
- Saturated Fat: 14
- Carbohydrates: 35
- Fiber: 2
- Protein: 6
Keywords: chocolate lava cake, molten chocolate cake, weeknight dessert, easy chocolate dessert, ramekin cake, 5pm dinner, gluten-free option, dairy-free option