Last Sunday, I was staring at the clock. It was 4:45 PM. The game was on in two hours. My kids had just walked in the door, hungry and loud, and my husband was already asking if I’d picked up takeout. I had nothing planned. No meal. No prep. Just a half-empty pantry and a sudden, desperate need to feed four people something that felt like a “treat” without taking all night.
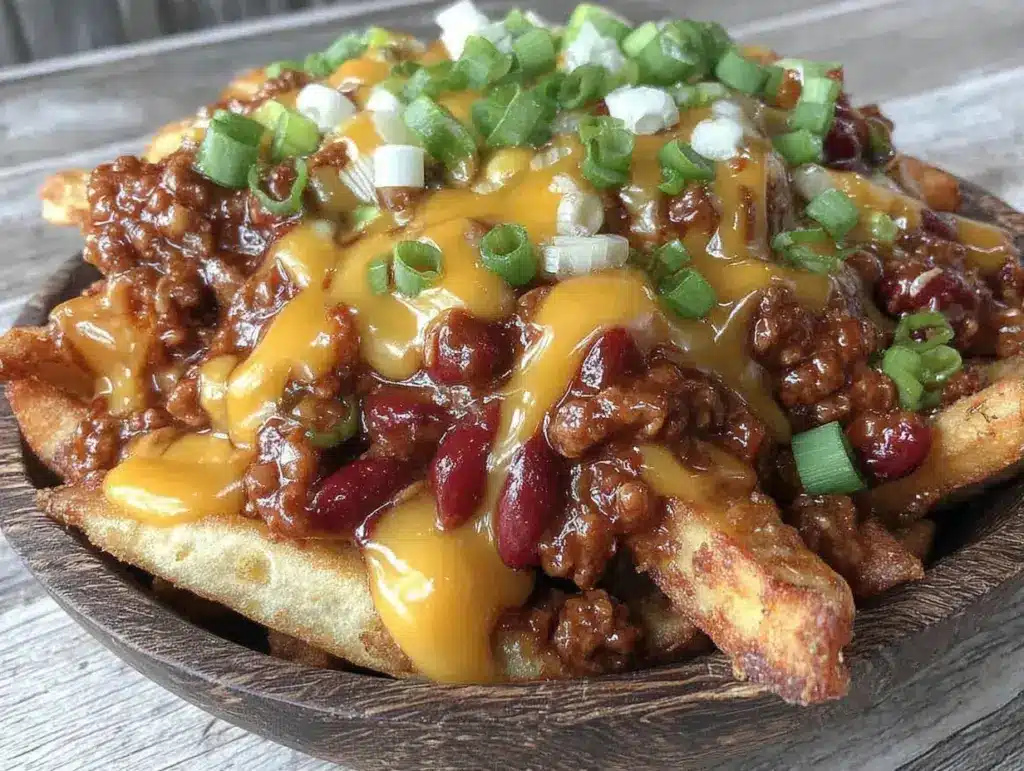
So I did what any sleep-deprived parent does: I raided the freezer and the pantry. I pulled out a bag of frozen fries, a jar of chili, and a block of cheddar. I thought it would be a disaster. But 15 minutes later, I had a baking sheet full of crispy, cheesy, chili-drenched goodness that my kids devoured in seconds. My husband even paused the game to ask for seconds.
That was the birth of my go-to Football Party Chili Cheese Fries. Yes, it’s technically “party food,” but let’s be real—it’s the ultimate weeknight savior. It’s messy, it’s delicious, it’s incredibly cheap, and it requires almost zero actual cooking skill. If you can turn on the oven and sprinkle cheese, you can make this.
I’ve made this version of Football Party Chili Cheese Fries at least twenty times in the last year. Sometimes for actual football games (yes, even in July). Sometimes because it’s the only thing my picky eater will eat on a tough Tuesday. And honestly? It’s become my answer to “5pm and nothing planned.” It’s fast, it’s comforting, and it tastes like you actually tried. Spoiler alert: you didn’t. You just baked some fries.
Why You’ll Love This Recipe
Look, I know what you’re thinking. “Chili cheese fries? That’s just junk food.” And sure, it’s indulgent. But it’s also practical. Here’s why this dish has earned a permanent spot in my weekly rotation, right alongside my crispy baked mac and cheese bites.
- Zero Prep Time — Seriously. I’m talking less than five minutes of active work. I chop a jalapeño while the fries bake. That’s it. If you can hold a grater, you can make this. I’ve even made it while on a work call, just by setting the timer and walking away.
- One Pan, Easy Cleanup — The biggest lie about weeknight cooking is that it’s quick. It’s not, unless the cleanup is fast. This recipe uses a single baking sheet. I line it with foil (always line it with foil), bake the fries, add toppings, and put one tray in the dishwasher. That is the only dishwashing I do. I don’t know about you, but I’m obsessed with minimal cleanup.
- Pantry-Friendly Ingredients — You likely have most of this already. Frozen fries, a jar of chili (or a quick homemade batch), cheese, and maybe some green onions. It’s not a trip to the grocery store. It’s a raid of what you already have. It’s perfect for those days when you’re too tired to shop.
- Customizable for Everyone — My husband likes his extra spicy. My daughter wants it mild with extra bacon. I like it with a dollop of sour cream. Because it’s a build-your-own style dish, everyone gets what they want without me making three separate meals. It’s a miracle.
- Feeds a Crowd for Pennies — This feeds 4-6 people easily for under $15. Compared to ordering pizza or wings, this is a steal. And it tastes fresher because you’re using real cheese, not that powdered stuff on delivery pizza.
This is my go-to when I need dinner to just work. No complicated techniques, no weird ingredients, just reliable, delicious food that makes everyone happy and keeps them off my back for the rest of the evening.
Ingredients You’ll Need
Here’s the best part: you probably have most of this already. I’m particular about three ingredients here, and I’ll tell you exactly why. This isn’t a gourmet recipe, but getting the basics right makes a huge difference.
For the Base
Frozen French Fries (2-3 pounds / 900g-1.3kg) — I use crinkle-cut or steak fries for the best texture. Shoestring gets too soggy under the toppings. Look for brands that say “oven-ready” or “extra crispy.” I like Ore-Ida or store brand. Don’t thaw them! Bake them straight from frozen.
Chili (2-3 cups / 480ml-720ml) — Here’s the fork in the road. You can use homemade chili (which is amazing) or store-bought. For a quick weeknight win, I use a jar of meat chili or a frozen block of homemade chili. If you’re using a jar, heat it up first. Cold chili on hot fries is a weird texture. I usually use smoky flavors that pair well with cheese, so a beef chili works great.
Cheddar Cheese (2 cups / 200g, shredded) — Buy the block and grate it yourself. Pre-shredded cheese has cellulose (anti-caking agents) that prevents it from melting smoothly. You want gooey, stringy cheese, not dry, clumpy bits. Sharp cheddar has the best flavor, but mild works if you have young kids.
For the Flavor
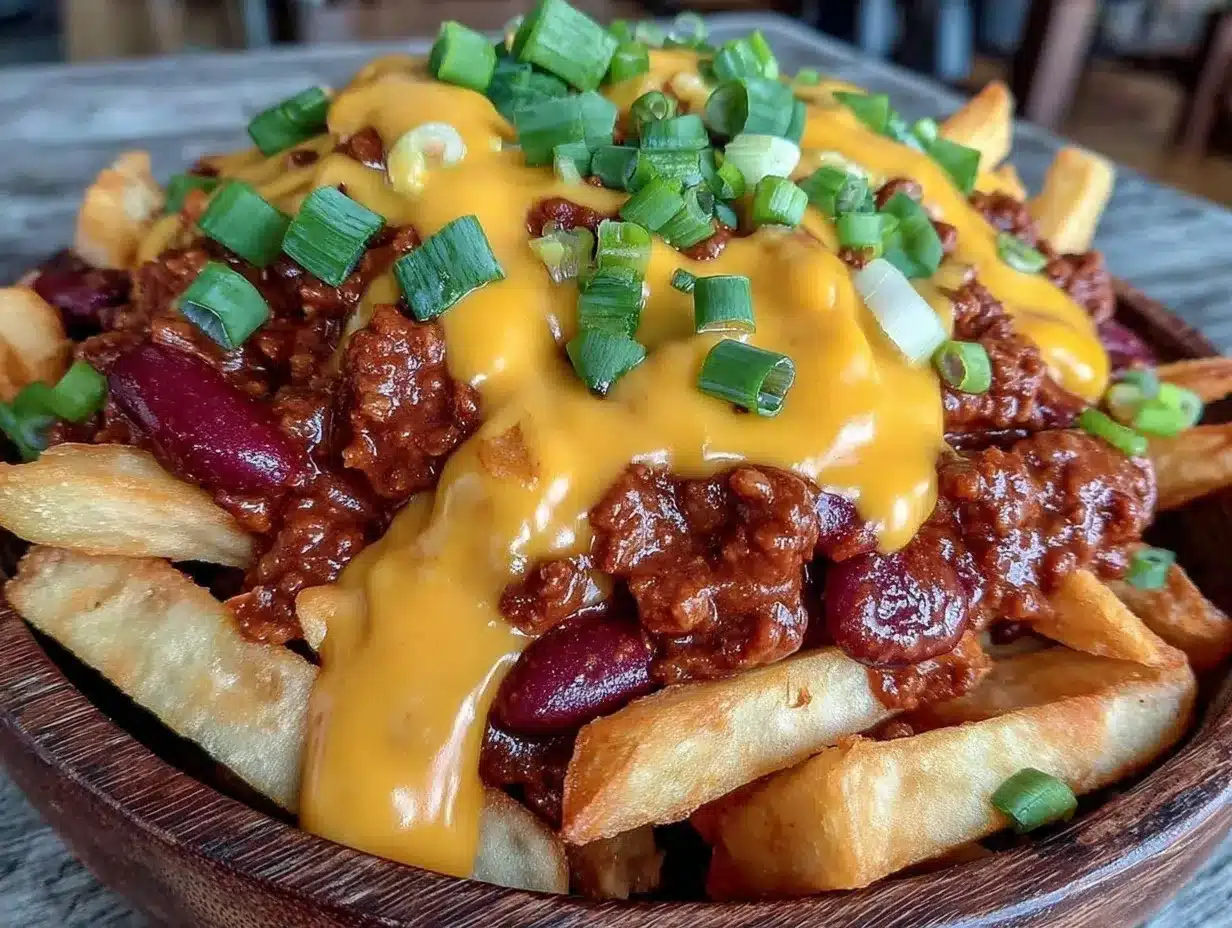
Green Onions (3-4 stalks, sliced) — Adds a fresh, oniony crunch that cuts through the richness. White onions work too, but green onions look nicer and are milder.
Jalapeños (1-2, sliced or diced) — Optional, but highly recommended if you like heat. Fresh is best. If you can’t handle fresh, a dash of hot sauce works, but the fresh slice adds a nice pop.
Sour Cream (½ cup / 120g) — A dollop on top adds coolness and tang. It balances the salty chili and spicy cheese perfectly. Full-fat is best here; light sour cream can taste weirdly thin.
Cilantro (¼ cup, chopped) — Fresh cilantro adds brightness. If you hate cilantro (it’s the “soap” gene, I get it), skip it. Parsley works too, though it’s less traditional.
Bacon Bits (½ cup / 50g, crumbled) — I use real cooked bacon, crumbled. Bacon bits from a packet are okay in a pinch, but they’re salty and lack texture. Real bacon makes this feel like a feast.
Optional Add-ins
Black Beans (1 can, drained) — If you want to stretch the chili and add fiber, stir a can of black beans into your heated chili. It makes it heartier.
Guacamole — A spoonful of guac on top is fancy but easy. I keep a jar of decent guac in the fridge for days like this.
Equipment Needed
You don’t need fancy equipment for this. Here’s what I actually use.
Large Baking Sheet — I use a standard half-sheet pan (18×13 inches). It needs to fit all the fries in a single layer. If your fries are piled up, they steam instead of crisp. I use two pans if I’m making a huge batch.
Parchment Paper or Foil — I always line my pan. Foil is easier to crumple up and toss. Parchment is better for cleanup if you’re worried about stuck-on cheese. Either works. I’m lazy, so I use foil.
Small Saucepan or Microwave-Safe Bowl — To heat the chili before topping. You don’t want cold chili. A microwave is fastest, but a saucepan on the stove gives you more control.
Sharp Knife and Cutting Board — For slicing jalapeños and green onions. I use my cheap paring knife for this. No need for a fancy chef’s knife.
Box Grater — If you’re grating your own cheese. I have a cheap plastic one from the dollar store that works fine.
Spatula — To spread the chili evenly. A rubber spatula is best because it scoops up every last bit.
Tongs — To toss the fries in the oven if needed. Or just a fork. Tongs are nicer.
Optional but nice:
Broiler — Your oven’s broiler setting is your friend for melting cheese quickly. Make sure it’s clean! I’ve burned cheese before because my broiler was dirty. Check it.
How to Make It: Step-by-Step
Alright, let’s make this! I’m walking you through exactly how I do it, including the little tricks I’ve picked up over the years.
Step 1: Prep Your Oven and Pan (2 minutes)
Preheat your oven to 425°F (220°C). This is the key to crispy fries. Line your baking sheet with foil or parchment. Spray it lightly with cooking spray if you’re using foil—this helps the fries slide off later. While the oven heats, set out your toppings. Grate your cheese, slice your jalapeños, and chop your green onions. Having everything ready means you won’t panic when the fries come out hot.
Step 2: Bake the Fries (20-25 minutes)
Spread the frozen fries in a single layer on the baking sheet. Do not crowd them! If they’re overlapping, they’ll get soggy. I usually need two pans. Bake for 20-25 minutes, flipping halfway through, until they’re golden and crispy. Check the package directions for timing, but watch them closely. You want them crispy, not burnt. I like them a bit darker than the package says because they’ll soften under the chili.
Step 3: Heat the Chili (5 minutes)
While the fries bake, heat your chili. If it’s homemade, warm it in a saucepan over medium heat. If it’s jarred or frozen, microwave it in 30-second intervals, stirring in between, until hot. Taste it and adjust seasoning if needed. Add a pinch of cumin or chili powder if it tastes flat. Keep it warm.
Step 4: Assemble the Fries (2 minutes)
Remove the crispy fries from the oven. Immediately sprinkle the shredded cheddar cheese evenly over the fries. The heat from the fries will start melting the cheese, but you’ll need a little help.
Step 5: Broil for Melted Cheese (1-2 minutes)
Turn on your oven’s broiler. Place the pan back in the oven, about 6 inches from the heat source. Watch it like a hawk! Broil for 1-2 minutes until the cheese is bubbly and slightly browned. Do not walk away. I’ve seen cheese burn in 30 seconds. You want gooey, not charcoal.
Step 6: Top and Serve (2 minutes)
Remove the pan from the oven. Ladle the hot chili over the cheesy fries. Be generous—don’t skimp on the chili. Then, add your toppings: crumbled bacon, sliced jalapeños, a dollop of sour cream, and a sprinkle of green onions and cilantro. Serve immediately while hot and crispy. If you wait, the fries get soggy. And nobody wants soggy fries.
Total Time: About 30 minutes (10 minutes active, 20 minutes hands-off)
Expert Tips & Tricks
Here’s everything I’ve learned from making this dozens of times. These tips will save you from my mistakes.
Don’t Skip the Broil
Microwaving the cheese doesn’t work. It gets greasy and rubbery. The oven’s broiler gives you that restaurant-style melted, slightly browned top. It’s worth the extra minute.
Keep the Fries Crispy
If you’re serving a crowd, don’t top all the fries at once. Top them in batches. Or, serve the toppings in bowls and let everyone build their own. This keeps the fries crispy longer. I’ve had soggy fries from sitting under chili for 10 minutes. It’s a texture nightmare.
Use a Mix of Cheeses
Cheddar is classic, but mixing in some pepper jack adds spice without extra jalapeños. Or a little Monterey Jack for extra meltiness. I like a 50/50 mix of cheddar and pepper jack.
Make Your Own Chili Base
If you have time, make a big batch of chili on Sunday. It freezes well. I keep a few containers in the freezer for emergencies like this. It tastes way better than jarred and costs less. Check out my crockpot creamy tuscan chicken for another easy make-ahead meal idea.
Don’t Overload the Pan
If you pile too much chili on top, the fries will sink and get soggy. Use a ladle, not a cup. Spread the chili in a thin, even layer. You want to see some crispy fries peeking through.
Add Crunch
If you want extra texture, add crushed tortilla chips or fried onions on top. It’s like a baked potato topping bar. I love the crunch of tortilla chips against the soft chili.
Variations & Substitutions
Once you’ve nailed the basic version, here’s how you can mix it up. I’ve tried all of these.
Chicken Chili Version
Use chicken chili instead of beef. I use leftover crispy baked mac and cheese bites leftovers? No, wait, that’s not right. Use leftover rotisserie chicken in your chili. It’s lighter and still delicious.
Vegetarian Chili
Use a vegetarian chili or black bean chili. Top with extra black beans and corn. It’s just as filling and satisfies my meatless Monday crowd.
Taco Fries
Swap the chili for seasoned ground beef (like a taco meat). Top with lettuce, tomato, and salsa. It’s basically a deconstructed taco. My kids love this version.
Breakfast Fries
Swap the chili for scrambled eggs and sausage. Top with cheddar and green onions. It’s brunch on a baking sheet. I’ve made this for lazy weekend mornings.
Spicy Jalapeño Version
Add diced jalapeños to the chili before heating. Top with extra jalapeños and a drizzle of hot sauce. For the heat lovers.
Dietary Modifications:
Gluten-Free — Most frozen fries are gluten-free, but check the label. Use a gluten-free chili. Everything else is naturally GF.
Dairy-Free — Use dairy-free cheese shreds (they melt differently, so broil carefully) and dairy-free sour cream. It’s not the same, but it works.
Lower-Carb — Use baked sweet potato fries or zucchini fries. Reduce the chili portion. It’s not the same, but it’s lighter.
Serving & Storage
How to Serve:
I usually serve this straight from the baking sheet at the dinner table. It looks rustic and stays warm. Put out bowls of toppings for everyone to customize. It’s interactive and fun for kids.
Side Dishes:
This is a meal on its own, but if you want sides:
– Simple green salad with vinaigrette
– Cornbread (classic pairing)
– Pickles (to cut the richness)
Storage Instructions:
Refrigerator: Store leftovers in an airtight container for up to 3 days. The fries will lose their crispiness, but the chili and cheese will still be good.
Reheating: Reheat in the oven or toaster oven at 400°F for 5-10 minutes to crisp the fries. Microwave makes them soggy. I know, I know, but it’s true.
Freezing: Freeze the chili separately. Do not freeze the fries. They turn to mush. Freeze the chili in portions for quick weeknight meals.
Pro tip: If you have leftovers, use the chili as a topping for baked potatoes. It’s a great way to use it up.
Nutrition Information
I’m not a nutritionist, but here’s the breakdown if you’re tracking. This is indulgent food, so keep portions in mind.
Per Serving (based on 6 servings, approximate):**
– Calories: 550
– Protein: 22g
– Carbs: 45g
– Fiber: 4g
– Sugar: 2g
– Fat: 32g
– Saturated Fat: 14g
– Cholesterol: 65mg
– Sodium: 850mg
What’s Good:
– High protein from cheese and chili
– Calcium from the cheese
– Can add vegetables (jalapeños, green onions) to boost nutrition
What to Know:
– Higher in calories and fat from cheese and fries
– Contains dairy and gluten
– Moderate to high sodium (use low-sodium chili and cheese if possible)
My Take:
Look, this is comfort food. It’s not a diet recipe. But it’s way better than takeout, costs less, and I know exactly what’s in it. When I want to make it lighter, I use baked fries and less cheese. But usually? I just eat a reasonable portion and enjoy it.
Final Thoughts
So that’s my go-to Football Party Chili Cheese Fries! I’ve probably talked your ear off at this point, but when you make a recipe this often, you have a lot to say about it.
This has saved weeknight dinners more times than I can count. It’s my answer to “what’s for dinner” when I’m tired, don’t want takeout, and still want something that tastes really good. My kids are happy, my husband’s happy, and I’m happy because I’m not stressed about cooking.
Make it yours! Try different add-ins, swap in your favorite vegetables, adjust the heat. The best recipes are the ones you adapt to your family’s tastes. If you make this, drop a comment and let me know what you think! I love hearing how recipes turn out in your kitchen. And if something doesn’t work, tell me that too—I’m here to help troubleshoot.
Happy cooking! And I hope your kitchen smells half as good as mine does right now.
Frequently Asked Questions
Can I use fresh potatoes instead of frozen fries?
You can, but it takes longer. Cut potatoes into fry shapes, soak them in cold water for 30 minutes to remove starch, pat dry, and toss with oil. Bake at 425°F for 25-30 minutes, flipping halfway. Frozen fries are just faster and consistently crispy. For a quick weeknight win, frozen is the way to go.
My fries got soggy—what happened?
Usually means you piled them too high on the pan or waited too long to add toppings. Make sure they’re in a single layer. Also, don’t let them sit under the chili for more than a few minutes. Serve immediately for best texture.
Can I make this ahead for a party?
Sort of. Bake the fries ahead and keep them warm in a low oven (200°F). Heat the chili separately. When guests arrive, top the fries and broil. It’s not perfect, but it’s close. Better to top fresh for best results.
Why did my cheese burn?
The broiler is hot! Watch it closely. 1-2 minutes is usually enough. If your cheese is browned before it’s melted, move the pan lower in the oven or use the regular bake setting for a few extra minutes.
Can I use store-bought chili?
Yes! I use it all the time. Just heat it up first. If it’s too thick, add a splash of water or broth. If it’s too thin, simmer it on the stove to reduce. It’s a great time-saver.
How do I reheat leftovers without it getting dry?
Reheat in the oven at 400°F for 5-10 minutes. This recrisps the fries. Microwave makes them soggy and rubbery. If you must microwave, do it in short bursts and let it sit for a minute to redistribute heat.
Can I double this recipe?
Absolutely! Use two baking sheets. Rotate them halfway through baking for even cooking. The cooking time stays the same. I do this when I’m feeding a crowd.
Pin This Recipe!
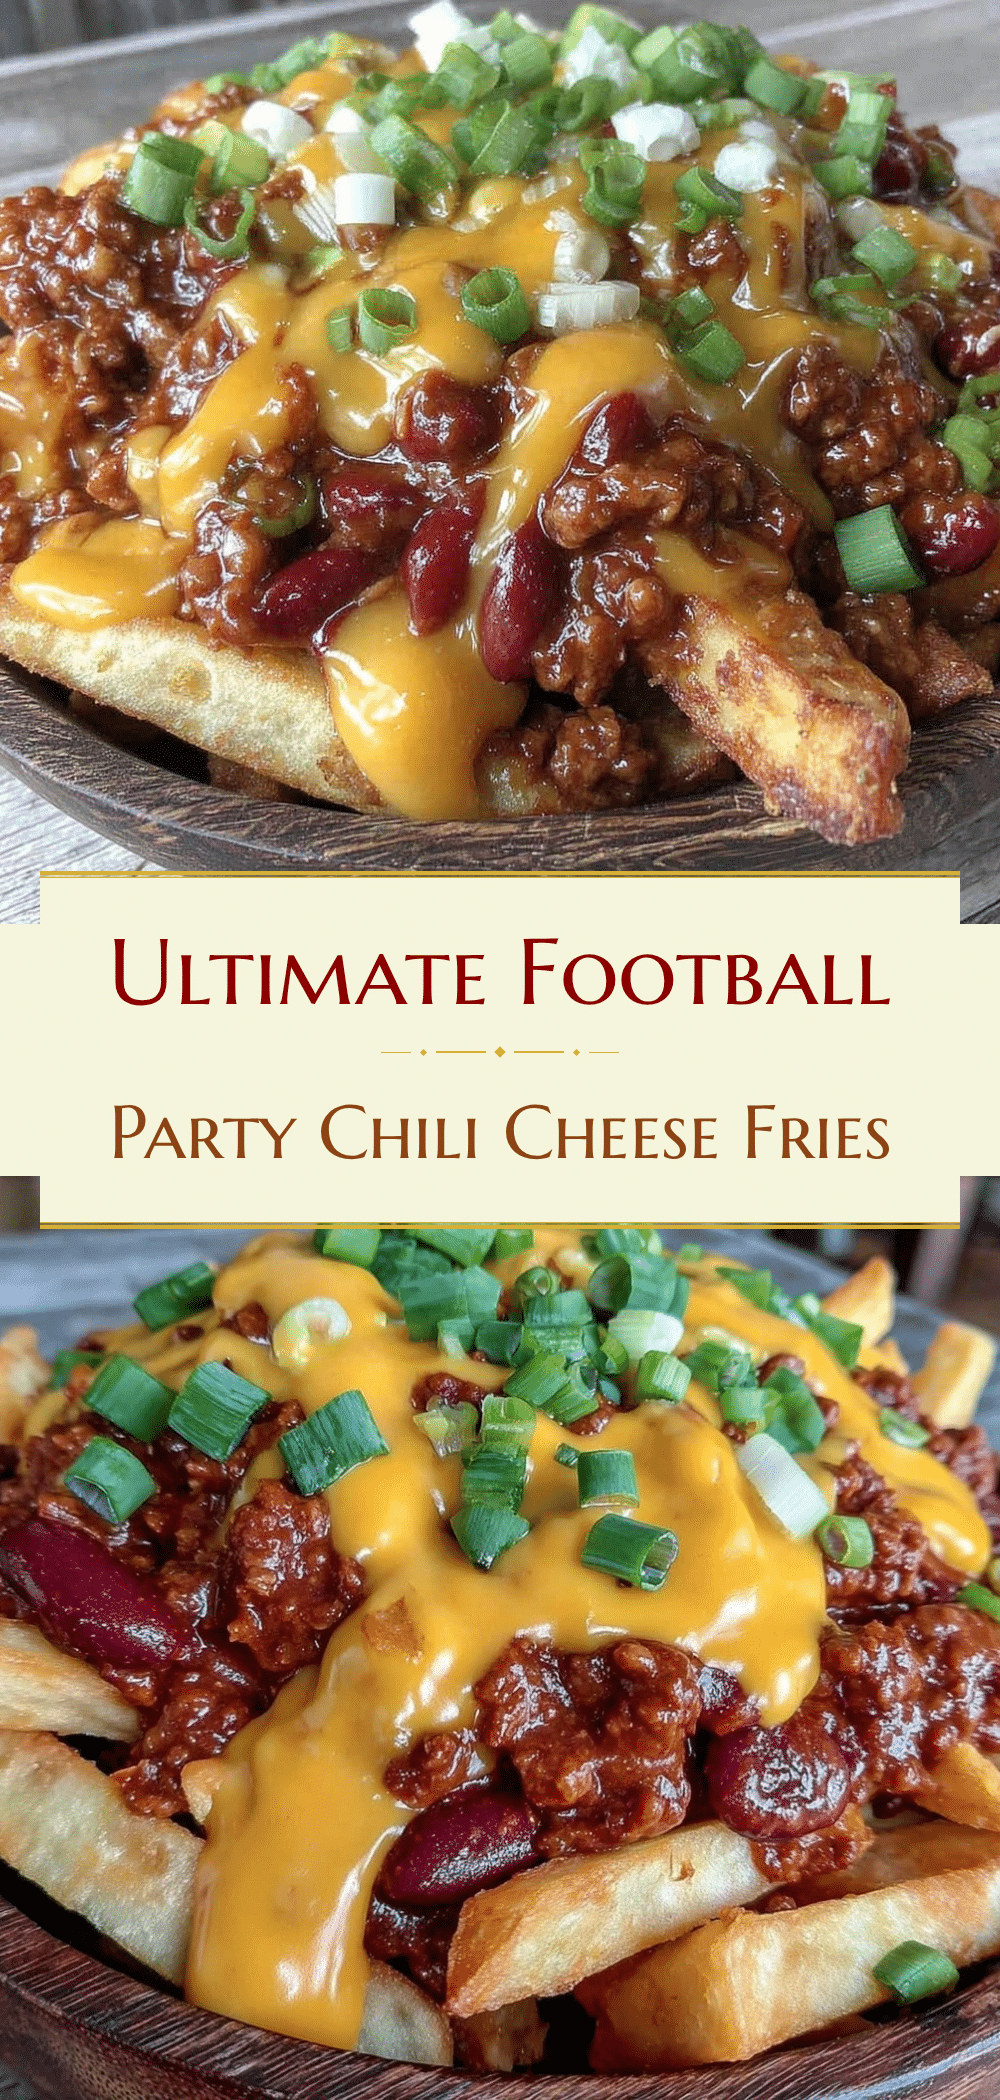

Football Party Chili Cheese Fries: Quick Weeknight Win
- Total Time: 30 minutes
- Yield: 6 servings 1x
Description
A quick, indulgent, and customizable weeknight meal made with frozen fries, chili, and melted cheese. Perfect for feeding a crowd with minimal prep and easy cleanup.
Ingredients
- 2–3 pounds frozen French fries (crinkle-cut or steak fries)
- 2–3 cups chili (homemade or jarred)
- 2 cups sharp cheddar cheese, shredded
- 3–4 green onions, sliced
- 1–2 jalapeños, sliced or diced
- ½ cup sour cream
- ¼ cup fresh cilantro, chopped
- ½ cup cooked bacon, crumbled
- Cooking spray
Instructions
- Preheat oven to 425°F (220°C). Line a large baking sheet with foil or parchment paper and lightly spray with cooking spray.
- Spread frozen fries in a single layer on the baking sheet. Do not crowd the pan.
- Bake fries for 20-25 minutes, flipping halfway through, until golden and crispy.
- While fries bake, heat the chili in a saucepan or microwave until hot.
- Remove fries from the oven and immediately sprinkle shredded cheddar cheese evenly over them.
- Turn on the oven broiler. Place the pan back in the oven 6 inches from the heat source and broil for 1-2 minutes until cheese is bubbly and slightly browned. Watch closely to prevent burning.
- Remove from oven and ladle hot chili over the cheesy fries.
- Top with crumbled bacon, sliced jalapeños, sour cream, green onions, and cilantro.
- Serve immediately while hot and crispy.
Notes
Do not thaw frozen fries before baking. Use a single layer to ensure crispiness. Serve immediately to prevent sogginess. For dietary modifications, use gluten-free fries/chili or dairy-free alternatives. Leftover chili can be frozen separately; do not freeze the fries.
- Prep Time: 10 minutes
- Cook Time: 20 minutes
- Category: Main Course
- Cuisine: American
Nutrition
- Serving Size: Approximately 1/6 of
- Calories: 550
- Sugar: 2
- Sodium: 850
- Fat: 32
- Saturated Fat: 14
- Carbohydrates: 45
- Fiber: 4
- Protein: 22
Keywords: chili cheese fries, football party food, weeknight dinner, quick meals, comfort food, easy recipes, family friendly