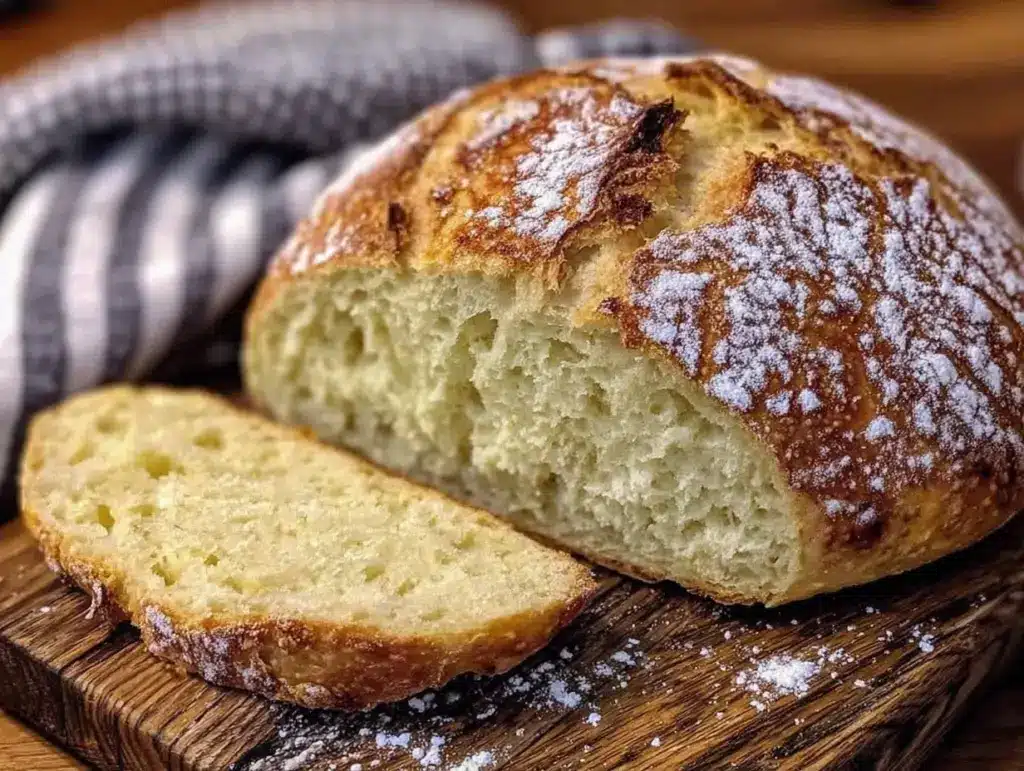
I still remember the exact moment I almost gave up on sourdough. It was 5:00 PM on a Tuesday, the house was chaotic, the kids were hungry, and I was staring at a sticky mess of flour and water that had been sitting on my counter for 18 hours. I thought, “This is it. I’m buying a loaf from the bakery. I’m admitting defeat.”
But then I looked at that batter again. It wasn’t a stiff, difficult dough like traditional bread. It was more like a thick pancake batter. And it didn’t need a 3-year-old starter culture that required daily feeding and a lot of patience I simply didn’t have.
That was the day I discovered no starter sourdough bread. And let me tell you, it changed everything.
Here’s the thing about “sourdough” that scares people off: they think it’s complicated. They think you need a jar of bubbly goop, a thermometer, and three days of free time. But this version? This is the cheat code. It uses baking powder and yogurt (or buttermilk) to create that signature tang and chew without the weeks of waiting. You mix it up, you let it rise while you make dinner, and you bake it while you eat. By the time you finish your meal, you have fresh, crusty, warm bread ready to go.
I’ve made this no starter sourdough bread probably 50 times since that chaotic Tuesday. It’s my go-to when I want to impress guests without spending hours in the kitchen. It’s also perfect for those evenings where you’re scrambling for a side dish that feels homemade but requires zero effort. Seriously, if you can stir a bowl, you can make this bread. No kneading. No fancy techniques. Just pure, delicious carb heaven.
If you’ve been intimidated by the bread aisle or tired of buying plastic-wrapped loaves that go stale by Thursday, this is your sign to try it. It’s easier than making classic banana bread, and it tastes infinitely better alongside a simple weeknight roast or soup.
Why You’ll Love This No Starter Sourdough Bread
There are about ten reasons I keep making this, but here are the big ones that make it a permanent fixture in my weekly rotation.
Zero Starter Required — This is the game-changer. I don’t have a sourdough starter. I tried, I really did, but I travel too much and forget to feed it. This recipe uses baking powder and acid (yogurt or buttermilk) to mimic the sourdough flavor and rise. It’s chemistry, not a pet project.
Lightning Fast Rise — Traditional sourdough can take 12-24 hours. This bread? It rises in about an hour. That’s it. I mix it at 4:30 PM, let it sit while I chop vegetables for dinner, and pop it in the oven at 5:30 PM. It’s done by 6:30 PM. Dinner is served.
One Bowl, One Pan — I am obsessed with low cleanup. This recipe requires one mixing bowl and one loaf pan (or a skillet). No stand mixer, no bread hook, no messy counters. Just a whisk, a bowl, and a pan. I love that I can throw this together while my Crockpot creamy Tuscan chicken is doing its thing in the slow cooker.
Restaurant-Quality Crust — I know, I know. “No starter” and “crusty” don’t usually go together. But the high heat and the steam from the wet batter create a surprisingly crisp, golden crust. The inside is soft, airy, and slightly tangy. It tastes like it came from a fancy bakery, not my messy kitchen.
Stupid Simple Ingredients — You likely have everything in your pantry right now. Flour, baking powder, salt, sugar, yogurt (or buttermilk), milk, and oil. No weird grains or hard-to-find items. It’s pantry-friendly comfort food at its finest.
This is my answer to “what’s for dinner?” when I’m tired, don’t want takeout, and still want something that feels special. My kids are happy because it’s warm bread, my husband’s happy because he doesn’t have to ask where the bread came from, and I’m happy because I didn’t stress about it.
Ingredients You’ll Need
Here’s the best part: you probably have most of this already. I’m particular about three ingredients here, and I’ll tell you exactly why, but the rest is basic pantry stuff.
All-Purpose Flour (2 cups / 250g) — I use all-purpose because it’s what I have. Bread flour gives a chewier result, but AP flour is more tender and easier for beginners. Don’t substitute with cake flour; it won’t have enough structure.
Instant Yeast (1 teaspoon) — Wait, no starter? Yes. We use a tiny bit of instant yeast to help it rise quickly. You don’t need active dry yeast here, and you definitely don’t need a weeks-old starter. Just a little kickstart.
Baking Powder (1 teaspoon) — This is the second rising agent. It reacts with the acid in the yogurt to create bubbles. It’s what gives that “sourdough” lift without the wait.
Greek Yogurt (½ cup / 120g) — Plain, full-fat Greek yogurt. This provides the tangy flavor that mimics sourdough. It also adds moisture and fat, which keeps the crumb soft. If you use non-fat, the bread will be drier. Trust me on full-fat.
Milk (½ cup / 120ml) — Whole milk is best for richness. Buttermilk works too and adds extra tang, but if you’re using buttermilk, skip the yogurt or reduce it to ¼ cup. I usually keep both on hand.
Vegetable Oil (3 tablespoons / 45ml) — Oil keeps the crumb softer than butter. It also helps the crust brown evenly. I use vegetable or canola oil. Olive oil works but might add a strong flavor that clashes with the subtle sourdough taste.
Honey or Sugar (1 tablespoon) — Just a little sweetness to feed the yeast and balance the tang. Honey adds a nice depth, but white sugar works fine.
Salt (1 teaspoon) — Essential for flavor. Don’t skip it. Sourdough needs salt to taste “sourdough.”
Optional Add-ins:
I love adding rosemary or garlic powder to this base. Sometimes I throw in some parmesan cheese. It’s a blank canvas. If you want to try something savory, check out my loaded bacon ranch potato salad—this bread pairs perfectly with that creamy, savory side.
Equipment Needed
You don’t need fancy equipment for this. Here’s what I actually use.
Large Mixing Bowl — I use a 4-quart ceramic bowl. It’s heavy enough not to tip over when I’m stirring. Any large bowl works.
Whisk — For mixing the dry ingredients and whisking the wet ingredients separately. A balloon whisk is nice, but a spoon works.
Loaf Pan — 9×5 inch standard loaf pan. I use a dark metal pan because it browns the crust faster. Glass pans work but might need 5 more minutes in the oven.
Parchment Paper — I line the pan with parchment. It makes cleanup instant. Just peel it out and throw it away. No scrubbing stuck-on crust.
Oven — Preheated to 375°F (190°C). Standard oven, no convection needed.
Cooling Rack — Optional but recommended. It helps air circulate so the bottom doesn’t get soggy.
Optional but nice:
– Pastry Brush — For brushing melted butter on the crust after baking.
– Instant Read Thermometer — To check if it’s done (internal temp should be 190°F/88°C).
How to Make It: Step-by-Step
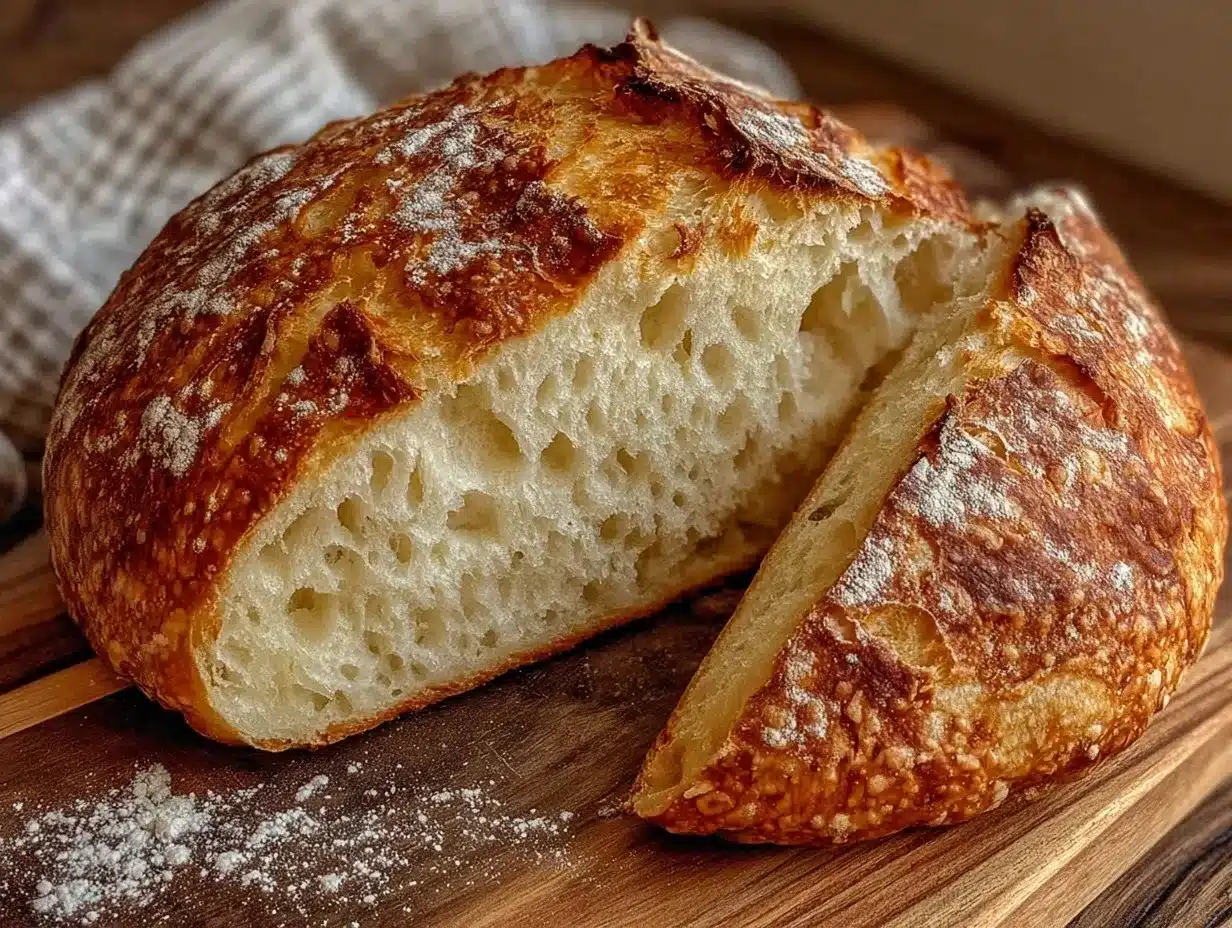
Alright, let’s make this! I’m walking you through exactly how I do it, including the little tricks I’ve picked up.
Step 1: Prep Your Dry Ingredients (2 minutes)
In your large mixing bowl, whisk together the flour, instant yeast, baking powder, salt, and sugar. Make sure you distribute the yeast and baking powder evenly so you don’t get pockets of bitterness. I usually do this while the oven is preheating.
Step 2: Mix the Wet Ingredients (1 minute)
In a separate smaller bowl or measuring cup, whisk together the Greek yogurt, milk, oil, and honey until smooth. The yogurt might be thick, so just whisk vigorously until it blends into the milk and oil. It should look like a creamy, pale liquid.
Step 3: Combine and Stir (2 minutes)
Pour the wet ingredients into the dry ingredients. Stir with a wooden spoon or spatula until just combined. Do not overmix! This is a batter, not a dough. It will be sticky and shaggy. That’s good. If it’s too dry, add a tablespoon of milk. If it’s too wet, add a tablespoon of flour.
Step 4: Let It Rise (45-60 minutes)
Grease your loaf pan with oil or line it with parchment paper. Pour the batter into the pan and smooth the top with a wet spatula. Cover loosely with a clean kitchen towel or plastic wrap. Let it sit in a warm spot for 45-60 minutes. It should rise by about 50-75%. It won’t double like yeast bread, so don’t panic if it looks modest.
Step 5: Bake (30-35 minutes)
Preheat your oven to 375°F (190°C). Place the loaf pan in the center of the oven. Bake for 30-35 minutes. The top should be golden brown, and if you tap the top, it should sound hollow. If you have a thermometer, check the internal temp—it should be 190°F (88°C).
Step 6: Cool and Serve (10 minutes)
Remove from the oven and let it cool in the pan for 5 minutes. Then, transfer it to a wire rack to cool for another 10 minutes. This is the hardest part—waiting—but it lets the crumb set so it doesn’t gummy up when you slice it.
Total Time: About 1 hour 15 minutes (15 minutes active, 1 hour rising/baking)
Expert Tips & Tricks
Here’s everything I’ve learned from making this dozens of times. These tips will save you from my mistakes.
Don’t Overmix
I know it’s tempting, but overmixing develops gluten, which makes the bread tough. This should be a tender, cake-like crumb. Mix until no dry flour is visible, then stop.
Use Full-Fat Yogurt
Low-fat yogurt makes the bread dry and dense. I’ve tried it, and it just doesn’t work. Full-fat Greek yogurt is creamy and rich. If you only have sour cream, that works too.
Check Your Leaveners
If your bread comes out flat, your baking powder or yeast might be old. I keep my baking powder in the fridge to keep it fresh. Test it by dropping a little in hot water—if it fizzes, it’s good.
Steam for Crispier Crust
If you want a really crispy crust, place a pan of water on the bottom rack of the oven while it preheats. When you put the bread in, it creates steam. This mimics a professional bakery oven.
Brush with Butter
Right after you take the bread out of the oven, brush the top with melted butter. It adds a beautiful sheen and a rich flavor. It also helps the crust stay soft if you prefer that.
Common Mistakes (and how to avoid them):
- Soggy Bottom: Make sure the bread is fully cooled before slicing. The steam needs to escape. If you slice it hot, it collapses.
- Dense Crumb: You probably overmixed or used expired leaveners. Also, make sure you’re measuring flour correctly (spoon and level, don’t scoop).
- Burnt Top: If the top is browning too fast, tent it with aluminum foil after 20 minutes.
Variations & Substitutions
Once you’ve nailed the basic version, here’s how you can mix it up. I’ve tried all of these.
Garlic Herb Bread
Add 1 teaspoon garlic powder and 1 teaspoon dried rosemary or thyme to the dry ingredients. Amazing with pasta or soup.
Cheddar Cheese Bread
Stir in ½ cup shredded cheddar cheese in the last minute of mixing. Add a sprinkle of paprika on top before baking.
Whole Wheat Version
Substitute half the all-purpose flour with whole wheat flour. It makes the bread denser and nuttier. I like this for toast.
Gluten-Free
Use a 1-to-1 gluten-free flour blend. The texture will be slightly different (more cake-like), but it still tastes great. I’ve used King Arthur Measure for Measure with success.
Dairy-Free
Use dairy-free yogurt (coconut or almond) and dairy-free milk. The flavor is slightly different, but the texture is still good. My dairy-free friend loves this version.
Sweet Version
Add ½ cup raisins or blueberries. Reduce the salt slightly. This works great for breakfast or as a snack with my after-school frozen yogurt berry bites.
Serving & Storage
How to Serve:
I usually serve this warm, sliced thick. It’s perfect for dipping in olive oil and balsamic vinegar, or just slathered with butter. It goes great with smoky bourbon BBQ ribs for a casual summer dinner.
Storage:
Store in an airtight container at room temperature for up to 3 days. It actually gets better on day 2 as the flavors meld. Don’t refrigerate it—it will go stale faster.
Reheating:
If it’s gone stale, wrap it in foil and warm it in a 350°F oven for 10 minutes. Or, slice it and toast it. Toasted sourdough bread is life-changing.
Freezing:
Yes, this freezes well! Slice it, wrap it tightly in plastic wrap, and put it in a freezer bag. It lasts up to 3 months. Toast straight from frozen. It’s like fresh bread every time.
Nutrition Information
I’m not a nutritionist, but here’s the breakdown if you’re tracking. This is per slice (makes 10 slices).
- Calories: 140
- Protein: 3g
- Carbs: 22g
- Fiber: 1g
- Sugar: 2g
- Fat: 4g
It’s lighter than traditional yeast bread because of the yogurt and oil, but it’s still a carb-heavy side. Enjoy it in moderation, or pair it with lots of veggies like my grilled peach burrata salad for a balanced meal.
Final Thoughts
So that’s my no starter sourdough bread! I’ve probably talked your ear off at this point, but when you make a recipe this often, you have a lot to say about it.
This has saved weeknight dinners more times than I can count. It’s my answer to “what’s for dinner?” when I’m tired, don’t want takeout, and still want something that tastes really good. My kids are happy, my husband’s happy, and I’m happy because I’m not stressed about cooking.
Make it yours! Try different add-ins, swap in your favorite herbs, adjust the yogurt. The best recipes are the ones you adapt to your family’s tastes.
If you make this, drop a comment and let me know what you think! I love hearing how recipes turn out in your kitchen. And if something doesn’t work, tell me that too—I’m here to help troubleshoot.
Happy cooking! And I hope your kitchen smells half as good as mine does right now.
Frequently Asked Questions
Can I use buttermilk instead of yogurt?
Yes! Buttermilk is actually traditional for this type of quick bread. If you use buttermilk, reduce the milk to ¼ cup so the batter isn’t too thin. You might not need the yogurt at all, or you can use a smaller amount for tang.
Why did my bread turn out dense?
This usually happens if you overmixed the batter or if your baking powder/yeast was old. Also, make sure you’re measuring your flour correctly. Scooping flour packs it down, leading to too much flour and dense bread. Spoon the flour into the cup and level it off.
Can I make this in a skillet?
Absolutely! Use a cast-iron skillet. Grease it well, pour in the batter, and bake at 375°F for 25-30 minutes. The crust will be even crispier in a skillet. This is my favorite way to serve it for dinner parties.
Does this bread need to be eaten immediately?
No, it’s actually better the next day. The moisture redistributes, and the tangy flavor deepens. Store it in an airtight container at room temperature. It stays fresh for 2-3 days.
Can I freeze this bread?
Yes! Slice it first, then wrap it tightly in plastic wrap and put it in a freezer bag. It freezes for up to 3 months. Toast it straight from the freezer for the best texture.
Is this bread gluten-free?
No, it uses all-purpose flour. But you can use a 1-to-1 gluten-free flour blend for a GF version. The texture will be slightly different, but it’s still delicious.
Can I add cheese to this?
Definitely. Stir in ½ cup of shredded cheddar or parmesan cheese before baking. It adds a savory kick that’s perfect for pairing with soups or salads.
Pin This Recipe!
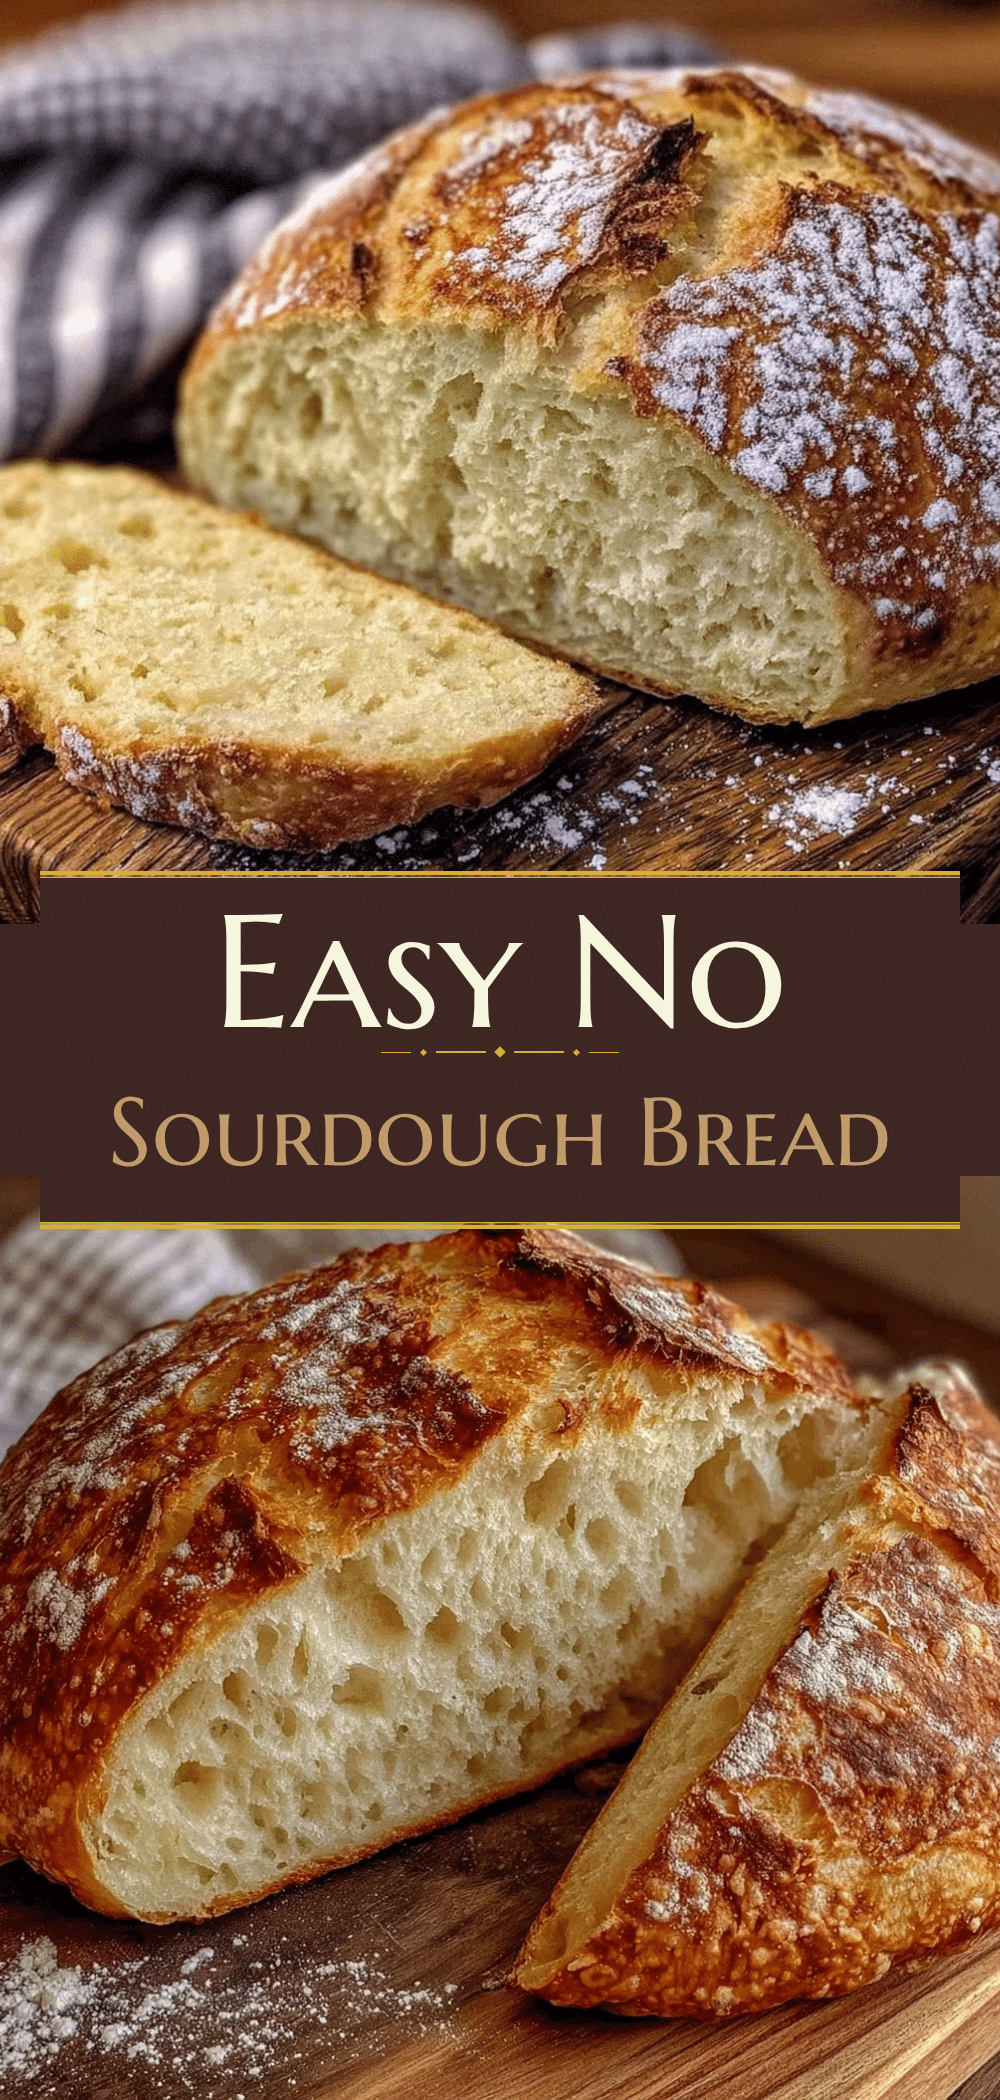
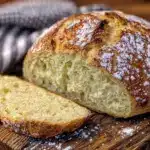
No Starter Sourdough Bread: 5pm Dinner Win
- Total Time: 1 hour 15 minutes
- Yield: 10 servings 1x
Description
A quick, easy sourdough-style bread that requires no starter culture, rising in just an hour. Perfect for busy weeknights, this one-bowl recipe uses yogurt and baking powder for a tangy, crusty loaf.
Ingredients
- 2 cups (250g) All-Purpose Flour
- 1 teaspoon Instant Yeast
- 1 teaspoon Baking Powder
- 1 teaspoon Salt
- 1 tablespoon Honey or Sugar
- 1/2 cup (120g) Plain, Full-Fat Greek Yogurt
- 1/2 cup (120ml) Whole Milk
- 3 tablespoons (45ml) Vegetable Oil
Instructions
- Preheat oven to 375°F (190°C).
- In a large mixing bowl, whisk together the flour, instant yeast, baking powder, salt, and sugar.
- In a separate bowl, whisk together the Greek yogurt, milk, oil, and honey until smooth.
- Pour the wet ingredients into the dry ingredients and stir with a wooden spoon or spatula until just combined. Do not overmix; the batter should be sticky and shaggy.
- Grease a 9×5 inch loaf pan or line it with parchment paper. Pour the batter into the pan and smooth the top.
- Cover loosely with a clean kitchen towel or plastic wrap and let rise in a warm spot for 45-60 minutes, until it rises by about 50-75%.
- Bake for 30-35 minutes until the top is golden brown and the internal temperature reaches 190°F (88°C).
- Cool in the pan for 5 minutes, then transfer to a wire rack to cool for another 10 minutes before slicing.
Notes
Do not overmix the batter to avoid a tough texture. Use full-fat yogurt for moisture and tang. If the top browns too quickly, tent with aluminum foil after 20 minutes. For a crispier crust, place a pan of water on the bottom rack of the oven to create steam.
- Prep Time: 15 minutes
- Cook Time: 30 minutes
- Category: Side Dish
- Cuisine: American
Nutrition
- Serving Size: 1 slice
- Calories: 140
- Sugar: 2
- Sodium: 400
- Fat: 4
- Saturated Fat: 1
- Carbohydrates: 22
- Fiber: 1
- Protein: 3
Keywords: no starter sourdough, quick bread, weeknight dinner, easy bread recipe, yogurt bread, baking powder bread