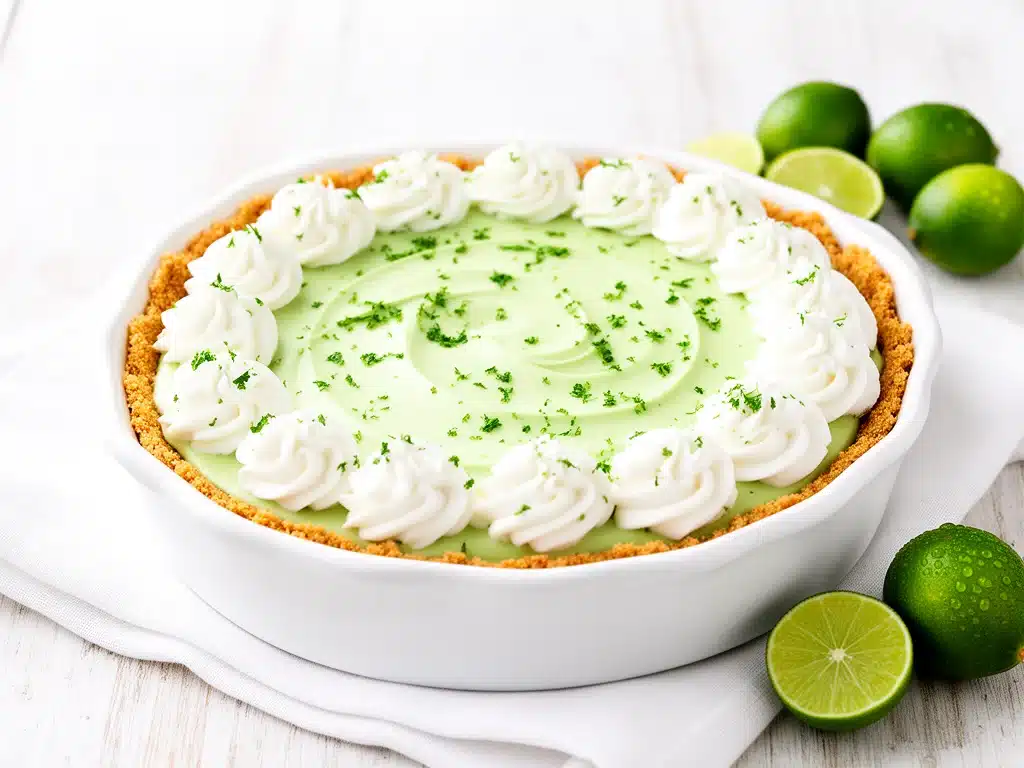
One summer afternoon, I found myself staring into the fridge wondering how to turn a few Key limes into something everyone in the family would love. My usual go-to desserts felt too heavy or complicated for the heat, and honestly, nobody wanted to turn on the oven. That’s when I stumbled upon this no bake Key lime pie recipe with a creamy tangy filling that’s become a household favorite. I’ve made it every summer since, tweaking it until the balance of tart and sweet was just right—and trust me, it’s so smooth and bright that even my picky eaters ask for seconds.
What makes this no bake Key lime pie so special? The filling is unbelievably creamy yet zingy, with just the right amount of lime punch to wake up your taste buds. Plus, it’s ridiculously easy—only five simple steps from start to finish, no oven required. This pie saved me countless times when summer heat made baking unbearable, and it’s perfect for family gatherings, potlucks, or a sweet treat that doesn’t weigh you down. After testing it over a dozen times, I finally nailed a recipe that’s both fuss-free and crave-worthy.
Ready to learn how to make a no bake Key lime pie with creamy tangy filling your whole family will crave? Let’s dive in!
Why You’ll Love This Recipe
This recipe has completely changed how I do summer desserts. Here are the big reasons why I keep coming back to it:
- Super Simple — No oven, no complicated steps. If you can whisk and squeeze limes, you’re halfway there. I’ve made this with my kids helping, and they love getting their hands messy with the lime zest.
- Quick Prep — It takes less than 20 minutes to assemble, then chill. Perfect for those hot afternoons when you want dessert fast without heating up the kitchen.
- Creamy Tangy Filling — The filling is silky but bright, with just enough tartness to keep it fresh. It’s not overly sweet or heavy like some other pies.
- Family Crowd-Pleaser — I’ve brought this pie to barbecues and birthday parties, and it disappears every time. Even my citrus-averse husband admits it’s “really good.”
- Versatile — You can dress it up with whipped cream, fresh berries, or even a graham cracker crust twist. I’ll share some fun variations later.
- No Baking Means Less Stress — No fear of undercooked or burnt crust. Just mix, chill, and enjoy.
Honestly, this no bake Key lime pie is my answer to summer dessert emergencies. It feels fancy but is so easy that I make it on a whim, and it never fails to impress.
Ingredients You’ll Need
Here’s the thing: most of these ingredients are pantry staples or easy to grab at your local store. I’m picky about three ingredients here—lime juice, cream cheese, and the crust—so I’ll explain exactly why.
- Graham cracker crumbs (1 ½ cups / 150g) — This is the classic base. I use finely crushed crackers for the best texture. You can buy pre-made crumbs or crush your own. If you want a twist, try crushed digestive biscuits.
- Unsalted butter (6 tablespoons / 85g, melted) — Helps bind the crust and adds richness. I always use unsalted so I can control the salt level.
- Cream cheese (8 ounces / 225g, softened) — This gives the filling its creamy texture and slight tang. Full-fat only—no substitutions here. I learned the hard way that low-fat versions make the filling too runny.
- Sweetened condensed milk (14 ounces / 396g) — This adds sweetness and helps the filling set. It’s a classic Key lime pie ingredient. I never skip it.
- Fresh Key lime juice (¾ cup / 180ml, about 15-20 limes) — Fresh is non-negotiable for that bright, authentic flavor. Bottled lime juice just doesn’t cut it here. Pro tip: roll the limes on the counter before juicing to get more juice out.
- Lime zest (1 tablespoon / 6g) — Adds an extra punch of citrus aroma. Use a microplane grater and only zest the green part (no white pith).
- Heavy whipping cream (1 cup / 240ml, cold) — Whipped and folded into the filling for lightness and creaminess.
- Granulated sugar (2 tablespoons / 25g) — Just a touch to sweeten the whipped cream topping.
- Optional garnish: whipped cream, lime slices, or fresh berries — For serving flair.
If you’re wondering where to find Key limes, your grocery store might have them in season, or you can substitute fresh regular lime juice—but the flavor won’t be quite the same. And if you want to experiment, try a crust made from crushed banana bread crumbs for a fun twist!
Equipment Needed
You don’t need fancy kitchen gadgets for this no bake Key lime pie. Here’s what I actually use:
- 9-inch pie dish — Glass or ceramic works best. I’ve even used disposable aluminum pans when taking the pie to potlucks.
- Mixing bowls — One large for the crust, one for the filling, and a small one for whipping cream.
- Electric mixer or hand whisk — I prefer a handheld electric mixer for whipping the cream and smoothing out the cream cheese quickly. A sturdy whisk works if you don’t have one.
- Microplane grater — For zesting those limes finely. It’s a small tool but makes a big difference.
- Citrus juicer or reamer — Not mandatory, but it makes juicing faster and less messy.
- Measuring cups and spoons — Standard kitchen stuff.
- Rubber spatula — For folding in the whipped cream gently without deflating the mixture.
If you don’t have a microplane, a fine grater or even the small holes on a box grater will work for zest. And if you’re pressed for time, using a handheld electric mixer makes whipping the cream so much faster and less tiring.
How to Make It: Step-by-Step
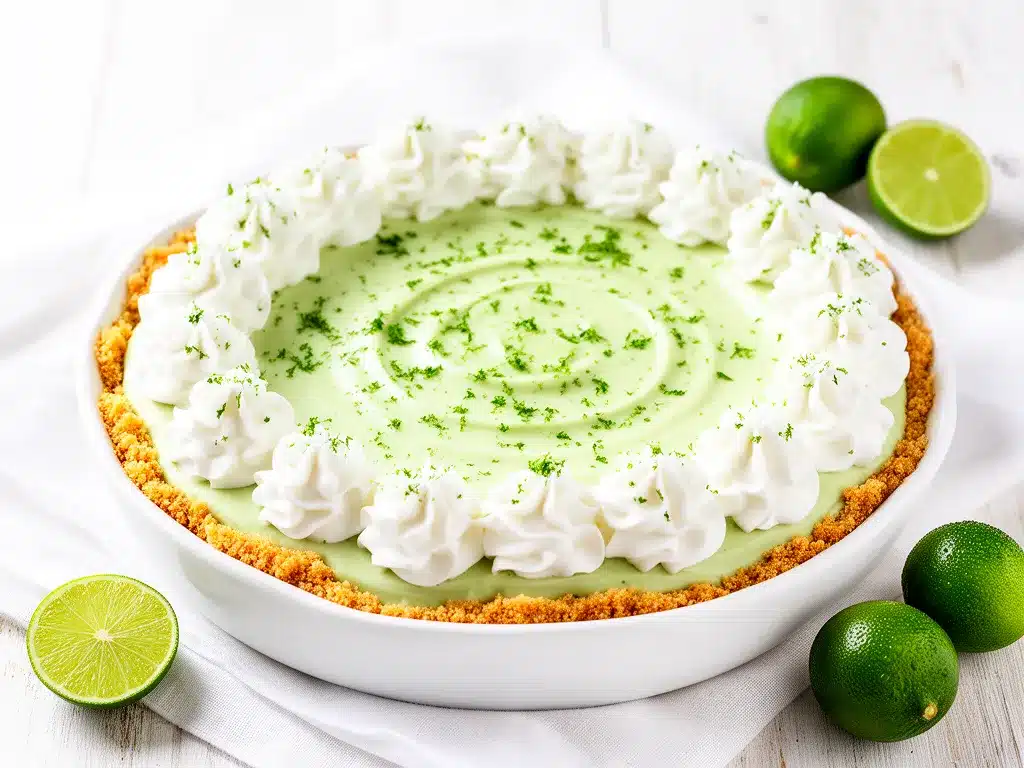
Alright, let’s make this no bake Key lime pie! I’m walking you through exactly how I do it, including the little tricks I picked up after a few imperfect pies.
Step 1: Make the Crust (10 minutes)
In a medium bowl, combine the graham cracker crumbs and melted butter. Stir until the crumbs are evenly coated and the mixture feels like wet sand. Press this mixture firmly into the bottom and up the sides of your pie dish. I use the back of a measuring cup to pack it down tight—this helps the crust hold together without baking. Pop it into the fridge while you make the filling so it firms up.
Step 2: Prepare the Filling Base (5 minutes)
In a large bowl, beat the softened cream cheese with an electric mixer until smooth and creamy. This step is key because any lumps will show up in the filling. Once smooth, gradually add the sweetened condensed milk while mixing on low speed. Scrape down the sides as needed. The mixture will be thick but silky.
Step 3: Add Lime Flavor (3 minutes)
Now stir in the fresh Key lime juice and lime zest. The mixture will start to thicken almost immediately—that’s the magic of the lime juice reacting with the dairy. Taste it here to check the balance of tartness. If you want it more tangy, add a bit more lime juice, but don’t overdo it or the filling might get too firm.
Step 4: Whip and Fold in the Cream (7 minutes)
In a separate bowl, whip the cold heavy cream with the granulated sugar until it forms soft peaks. This lightens the filling and gives it that creamy texture without heaviness. Gently fold the whipped cream into the lime mixture in two additions. Use a rubber spatula and fold carefully so you keep the airiness. The filling should look fluffy and smooth.
Step 5: Chill Until Set (4 hours or overnight)
Pour the filling into your chilled crust, smoothing the top with a spatula. Cover with plastic wrap and refrigerate for at least 4 hours, preferably overnight. This chilling time lets the filling firm up to a sliceable consistency. If you’re in a pinch, you can freeze it for an hour or two, but the texture is best with slow chilling.
Step 6: Serve and Enjoy!
Before serving, top the pie with freshly whipped cream and garnish with lime slices or berries if you like. Use a sharp knife dipped in hot water and wiped dry to get clean slices. This pie slices beautifully with no mess and no fuss.
Quick tip: Don’t rush the chilling step! I’ve learned that cutting the chilling time short results in a runny pie. Patience is key here.
Expert Tips & Tricks
Here’s everything I’ve learned from making this no bake Key lime pie dozens of times. These tips will save you from my early mistakes.
- Use fresh Key limes if you can find them. Their flavor is more complex and less bitter than regular limes.
- Soften cream cheese completely before mixing. I leave mine on the counter for about 30 minutes. Cold cream cheese leads to lumps and a gritty texture.
- Don’t overwhip the cream. Stop at soft peaks to keep the filling light and fold gently to avoid deflating it.
- Press the crust firmly. I use a flat-bottomed glass to pack the crumbs tightly. It prevents a crumbly crust that falls apart when serving.
- Store leftovers covered in the fridge. It keeps for up to 4 days and actually tastes better the next day once the flavors meld.
- Make ahead for parties. You can prepare the pie up to two days in advance. Just add fresh whipped cream before serving for the best look and taste.
Common mistake: skipping the lime zest. It adds a burst of fresh aroma that elevates the whole pie. Don’t skip it!
Variations & Substitutions
Once you’ve nailed the basic no bake Key lime pie, here’s how to mix it up a bit. I’ve tried all these and can vouch for their deliciousness.
- Coconut Crust: Swap the graham crackers for toasted shredded coconut mixed with crushed nuts. Press into the pan with butter for a tropical twist.
- Berry Lime: Add a layer of fresh raspberries or blueberries on top of the filling before chilling. The sweet-tart combo is irresistible.
- Ginger Snap Crust: Replace graham crackers with crushed ginger snap cookies for a subtle spicy note that pairs beautifully with lime.
- Dairy-Free Version: Use coconut cream whipped with a bit of powdered sugar and substitute cream cheese with a vegan cream cheese alternative. I’ve made this for a friend and it turned out surprisingly good.
- Lime and Mint: Add finely chopped fresh mint leaves to the filling for a refreshing herbal note.
Want to try something sweet and savory? Serve slices alongside a scoop of cheesy ham and cheddar quesadilla for a fun summer lunch combo that impresses guests.
Serving & Storage
I usually serve this no bake Key lime pie straight from the fridge, slicing it onto chilled plates. It’s perfect as a light finish to a summer meal. Here are some ways I like to enjoy it:
- With a dollop of freshly whipped cream and a sprinkle of lime zest on top.
- Alongside a simple green salad dressed with citrus vinaigrette for a balanced meal.
- Paired with a cold glass of iced tea or a crisp white wine like Sauvignon Blanc.
- For gatherings, set out extra lime slices and fresh berries so everyone can customize their slice.
Storage: Keep the pie covered in the fridge for up to 4 days. The filling firms up even more after chilling, so the texture only improves. When reheating leftovers (if you want them less cold), just let a slice sit at room temperature for 10 minutes or so.
Freezing? Not recommended. The creamy filling separates after thawing and gets watery. Trust me—I tried.
Nutrition Information
I’m not a nutritionist, but here’s a rough idea if you’re tracking your intake (per serving, based on 8 servings):
| Calories | 320 |
|---|---|
| Protein | 5g |
| Carbohydrates | 35g |
| Fiber | 1g |
| Sugar | 28g |
| Fat | 18g |
| Saturated Fat | 10g |
| Cholesterol | 50mg |
| Sodium | 150mg |
| Calcium | 150mg |
What’s good? The cream cheese and dairy provide calcium and protein, and the fresh lime juice adds vitamin C (though not a huge amount per slice). What to know? This is a treat with sugar and fat, so enjoy in moderation. If you want a lighter version, try swapping heavy cream for half-and-half and reducing the sugar in the whipped cream topping.
Final Thoughts
So that’s my go-to no bake Key lime pie with creamy tangy filling! I’ve probably talked your ear off by now, but making this pie so many times means I have strong opinions about what works—and what doesn’t. It saved me during hot summer days when I wanted dessert without heating up the kitchen or fussing over complicated steps.
This pie makes everyone happy—kids, adults, citrus lovers, and even those who usually avoid tart desserts. It’s light yet indulgent, simple yet impressive. Plus, it’s easy to customize with fresh berries or different crusts to keep things interesting.
Make it yours! Play with the lime amount, try different crusts, or add a splash of mint. The best recipes are the ones you adapt to your family’s tastes.
If you give this no bake Key lime pie a try, drop a comment and let me know how it turned out! I love hearing your kitchen stories—whether it’s a success or a funny fail, I’m here to help you troubleshoot.
Happy cooking! And I hope your kitchen smells half as good as mine does right now.
Frequently Asked Questions
Q: Can I use bottled lime juice instead of fresh Key limes?
A: You can, but the flavor won’t be as bright or fresh. Bottled juice often tastes a bit bitter or flat. If you must, use fresh regular lime juice rather than bottled, and add a little extra zest to boost the aroma.
Q: How do I prevent the filling from being too runny?
A: Make sure to use full-fat cream cheese and fresh lime juice. Also, don’t skip chilling for at least 4 hours—the filling needs that time to set properly. Overwhipping the cream can also make the filling too loose, so whip to soft peaks only.
Q: Can I make this pie gluten-free?
A: Absolutely! Use gluten-free graham cracker crumbs or substitute with crushed gluten-free cookies for the crust. The filling is naturally gluten-free.
Q: What’s the best way to get clean slices?
A: Dip your knife in hot water before slicing and wipe it clean between cuts. This helps the knife glide through the creamy filling without dragging.
Q: Can I prepare this pie a day ahead?
A: Yes! In fact, it’s better after chilling overnight because the flavors meld and the filling firms up nicely. Just add fresh whipped cream right before serving.
Q: How long does leftovers last?
A: Store leftovers covered in the fridge for up to 4 days. The pie keeps well and tastes great reheated to room temp.
Q: Is there an easy way to zest limes if I don’t have a microplane?
A: You can use the fine side of a box grater or a vegetable peeler to remove just the green part of the peel, then finely chop it. Avoid the white pith—it’s bitter.
Pin This Recipe!
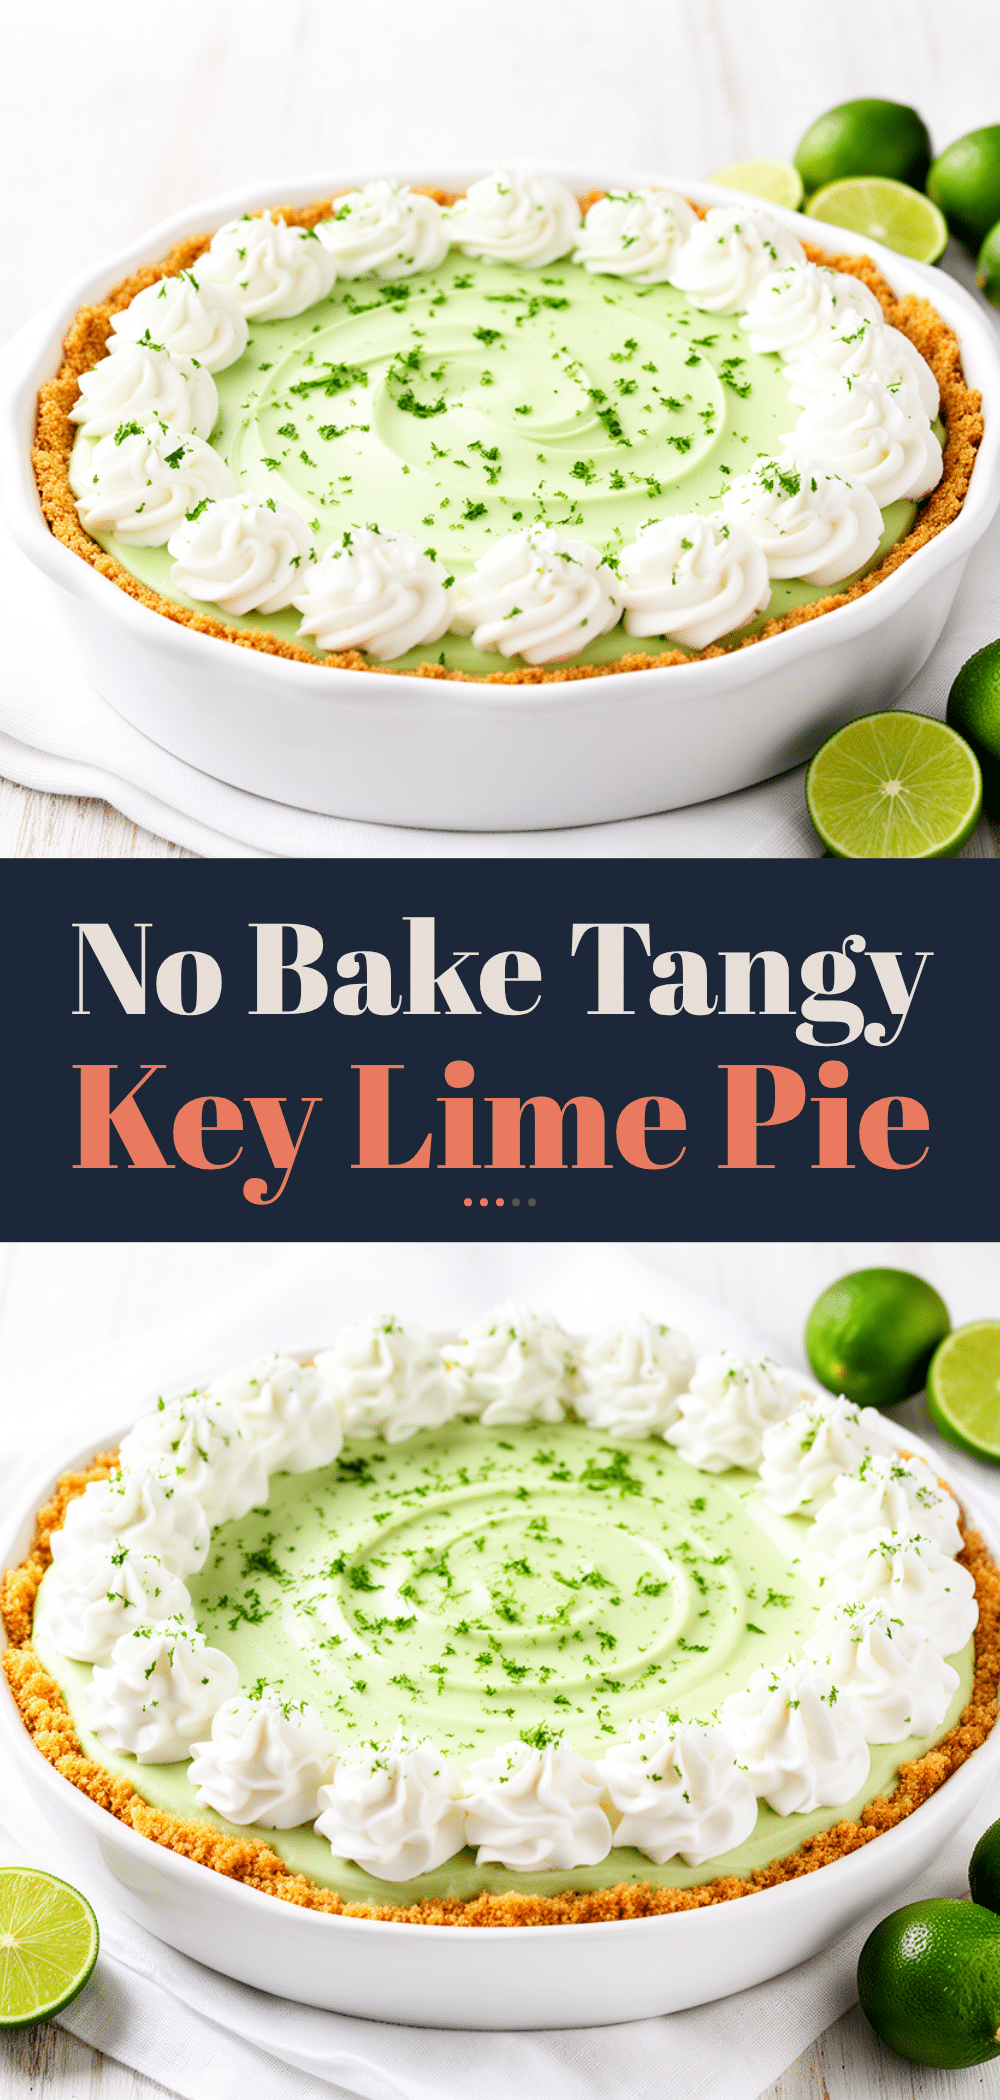
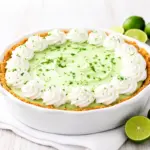
No Bake Key Lime Pie
- Total Time: 4 hours 20 minutes
- Yield: 8 servings 1x
Description
A creamy, tangy no bake Key lime pie with a smooth filling and a classic graham cracker crust, perfect for hot summer days and family gatherings.
Ingredients
- 1 ½ cups graham cracker crumbs (150g)
- 6 tablespoons unsalted butter, melted (85g)
- 8 ounces cream cheese, softened (225g, full-fat)
- 14 ounces sweetened condensed milk (396g)
- ¾ cup fresh Key lime juice (about 15–20 limes, 180ml)
- 1 tablespoon lime zest (6g)
- 1 cup heavy whipping cream, cold (240ml)
- 2 tablespoons granulated sugar (25g)
- Optional garnish: whipped cream, lime slices, fresh berries
Instructions
- Make the crust: In a medium bowl, combine graham cracker crumbs and melted butter. Stir until crumbs are evenly coated and mixture feels like wet sand. Press firmly into bottom and up sides of a 9-inch pie dish. Refrigerate to firm up.
- Prepare the filling base: Beat softened cream cheese with an electric mixer until smooth and creamy. Gradually add sweetened condensed milk while mixing on low speed. Scrape down sides as needed.
- Add lime flavor: Stir in fresh Key lime juice and lime zest. The mixture will thicken immediately. Taste and adjust lime juice if desired, but do not overdo.
- Whip and fold in cream: Whip cold heavy cream with granulated sugar until soft peaks form. Gently fold whipped cream into lime mixture in two additions using a rubber spatula to keep airiness.
- Chill until set: Pour filling into chilled crust and smooth top. Cover with plastic wrap and refrigerate for at least 4 hours or overnight until firm.
- Serve: Top with freshly whipped cream and garnish with lime slices or berries. Use a sharp knife dipped in hot water for clean slices.
Notes
Use fresh Key limes for best flavor. Soften cream cheese completely before mixing to avoid lumps. Do not overwhip cream; stop at soft peaks. Press crust firmly to prevent crumbling. Chill pie for at least 4 hours or overnight for best texture. Store leftovers covered in fridge up to 4 days. Avoid freezing as filling separates.
- Prep Time: 20 minutes
- Cook Time: 0 minutes
- Category: Dessert
- Cuisine: American
Nutrition
- Serving Size: 1 slice (1/8 of pie)
- Calories: 320
- Sugar: 28
- Sodium: 150
- Fat: 18
- Saturated Fat: 10
- Carbohydrates: 35
- Fiber: 1
- Protein: 5
Keywords: no bake, key lime pie, creamy, tangy, summer dessert, easy pie, graham cracker crust, lime zest, whipped cream