It was 5:05 PM on a Tuesday, and I was staring into the refrigerator like it held the secrets to the universe. It didn’t. It held half a jar of pickles, some sad spinach, and a stick of butter that had seen better days. My stomach was growling loud enough to wake the neighbors, and the thought of chopping vegetables or waiting forty minutes for a casserole to bake felt like a personal attack. I needed dinner. Now. But I also wanted it to taste like I’d actually tried.
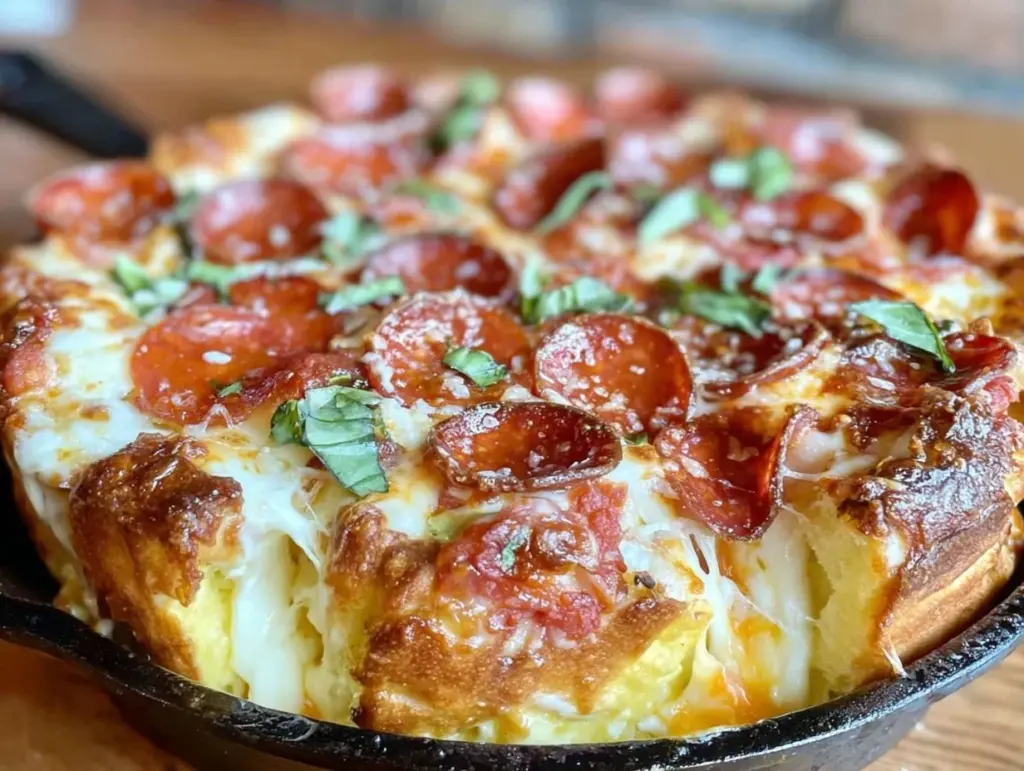
This is the exact moment I realized I had become a slave to takeout. But then, I remembered the cast iron skillet sitting in the corner of my pantry, gathering dust since that one time I tried to make cornbread in 2019. I grabbed it. I grabbed the dough. I grabbed whatever cheese and pepperoni I could find. Ten minutes later, I had a bubbling, cheesy, deep-dish masterpiece that smelled like comfort and victory.
I’ve made this Cast Iron Skillet Deep Dish Pizza with Pepperoni at least twenty times since that Tuesday. It’s not just dinner; it’s a 5pm dinner win. It’s the answer to “what’s for dinner” when your energy is at zero but your standards are high. There’s something deeply satisfying about pulling a hot, sizzling skillet out of the oven. It’s rustic, it’s messy in the best way, and it feeds my family without breaking the bank or my spirit.
If you’re tired of ordering overpriced pizza that arrives cold and soggy, or if you’re just looking for a weeknight meal that feels like a treat, you need to try this. It’s easier than you think. I’ve tested it with store-bought dough, homemade dough, and even thick crust bread, and the cast iron method works every single time. Let me show you how to make a pizza that looks like it came from a fancy Chicago joint but takes less effort than making a grilled cheese.
Why You’ll Love This Recipe
Look, I know what you’re thinking. “Deep dish? In a weeknight? That sounds like work.” But hear me out. This Cast Iron Skillet Deep Dish Pizza with Pepperoni is the ultimate cheat code for busy parents and lazy cooks. Here’s why it’s taking over our kitchen rotation:
One Pan, Zero Stress — Seriously. You mix the sauce in the bowl, press the dough in the pan, top it, and bake it. There are no separate pans for sauce, no separate trays for cheese. Just one skillet. When dinner is done, you have one dish to wash. That’s it. My husband thinks I’m a genius because of the cleanup alone.
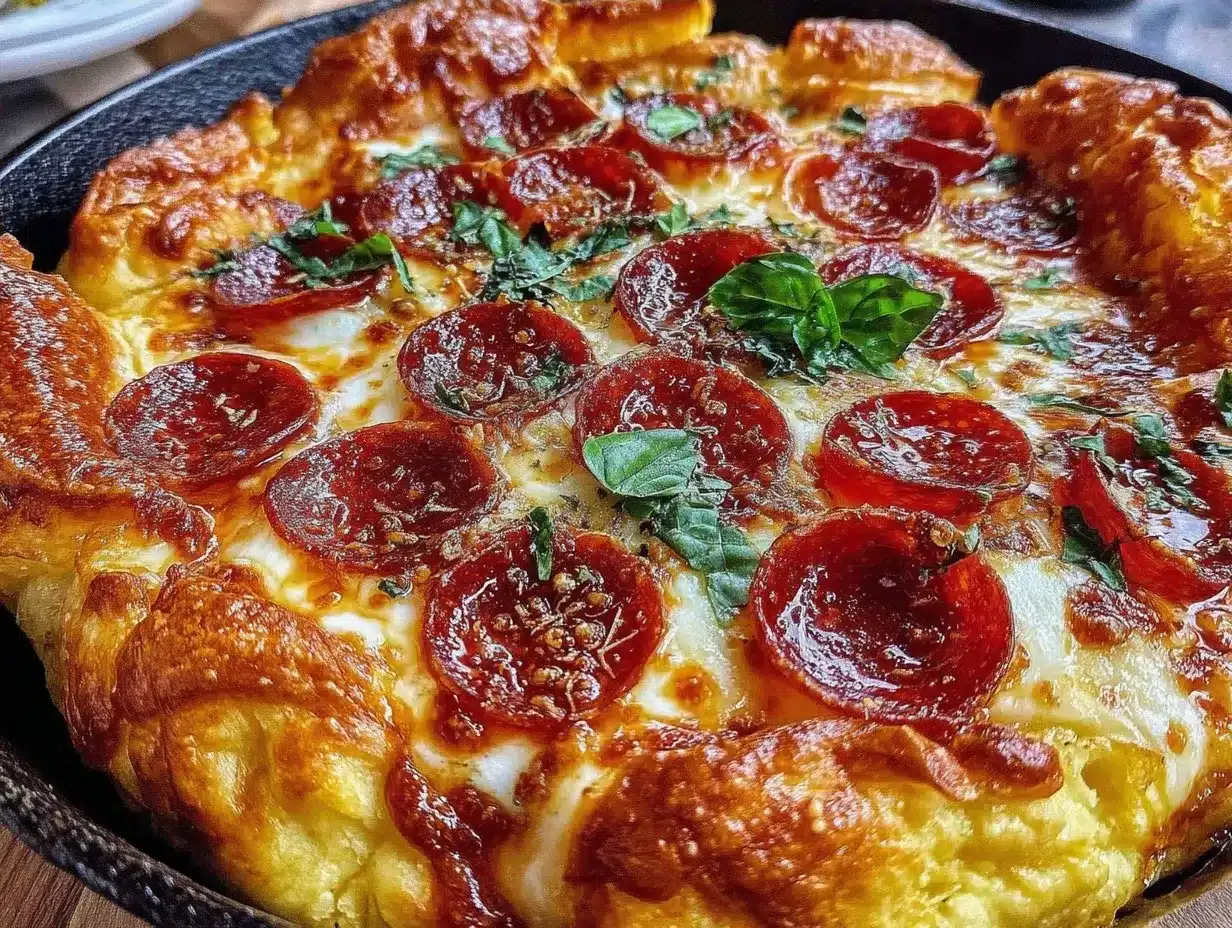
The Crust is Everything — There is nothing worse than thin, crispy crust when you want deep dish. The cast iron does the heavy lifting here. It conducts heat so well that the bottom gets perfectly golden and slightly crispy, while the inside stays thick, pillowy, and doughy. It’s the texture we crave. I’ve tried oven sheets and pizza stones, but nothing beats the edges you get in a skillet.
Speedy Prep — You can have this in the oven in under 15 minutes. I use store-bought dough because let’s be real, I’m tired. But even if you make your own, the press-and-bake method is fast. From fridge to table is about 30 minutes. That’s faster than waiting for a delivery driver who can’t find your address.
Customizable Chaos — This recipe is a blank canvas. Hate pepperoni? Put in leftover roast beef. Love mushrooms? Throw them on. This week it’s spicy sausage, next week it’s just cheese and basil. It’s your kitchen, your rules. I love that I can use up random veggies from the crisper drawer without wasting them.
Crowd-Pleasing Magic — My kids, who usually pick at everything, clear this plate. The cheese pull is real, and the savory pepperoni cups up in the edges. It feels like a party, even if it’s just us on a random Tuesday. It’s the kind of meal that makes everyone happy, which is basically the holy grail of parenting.
This is my go-to when I need dinner to just work. No complicated techniques, no weird ingredients, just reliable, delicious food that makes everyone happy. It’s comfort food in its purest form.
Ingredients You’ll Need
Here’s the best part: you probably have most of this already. This isn’t a recipe that requires a trip to three different specialty stores. It’s pantry-friendly, fridge-clearing goodness.
For the Dough
Pizza dough (1 pound / 450g) — I use store-bought balls from the refrigerated section. It’s consistent and saves time. If you’re feeling ambitious, my crispy baked chicken nuggets recipe uses a similar dough base, so you can use that leftover dough if you have it. Just let it come to room temperature for 20 minutes before pressing it into the pan. Cold dough fights you; room temp dough yields.
For the Sauce
Marinara sauce (1.5 cups / 360ml) — Don’t overthink this. A good jarred sauce like Rao’s or Prego works fine. I like to stir in a teaspoon of Italian seasoning and a pinch of red pepper flakes to wake it up. If you have homemade sauce, even better. I also love using a bit of the sauce from my pepperoni pizza lunchbox muffins for a similar flavor profile.
Garlic (2 cloves, minced) — Fresh is best. Jarred garlic has a metallic taste that doesn’t belong in a deep-dish pizza. Mince it fine so it distributes evenly.
For the Toppings
Low-moisture mozzarella cheese (2 cups / 200g, shredded) — This is non-negotiable. Do not use pre-shredded cheese from a bag if you can avoid it. It has potato starch that prevents it from melting smoothly. Buy a block and grate it yourself. It melts into gooey perfection. Also, avoid fresh mozzarella balls for this; they release too much water and make your pizza soup.
Pepperoni slices (1 package / about 100g) — The classic choice. Look for the cup-and-char type if you want those little crispy cups of grease. If you prefer less spice, use mild pepperoni. I usually buy the pre-sliced kind to save time.
Butter (2 tablespoons / 30g, melted) — Brush this on the edges of the dough before baking. It gives them that bakery-style golden brown color and adds a rich flavor. It’s a small step that makes a huge difference.
Parmesan cheese (¼ cup / 25g, grated) — Sprinkle this on top before baking for a salty, nutty kick. It adds depth that plain mozzarella can’t achieve on its own.
Optional Add-ins — Sliced black olives, chopped bell peppers, sliced mushrooms, or cooked Italian sausage. I often use up leftovers from my honey chipotle grilled chicken skewers by shredding the chicken and putting it on top. It’s a great way to repurpose dinner leftovers.
Equipment Needed
You don’t need fancy equipment for this. Here’s what I actually use. If you don’t have these exact items, you can substitute, but the cast iron is key.
10-inch or 12-inch Cast Iron Skillet — This is the star of the show. I use a Lodge 12-inch. It needs to be well-seasoned. If your skillet looks rusty or patchy, scrub it and re-season it. A good skillet lasts forever. If you don’t have cast iron, a heavy-bottomed oven-safe stainless steel skillet works, but you won’t get the same crust.
Baking Sheet — Place your cast iron skillet on a baking sheet before putting it in the oven. Cast iron is heavy and hot, and you don’t want to spill sauce on your oven rack. It also catches any drips if you overfill the pan. Safety first, mess later.
Pastry Brush — For brushing the butter on the edges. I use a silicone brush because it’s easy to clean. A regular basting brush works too.
Sharp Knife — For slicing the pizza after it’s baked. A pizza cutter is nice, but a sharp chef’s knife often gives cleaner cuts for thick crust.
Wooden Spoon or Spatula — For spreading the sauce. You need something sturdy to push the sauce into the corners of the pan.
Measuring Cups and Spoons — Standard stuff. I keep a set in my drawer. Dollar store versions work fine for this.
Colander — If you’re using fresh vegetables, you’ll need this to drain them. Wet veggies are the enemy of good pizza.
Grater — Box grater or microplane for the Parmesan. Or food processor if you’re grating lots of cheese.
Optional but nice:
– Instant-read thermometer — To check if the crust is done (aim for 200°F internal temp).
– Pizza peel — If you want to transfer it to a board for serving, but serving straight from the skillet is more authentic and easier.
How to Make It: Step-by-Step
Alright, let’s make this! I’m walking you through exactly how I do it, including the little tricks I’ve picked up over the years. It’s simpler than you think.
Step 1: Prep Your Oven and Pan (5 minutes)
Preheat your oven to 425°F (220°C). Place a baking sheet on the lower rack to catch any drips. Take your cast iron skillet and place it in the oven to heat up while the oven preheats. This helps the dough cook evenly from the bottom up. While that’s heating, take your pizza dough out of the fridge and let it sit on the counter for 15-20 minutes. Cold dough is hard to work with; room temp dough is a dream.
Step 2: Press the Dough (5 minutes)
Once the dough is soft, lightly flour your hands and the counter. Press the dough into the center of the heated skillet. Use your fingers to push it out towards the edges. Don’t worry about perfection; this is rustic. If the dough springs back, let it rest for a minute and try again. Push it all the way to the rim. You want a thick edge for that deep-dish feel. If you have leftover dough, you can make mini pizzas like my mini egg and cheese breakfast muffins, but for this, we’re going big.
Step 3: Add the Sauce (2 minutes)
Remove the skillet from the oven carefully (it’s hot!). Spoon the marinara sauce over the dough. Use the back of a spoon to spread it evenly, leaving a small border for the crust. Don’t overload it with sauce, or the bottom will get soggy. I like to leave a little gap around the edge for the butter brush later.
Step 4: Load Up the Cheese (2 minutes)
Spread the shredded mozzarella evenly over the sauce. Go heavy on the cheese; that’s the point. Sprinkle the grated Parmesan on top. If you’re adding other toppings like pepperoni, mushrooms, or olives, add them now. Distribute them evenly so every bite has flavor.
Step 5: Brush and Bake (25-30 minutes)
Brush the melted butter along the exposed edges of the dough. This is the secret to that golden, bakery-style crust. Place the skillet back on the baking sheet in the oven. Bake for 25-30 minutes. You’re looking for a golden brown crust and bubbling cheese. The pepperoni should be slightly curled and crispy at the edges.
Step 6: Cool and Slice (5 minutes)
Remove the skillet from the oven and let it cool for 5 minutes. This is crucial. If you cut it immediately, the cheese will slide off and it will be molten lava. Letting it sit allows the cheese to set slightly and makes it easier to slice. Serve it straight from the skillet. It’s rustic, it’s hot, and it’s perfect.
Total Time: About 45 minutes (15 minutes active, 30 minutes baking)
Built-in Troubleshooting:
- Crust is soggy: You used too much sauce or wet toppings. Next time, use less sauce or pre-cook vegetables like mushrooms.
- Bottom isn’t crispy: Your oven wasn’t hot enough or you didn’t preheat the skillet. Make sure your oven is fully preheated and the skillet is hot before adding dough.
- Top is burning but bottom is raw: Move the baking sheet to a lower rack. The cast iron conducts heat well, so it might be cooking too fast on the bottom.
Expert Tips & Tricks
Here’s everything I’ve learned from making this dozens of times. These tips will save you from my mistakes.
Room Temperature Dough is Key
Cold dough fights you. It shrinks back when you try to press it. Give it 20 minutes on the counter. If you’re in a rush, you can microwave it for 10 seconds, but don’t cook it. Just warm it up.
Don’t Skip the Butter Brush
It sounds like a small step, but it makes the crust taste amazing. It adds richness and helps it brown evenly. I use unsalted butter so I can control the salt.
Grate Your Own Cheese
Pre-shredded cheese has anti-caking agents that stop it from melting properly. You’ll end up with clumps instead of goo. Grate a block of mozzarella—it takes 2 minutes and makes a huge difference.
Use Low-Moisture Mozzarella
Fresh mozzarella is delicious but watery. For deep dish, you want low-moisture, part-skim mozzarella. It melts better and doesn’t make the pizza soggy.
Let It Rest
I know it’s hard to wait, but let the pizza cool for 5 minutes after baking. This allows the cheese to set and makes slicing much cleaner. Hot pizza is delicious, but messy pizza is frustrating.
Customize Your Sauce
If you want extra flavor, stir a teaspoon of garlic powder, onion powder, and red pepper flakes into your jarred sauce. It elevates it from basic to gourmet without much effort.
Don’t Overload Toppings
It’s tempting to pile on everything, but too many toppings can weigh down the dough and prevent it from cooking through. Keep it balanced. Less is more.
Check the Bottom
Lift the edge with a spatula to check the bottom crust. It should be golden brown. If it’s pale, bake for another 2-3 minutes. The cast iron holds heat well, so it will crisp up quickly.
Variations & Substitutions
Once you’ve nailed the basic version, here’s how you can mix it up. I’ve tried all of these.
Vegetarian Delight
Skip the pepperoni and add sliced bell peppers, mushrooms, onions, and black olives. I often use veggies from my loaded bacon ranch potato salad prep, but roasted veggies work best to avoid moisture. Add a drizzle of balsamic glaze after baking for extra flavor.
BBQ Chicken
Replace the marinara with BBQ sauce. Add shredded cooked chicken and red onions. Top with cilantro after baking. It’s a completely different vibe but just as delicious.
Hawaiian
Add ham and pineapple chunks. It’s controversial, but I love it. The sweetness of the pineapple balances the salty ham perfectly. Add jalapeños for a kick.
White Pizza
Skip the tomato sauce entirely. Use a base of ricotta cheese mixed with garlic and herbs. Top with mozzarella, spinach, and mushrooms. It’s rich and creamy.
Breakfast Pizza
Use a base of scrambled eggs and cheese. Add bacon bits and chives. Top with a fried egg after baking. It’s a fun way to use up leftover bacon.
Dietary Modifications:
– Gluten-Free: Use a gluten-free pizza dough. It can be trickier to press, so use parchment paper to help.
– Dairy-Free: Use dairy-free cheese and butter. It’s not quite the same, but it works.
– Low-Carb: Use a cauliflower crust or almond flour crust. It changes the texture but keeps it light.
Serving & Storage
How to Serve:
I usually serve this straight from the skillet at the dinner table—it looks rustic and stays warm. But here are other ways I’ve enjoyed it:
Side Dishes:
– A simple green salad with balsamic vinaigrette to cut the richness.
– Garlic bread (obviously, but maybe skip if you’re already having pizza crust).
– Roasted broccoli or green beans.
Wine Pairing:
Not a wine expert, but my wine-snob friend says a bold red like Cabernet Sauvignon or a crisp Pinot Grigio works great with this.
Storage Instructions:
Store leftovers in an airtight container in the refrigerator for up to 3 days. The crust will soften, which is normal. Reheat in a skillet over medium heat to crisp up the bottom, or in the oven at 350°F for 10 minutes. Microwave heating is possible but makes the crust chewy. I prefer the skillet method for the best texture.
Freezing:
You can freeze unbaked pizza for up to 3 months. Press the dough, add sauce and cheese (but not fresh toppings), and wrap tightly in plastic wrap and foil. Thaw in the fridge overnight before baking. Baked pizza freezes well too, but the texture changes slightly. Reheat in the oven for best results.
Nutrition Information
I’m not a nutritionist, but here’s the breakdown if you’re tracking. This is per slice (assuming 8 slices).
Per Serving:
– Calories: 450
– Protein: 18g
– Carbs: 42g
– Fiber: 2g
– Sugar: 6g
– Fat: 22g
– Saturated Fat: 10g
– Cholesterol: 45mg
– Sodium: 650mg
What’s Good:
– Decent protein from cheese and pepperoni.
– Calcium from the cheese.
– Can add vegetables to boost nutrition.
What to Know:
– Higher in calories from cheese and crust.
– Contains dairy and gluten.
– Moderate sodium (use low-sodium pepperoni to reduce).
My Take:
Look, this is comfort food with cheese and pepperoni. It’s not a diet recipe. But it’s way better than takeout, costs less, and I know exactly what’s in it. When I want to make it lighter, I use less cheese and add more veggies. But usually? I just eat a reasonable portion and enjoy it.
Final Thoughts
So that’s my Cast Iron Skillet Deep Dish Pizza with Pepperoni! I’ve probably talked your ear off at this point, but when you make a recipe this often, you have a lot to say about it.
This has saved weeknight dinners more times than I can count. It’s my answer to “what’s for dinner” when I’m tired, don’t want takeout, and still want something that tastes really good. My kids are happy, my husband’s happy, and I’m happy because I’m not stressed about cooking.
Make it yours! Try different add-ins, swap in your favorite vegetables, adjust the pepperoni (though more is always better in my opinion). The best recipes are the ones you adapt to your family’s tastes.
If you make this, drop a comment and let me know what you think! I love hearing how recipes turn out in your kitchen. And if something doesn’t work, tell me that too—I’m here to help troubleshoot.
Happy cooking! And I hope your kitchen smells half as good as mine does right now.
Frequently Asked Questions
Can I use homemade dough?
Absolutely! Homemade dough is delicious. Just make sure it’s at room temperature before pressing it into the pan. If it’s too cold, it will shrink back. Let it rest for 20-30 minutes before using.
Why did my crust get soggy?
This usually happens if you use too much sauce or wet toppings. Use a moderate amount of sauce, and if you’re adding vegetables, pre-cook them to remove excess moisture. Also, make sure your skillet is preheated to help crisp the bottom.
Can I freeze this pizza?
Yes, you can freeze unbaked pizza for up to 3 months. Wrap it tightly in plastic wrap and foil. Thaw in the fridge overnight before baking. Baked pizza also freezes well, but the texture may change slightly. Reheat in the oven for best results.
What cheese is best for deep dish pizza?
Low-moisture, part-skim mozzarella is the best choice. It melts smoothly and doesn’t release too much water. Avoid fresh mozzarella balls for this recipe, as they can make the pizza soggy.
Can I make this without a cast iron skillet?
You can use a heavy-bottomed oven-safe skillet, but cast iron is best for its heat retention. If you don’t have an oven-safe skillet, you can press the dough into a pie dish or baking pan, but the crust won’t be as crispy.
How do I reheat leftovers?
Reheat in a skillet over medium heat to crisp up the bottom, or in the oven at 350°F for 10 minutes. Microwave heating is possible but makes the crust chewy. I prefer the skillet method for the best texture.
Can I add other toppings?
Of course! Get creative. Try adding mushrooms, onions, bell peppers, olives, or cooked sausage. Just be mindful of moisture content. Wet toppings can make the crust soggy, so pre-cook them if needed.
Pin This Recipe!
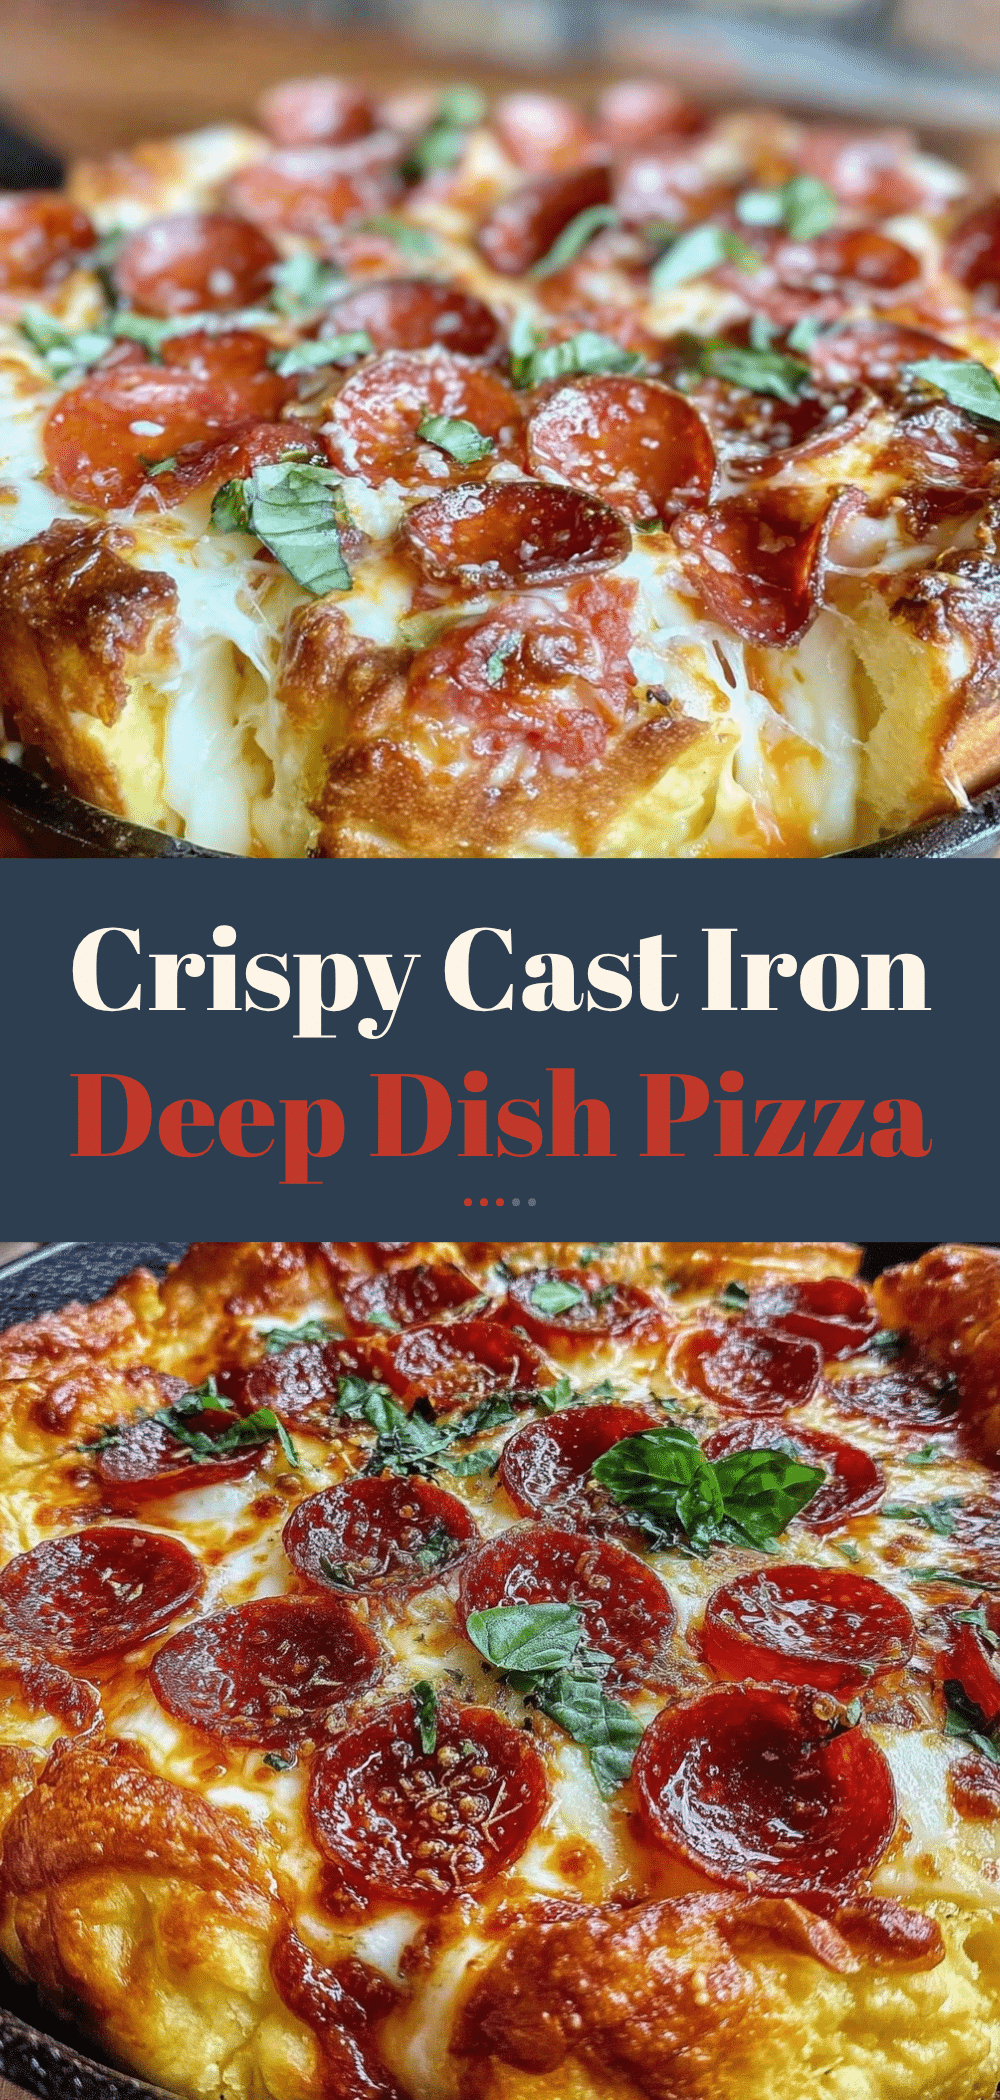

Cast Iron Skillet Deep Dish Pizza with Pepperoni
- Total Time: 45 minutes
- Yield: 8 servings 1x
Description
A quick and easy weeknight deep-dish pizza made in a cast iron skillet. This recipe yields a golden, crispy crust and gooey cheese, perfect for busy families looking for a comforting meal that takes less than 45 minutes.
Ingredients
- 1 pound pizza dough (store-bought or homemade, brought to room temperature)
- 1.5 cups marinara sauce
- 1 teaspoon Italian seasoning
- Pinch of red pepper flakes
- 2 cloves garlic, minced
- 2 cups low-moisture mozzarella cheese, shredded
- 1 package pepperoni slices (about 100g)
- 2 tablespoons unsalted butter, melted
- 1/4 cup Parmesan cheese, grated
- Optional: Sliced black olives, chopped bell peppers, sliced mushrooms, or cooked Italian sausage
Instructions
- Preheat oven to 425°F (220°C). Place a baking sheet on the lower rack.
- Place a 10-inch or 12-inch cast iron skillet in the oven to heat up while the oven preheats.
- Let pizza dough sit at room temperature for 15-20 minutes until soft.
- Lightly flour hands and counter. Press dough into the center of the hot skillet, pushing it out to the edges to create a thick rim.
- Carefully remove the hot skillet from the oven. Spoon marinara sauce over the dough, spreading it evenly but leaving a small border for the crust.
- Sprinkle minced garlic over the sauce.
- Spread shredded mozzarella cheese evenly over the sauce, followed by grated Parmesan.
- Add pepperoni and any other desired toppings.
- Brush melted butter along the exposed edges of the dough.
- Place the skillet back on the baking sheet in the oven.
- Bake for 25-30 minutes until the crust is golden brown and cheese is bubbling.
- Remove from oven and let cool for 5 minutes before slicing to allow cheese to set.
- Serve straight from the skillet.
Notes
Use low-moisture mozzarella to prevent a soggy pizza. Do not use pre-shredded cheese as it contains anti-caking agents that hinder melting. Let the pizza rest for 5 minutes after baking to make slicing easier. If the crust is soggy, use less sauce or pre-cook wet vegetables. If the bottom isn’t crispy, ensure the skillet was preheated.
- Prep Time: 15 minutes
- Cook Time: 30 minutes
- Category: Main Course
- Cuisine: American
Nutrition
- Serving Size: 1 slice (1/8 of pizz
- Calories: 450
- Sugar: 6
- Sodium: 650
- Fat: 22
- Saturated Fat: 10
- Carbohydrates: 42
- Fiber: 2
- Protein: 18
Keywords: deep dish pizza, cast iron pizza, weeknight dinner, easy pizza recipe, pepperoni pizza, family dinner, comfort food