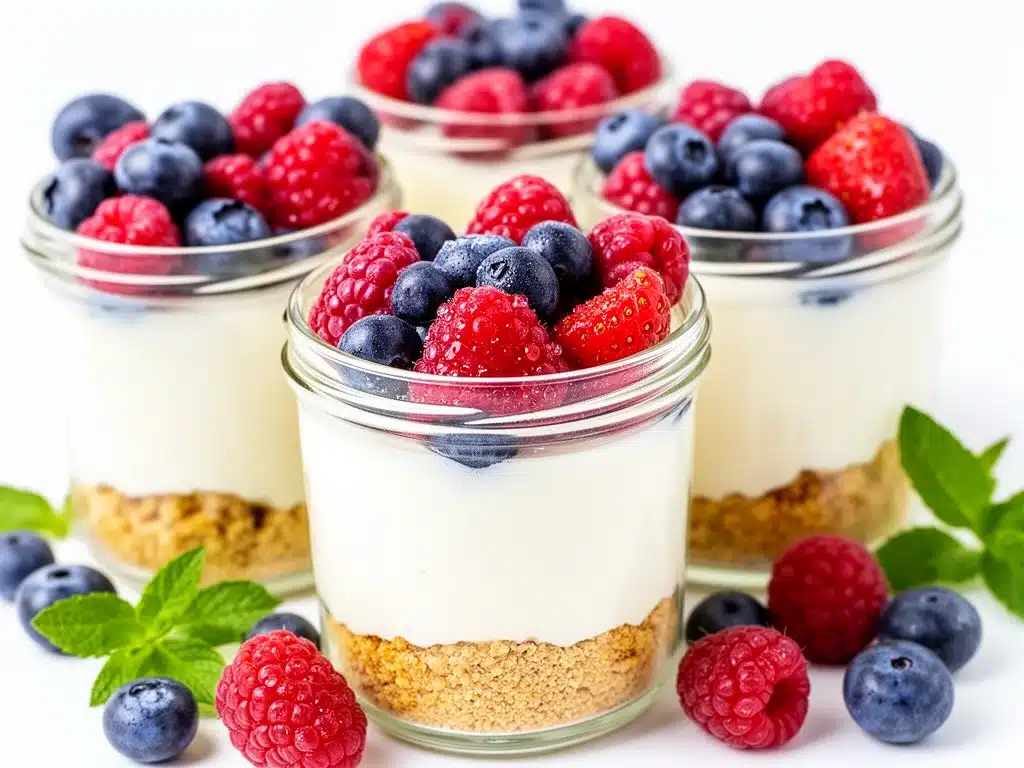
One chilly Sunday afternoon, I found myself craving something sweet but didn’t want to spend hours in the kitchen or heat up the whole house with the oven. That’s when I stumbled on this idea of no bake mini berry cheesecake jars. It started as a little experiment with whatever I had on hand—cream cheese, some berries, and a handful of pantry staples—and turned into a full-on obsession. I’ve made these jars at least a dozen times since, especially for last-minute guests or when I just want a fuss-free dessert that looks fancy but takes almost no effort.
What I love most about these no bake mini berry cheesecake jars with simple ingredients is how perfectly portioned they are. No slicing, no messy plates—just grab a jar, spoon it out, and enjoy. If you’ve been intimidated by cheesecake because of the baking or complicated ingredient lists, this recipe is going to change your mind. It’s creamy, tangy, lightly sweetened, and topped with fresh berries that add a little pop of color and brightness.
After testing this recipe over and over (and sharing it with friends who immediately asked for the recipe), I finally nailed the balance between the silky cheesecake filling and the crunchy crust at the bottom. Bonus: these jars travel well if you want to bring dessert to a picnic or a potluck. Trust me, once you try these, they’ll become your go-to quick dessert.
Why You’ll Love This Recipe
This recipe has totally changed my approach to dessert, especially when I don’t have a ton of time or fancy ingredients.
- Simple Ingredients — You don’t need anything exotic here. Cream cheese, berries, a little sugar, and some basic pantry staples. I always have these on hand, which means no last-minute grocery runs.
- No Oven Needed — Seriously, no baking involved. That means no waiting around, no worrying if the cheesecake is undercooked or cracked, and no heating up the kitchen in summer.
- Perfect Portions — These mini jars are just the right size for satisfying a sweet tooth without going overboard. Plus, they look super cute and fancy—great for impressing guests.
- Make-Ahead Friendly — I often prepare these the night before or early in the day. They chill in the fridge and taste even better once the flavors meld.
- Customizable — You can swap out the berries for whatever’s fresh or frozen—blueberries, raspberries, strawberries, or even a mix. I’ve even experimented with adding a little lemon zest for a fresh twist.
Honestly, these jars have saved me more times than I can count when I needed dessert fast but still wanted it to feel special. They’re also a hit with kids and grown-ups alike, which is always a win in my book.
Ingredients You’ll Need
Here’s the great part: most of these ingredients are probably already in your kitchen. I’m pretty picky about my crust and filling balance, so I’ll explain exactly why each item matters.
- Graham Crackers or Digestive Biscuits (1 ½ cups / 150g, crushed) — This is the base of your crust. I like using graham crackers for that classic sweet crunch, but digestive biscuits work just as well. You want them finely crushed so they pack down nicely in the jars.
- Unsalted Butter (5 tablespoons / 70g, melted) — Butter binds the crust together. I use unsalted so I can control the saltiness. Make sure it’s melted but not hot when mixing with crumbs.
- Cream Cheese (8 ounces / 225g, softened) — The star of the show. Use full-fat cream cheese for the creamiest texture. I leave mine out for about 30 minutes before mixing to get that perfect smoothness.
- Powdered Sugar (⅓ cup / 40g) — Finely powdered sugar dissolves easily and keeps the filling silky smooth. You can adjust sweetness to taste, but don’t skip it.
- Vanilla Extract (1 teaspoon) — Adds a subtle warmth that rounds out the cream cheese flavor. Pure vanilla extract is worth the small splurge here.
- Heavy Whipping Cream (⅔ cup / 160ml) — Whipped until soft peaks form, this lightens up the cream cheese and makes the filling fluffy. Full-fat cream works best.
- Fresh Mixed Berries (1 ½ cups / 225g) — I use a mix of blueberries, raspberries, and sliced strawberries for color and flavor variety. Frozen berries can work in a pinch, just thaw and drain excess liquid.
- Lemon Zest (optional, zest of ½ lemon) — I like adding this for a fresh zing that cuts through the richness, but it’s totally optional.
If you want to experiment, you can swap the crust crumbs for crushed cookies like fudgy brookies for an indulgent twist. Or, if you’re looking for a quick snack combo, these jars pair surprisingly well with some savory bites like turkey and cheese kabobs for a balanced treat.
Equipment Needed
You don’t need anything fancy to make these cheesecake jars. Here’s what I actually use:
- Mixing Bowls — One for the crust mixture and one for the filling. Glass or metal works fine.
- Electric Mixer or Hand Whisk — I use a handheld electric mixer to get soft peaks in the cream quickly, but a vigorous hand whisk works if you’re up for a little arm workout.
- Measuring Cups and Spoons — For accuracy, especially with sugar and vanilla.
- Mini Glass Jars or Small Dessert Cups — I like using 4-ounce (120ml) jars because they’re the perfect portion size and look adorable on the table. Mason jars or any small clear containers will do.
- Spoon or Small Offset Spatula — To layer and smooth the filling in the jars.
- Food Processor or Plastic Bag and Rolling Pin — For crushing the graham crackers or cookies. If you don’t have one, just place the crumbs in a ziplock and crush with a rolling pin or heavy pan.
How to Make It: Step-by-Step
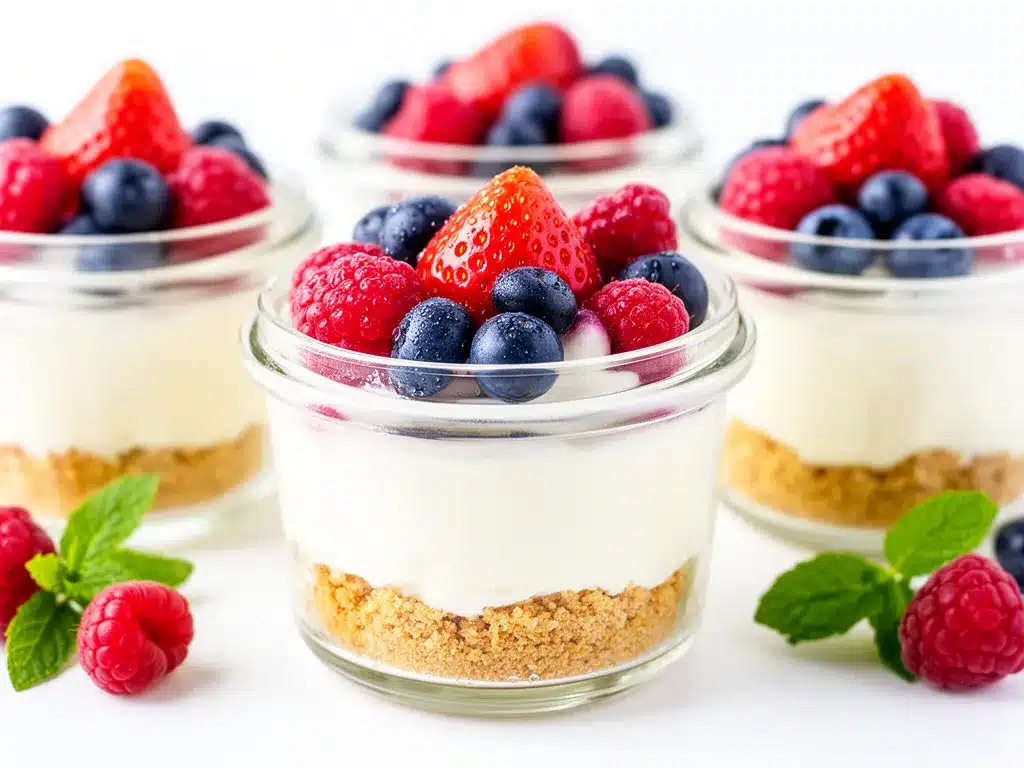
Alright, let’s make these no bake mini berry cheesecake jars with simple ingredients! I’m walking you through every step, including little tips I’ve picked up along the way.
Step 1: Crush the Graham Crackers and Make the Crust (5 minutes)
Start by crushing your graham crackers into fine crumbs. I usually pulse mine a few times in a food processor, but if you don’t have one, pop them in a plastic bag and bash with a rolling pin. Pour the crumbs into a bowl and mix with the melted butter until the texture feels like wet sand.
Divide the crust mixture evenly among your jars (about 2 tablespoons per jar). Press down firmly with the back of a spoon or your fingers to compact it. This helps the crust hold together nicely. Pop the jars in the fridge while you make the filling.
Step 2: Make the Cream Cheese Filling (10 minutes)
In a mixing bowl, beat the softened cream cheese and powdered sugar together until smooth and creamy. Add the vanilla extract and lemon zest if using, and mix well. In a separate bowl, whip the heavy cream until soft peaks form. This means when you lift the whisk, the cream holds gentle peaks but isn’t stiff.
Gently fold the whipped cream into the cream cheese mixture using a spatula, careful not to deflate the air you just whipped in. The filling should be light, fluffy, and smooth—perfectly spreadable but still thick.
Step 3: Assemble the Jars (5 minutes)
Take your jars out of the fridge. Spoon or pipe a generous layer of the cream cheese filling over the crust in each jar, filling it almost to the top but leaving a little room for berries.
Top with a mix of fresh berries. I like to layer them on thick so you get a burst of fruit in every bite. If you want to get fancy, add a small sprig of mint or an extra sprinkle of lemon zest.
Step 4: Chill and Serve (At least 2 hours)
Cover the jars with lids or plastic wrap and place them in the fridge for at least 2 hours to set. Overnight is even better if you have the time. The chilling lets the crust firm up and the flavors meld together beautifully.
When you’re ready to serve, take them out of the fridge and enjoy straight from the jar with a small spoon. The creamy filling paired with the crunchy crust and juicy berries is an absolute dream.
Expert Tips & Tricks
Here’s everything I’ve learned from making these no bake mini berry cheesecake jars dozens of times. These tips will save you from my early mistakes:
- Don’t Skip Chilling — The filling needs at least 2 hours to set properly. I’ve tried serving it sooner, and it just falls apart.
- Softened Cream Cheese is Key — Cold cream cheese makes the filling lumpy. Let it come to room temperature for 30 minutes before mixing.
- Use Powdered Sugar, Not Granulated — It dissolves completely, keeping your filling silky smooth without any graininess.
- Press the Crust Firmly — Don’t just sprinkle the crust; press it down so it holds together when you eat it. I use the bottom of a small glass to press evenly.
- Whip Cream to Soft Peaks — Over-whipping can turn the cream grainy or buttery. Stop when it holds soft peaks but still looks light.
- Add Lemon Zest — If you want a fresh, bright twist, lemon zest adds a subtle zing that balances the sweetness.
Common mistakes I’ve seen (and how to fix them):
- Crust is soggy: Make sure you don’t add too much butter. The crust should hold together but not be greasy.
- Filling too runny: Whip the cream properly and fold gently. Also, ensure cream cheese is softened but not melted.
- Berries watery: Pat fresh berries dry before adding. If using frozen, thaw and drain well.
Variations & Substitutions
Once you’ve nailed the basic no bake mini berry cheesecake jars, here’s how you can mix it up:
- Chocolate Twist — Add 2 tablespoons of melted dark chocolate to the cream cheese mixture before folding in whipped cream. Top with chocolate shavings or cocoa nibs.
- Tropical Flavor — Swap berries for diced mango and pineapple. Add a teaspoon of shredded coconut to the crust.
- Nutty Crust — Replace half the graham crackers with finely chopped toasted almonds or pecans for extra crunch and flavor.
- Berry Jam Layer — Spread a thin layer of your favorite berry jam on the crust before adding the cream cheese filling for an extra burst of fruitiness.
- Vegan Version — Use vegan cream cheese and coconut cream whipped to soft peaks. Use dairy-free butter or coconut oil for the crust.
Since these jars are perfect for quick treats, I often pair them with savory snacks like cheesy ham and cheddar quesadillas for a balanced party spread.
Serving & Storage
How to Serve: I usually serve these mini cheesecakes straight from their jars at parties or family dinners. They’re perfect for portion control and look charming on the table. If you want to get fancy, add a sprig of fresh mint or a dusting of powdered sugar just before serving.
Side Suggestions:
- Simple fresh fruit salad
- Lightly toasted nuts
- Fresh mint leaves or edible flowers for garnish
Storage: Store these jars tightly covered in the fridge for up to 4 days. The crust will soften slightly over time but still tastes great.
Reheating: These are best served cold, so no reheating needed. Just take them out of the fridge 10 minutes before eating to soften slightly.
Freezing: I don’t recommend freezing these jars—the texture of the cream cheese filling changes and becomes grainy.
If you want to prep in advance, make the crust and filling separately, then assemble jars a few hours before serving. This keeps the crust crisper.
Nutrition Information
I’m not a nutritionist, but here’s a rough idea based on 6 servings:
| Calories | 320 |
|---|---|
| Protein | 6g |
| Carbohydrates | 28g |
| Fiber | 2g |
| Sugar | 18g |
| Fat | 20g |
| Saturated Fat | 12g |
| Cholesterol | 55mg |
| Sodium | 180mg |
| Calcium | 120mg |
What’s good: decent protein and calcium from the cream cheese, plus fiber and antioxidants from fresh berries. What to know: this is a richer treat due to cream and butter, so I enjoy it in moderation. You can lighten it by swapping heavy cream for whipped coconut cream or using less butter in the crust.
Final Thoughts
So that’s my favorite no bake mini berry cheesecake jars with simple ingredients! I promise I could talk your ear off about these, but the real joy is in making them and seeing how quickly they disappear.
This recipe has saved me from last-minute dessert panics, heatwaves when the oven feels unbearable, and even those times when I just want something sweet but don’t want to overcomplicate things. It’s simple, reliable, and always a crowd-pleaser.
Most importantly, make it your own! Swap the berries for your favorites, add a little extra vanilla if you like, or try one of the variations. If you give these a try, drop a comment and let me know how they turn out (or if you added a secret ingredient I need to try!).
Happy dessert making! I hope your kitchen smells as sweet and cozy as mine does right now.
Frequently Asked Questions
Q: Can I use regular sugar instead of powdered sugar?
A: You can, but powdered sugar dissolves better and gives a smoother filling. If you only have granulated sugar, try blending it for a few seconds in a spice grinder or blender to powder it first. Otherwise, you might notice a slightly grainy texture.
Q: How long do these cheesecake jars last in the fridge?
A: They keep well for up to 4 days in the fridge when covered. After that, the crust starts to soften too much, and the texture changes. If you want to prep ahead, assemble close to serving time.
Q: Can I make these without berries?
A: Absolutely! You can top with any fresh fruit you like—sliced peaches, kiwi, or even a drizzle of chocolate or caramel sauce. I love the berries because they add color and freshness, but it’s your dessert to customize.
Q: What if my cream cheese is too cold and lumpy?
A: Let it sit at room temperature for 30 minutes before mixing to soften. If you’re in a hurry, microwave it in 10-second bursts (checking often) until just soft but not melted.
Q: Can I double this recipe?
A: Definitely! Just double all ingredients and use larger jars or more mini jars. The assembly process stays the same, just plan for extra chilling space.
Q: Are these jars suitable for kids?
A: Yes! Kids love the sweet, creamy texture and the fun individual portions. Just watch the sugar if you want to reduce it for younger kids.
Q: Can I substitute the crust with gluten-free options?
A: Yes, use gluten-free graham crackers or gluten-free cookies crushed finely for the crust. The rest of the recipe is naturally gluten-free.
Pin This Recipe!
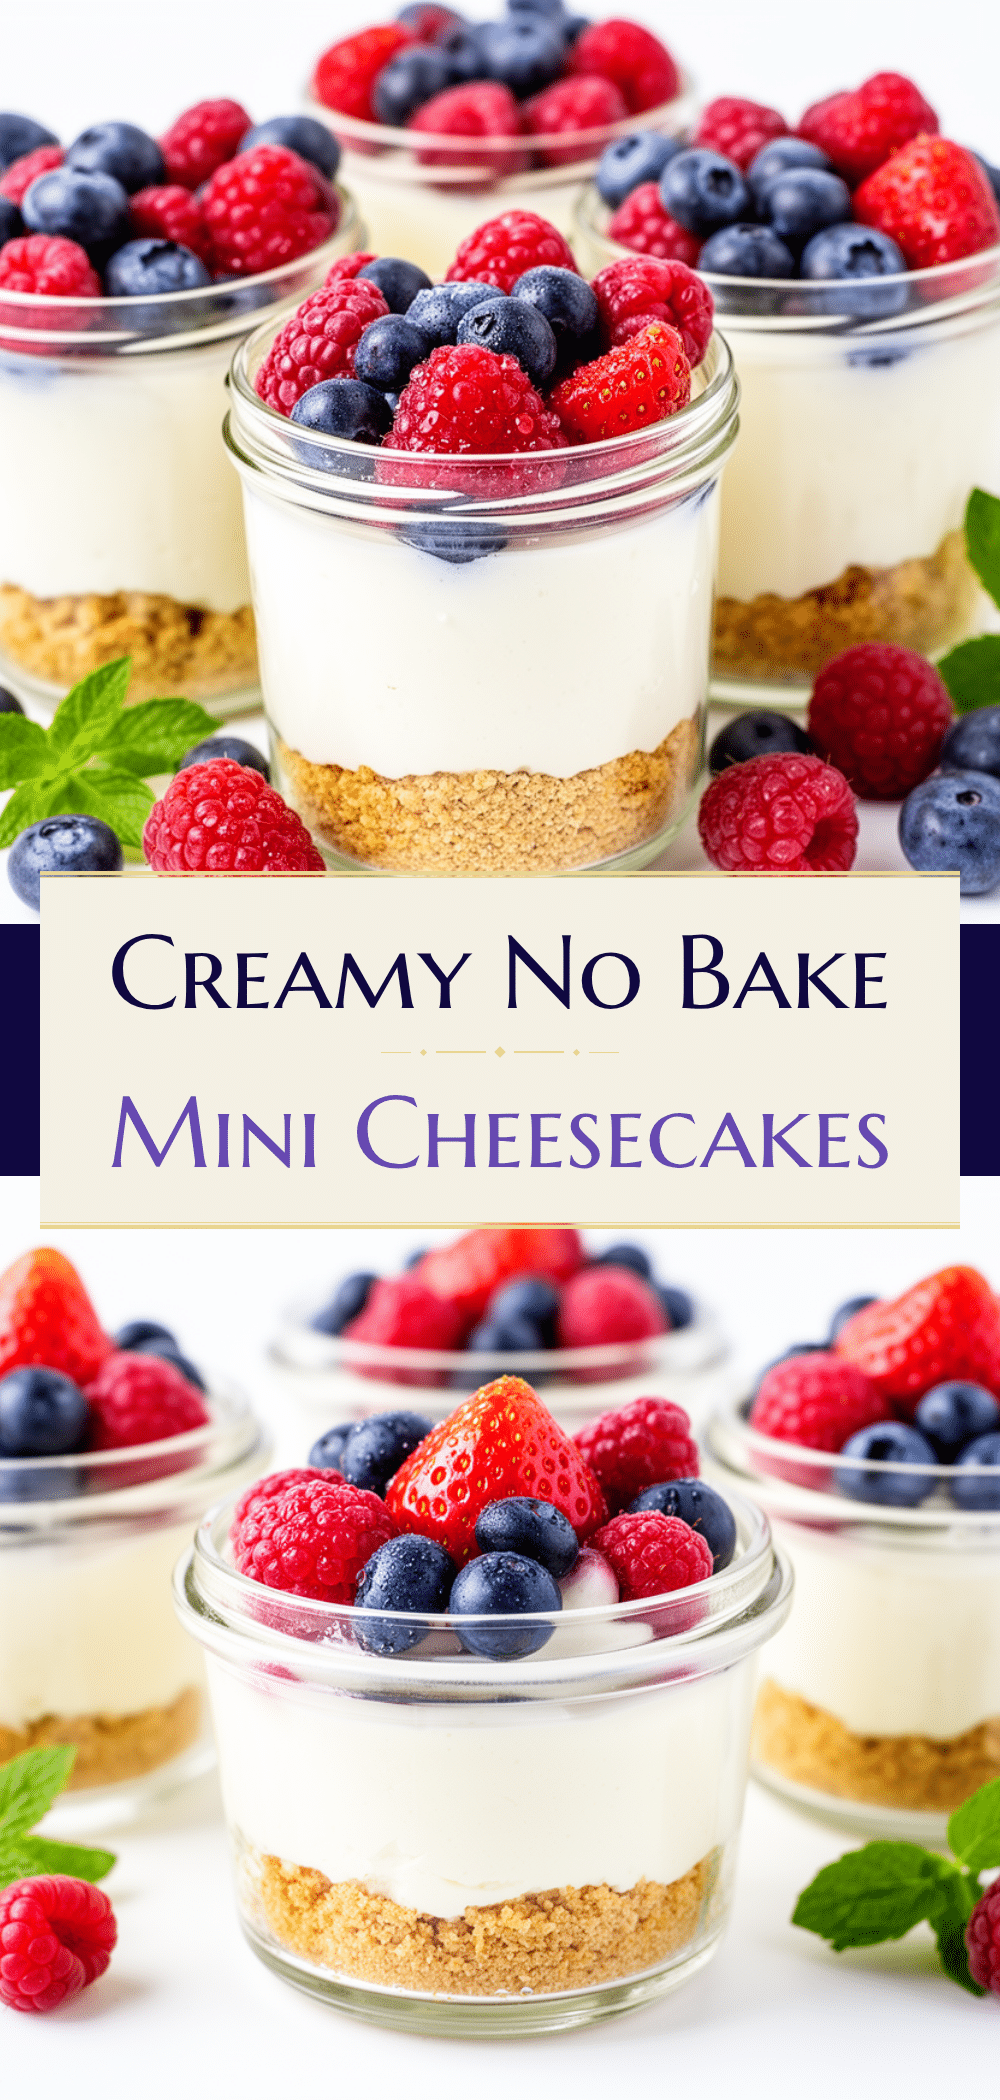
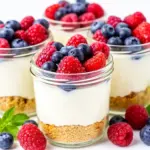
No Bake Mini Berry Cheesecake Jars
- Total Time: 2 hours 15 minutes
- Yield: 6 servings 1x
Description
A simple, no-bake dessert featuring creamy cheesecake filling and a crunchy graham cracker crust, topped with fresh mixed berries. Perfectly portioned in mini jars for easy serving and make-ahead convenience.
Ingredients
- 1 ½ cups (150g) graham crackers or digestive biscuits, crushed
- 5 tablespoons (70g) unsalted butter, melted
- 8 ounces (225g) cream cheese, softened
- ⅓ cup (40g) powdered sugar
- 1 teaspoon vanilla extract
- ⅔ cup (160ml) heavy whipping cream
- 1 ½ cups (225g) fresh mixed berries (blueberries, raspberries, sliced strawberries)
- Zest of ½ lemon (optional)
Instructions
- Crush the graham crackers into fine crumbs using a food processor or by placing them in a plastic bag and crushing with a rolling pin.
- Mix the crushed crumbs with melted butter until the texture resembles wet sand.
- Divide the crust mixture evenly among mini jars (about 2 tablespoons per jar) and press down firmly to compact. Refrigerate while preparing the filling.
- In a mixing bowl, beat the softened cream cheese and powdered sugar until smooth and creamy.
- Add vanilla extract and lemon zest (if using) to the cream cheese mixture and mix well.
- In a separate bowl, whip the heavy cream until soft peaks form.
- Gently fold the whipped cream into the cream cheese mixture until light and fluffy.
- Spoon or pipe the cream cheese filling over the crust in each jar, filling almost to the top but leaving room for berries.
- Top each jar generously with fresh mixed berries.
- Cover the jars with lids or plastic wrap and chill in the refrigerator for at least 2 hours, preferably overnight, to set.
- Serve chilled directly from the jars, optionally garnished with a sprig of mint or a dusting of powdered sugar.
Notes
Do not skip chilling for at least 2 hours to allow the filling to set properly. Use softened cream cheese for a smooth filling. Press the crust firmly to hold together. Whip cream to soft peaks to avoid grainy texture. Pat berries dry before topping to prevent watery jars. For variations, try adding melted dark chocolate, tropical fruits, nutty crusts, or berry jam layers. Vegan substitutions include vegan cream cheese and coconut cream.
- Prep Time: 15 minutes
- Cook Time: 0 minutes
- Category: Dessert
- Cuisine: American
Nutrition
- Serving Size: 1 mini jar (approxim
- Calories: 320
- Sugar: 18
- Sodium: 180
- Fat: 20
- Saturated Fat: 12
- Carbohydrates: 28
- Fiber: 2
- Protein: 6
Keywords: no bake cheesecake, mini cheesecake jars, berry cheesecake, easy dessert, no oven dessert, simple ingredients, make ahead dessert