Last Tuesday, I was standing in the kitchen at 5:15 PM, staring into the pantry like it held the secrets to the universe. My kid was sitting at the counter, legs dangling, holding a crumpled five-dollar bill and a look that said, “If I don’t get a snack in the next ten minutes, I’m eating the drywall.”
I had zero energy. The house was still in “school mode” chaos—backpacks by the door, shoes everywhere, and I was still trying to figure out what was happening in their day. I didn’t want to drive to the store. I didn’t want to order delivery. And I definitely didn’t want to give them those neon-orange, sugar-loaded fruit snacks that come in a plastic wrapper and stain your fingers for hours.
So I did what I do when I’m out of options: I raided the freezer and grabbed some frozen strawberries. I threw them in a saucepan, added a little honey, and waited. While they cooked down, I realized I had a sheet pan and some parchment paper sitting out from a baking project earlier that week.
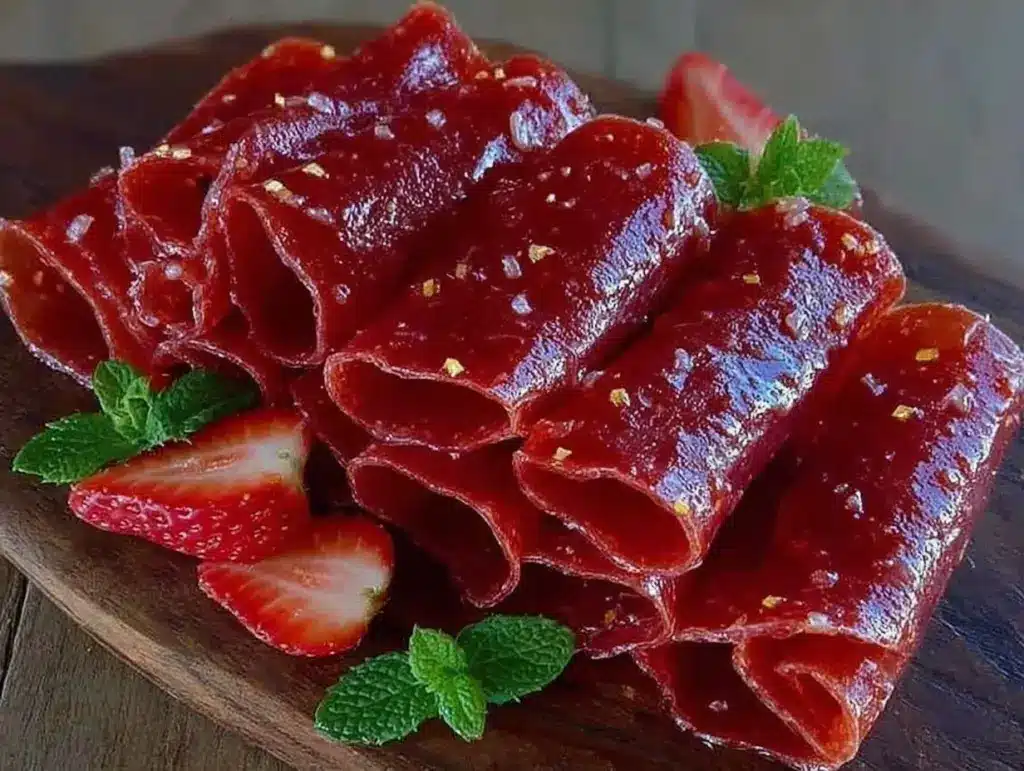
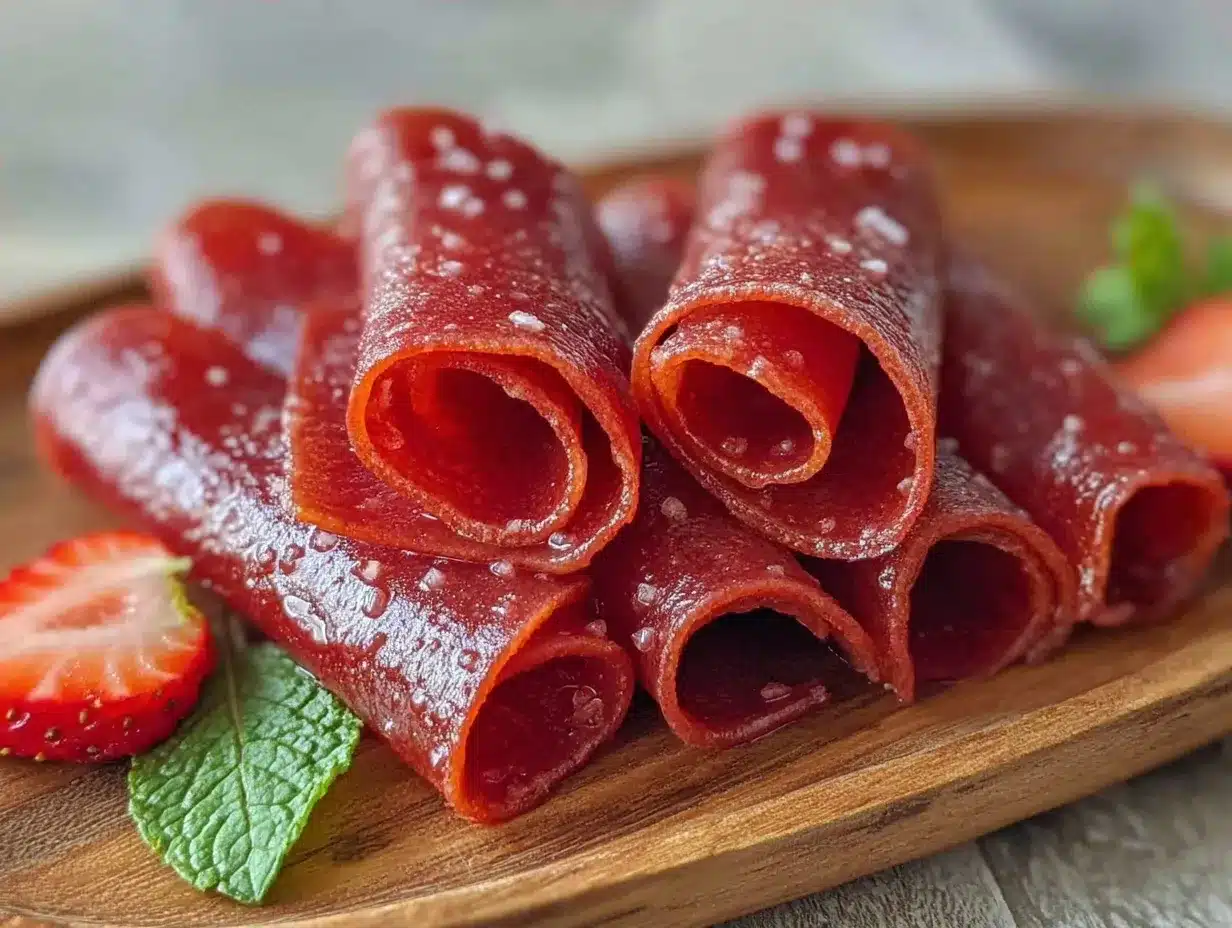
Twenty minutes later, we had sticky, sweet, genuinely delicious homemade fruit roll-ups. Not the kind with a mile-long ingredient list, but the real deal. Just fruit, a little sweetener, and patience. My kid didn’t just eat them; he devoured them. And then he asked for more.
That night, I realized I’d stumbled onto the perfect solution for the daily 5pm slump. These aren’t just a snack; they’re a sanity saver for busy parents. And the best part? They’re better than store-bought because you know exactly what’s in them. No weird dyes, no high-fructose corn syrup, just real fruit flavor.
I’ve made these at least a dozen times since that Tuesday. Sometimes with strawberries, sometimes with mixed berries, and once with peaches (which was amazing, by the way). They’re the perfect companion to other quick after-school treats, like after-school cinnamon apple nachos if you want something warm and cozy, or after-school hummus and veggie dippers if you’re trying to sneak in more veggies.
Why You’ll Love This Recipe
Look, I get it. Making snacks from scratch sounds like a lot of work. But trust me on this one. These homemade fruit roll-ups are the ultimate low-effort, high-reward win. Here’s why they’ve earned a permanent spot in our weekly rotation:
- Stupid Simple Ingredients — Seriously, you only need three things: frozen berries, a little honey or maple syrup, and a splash of lemon juice. That’s it. If you can boil water, you can make these. No fancy techniques, no special equipment you don’t already own.
- Lightning Fast Prep — The actual hands-on time is about 10 minutes. The rest is just waiting for the oven to do its thing. I throw them together while my kid does homework or watches a show. It’s the perfect “I’m tired but I want to feed my family” recipe.
- No Sticky Fingers (Well, Less Sticky) — Store-bought fruit snacks are basically glue. These dry out enough to be rollable but stay chewy. They don’t melt in your hand during car rides. This is huge for me. I’ve lost count of how many times I’ve found fruit snack residue in the car upholstery.
- Customizable Sweetness — Store-bought brands are often overly sweet. With these, you control the sugar. I use less honey than the package would suggest, and my kids still love them. You can adjust it based on how sweet your berries are.
- Great for Lunchboxes — These pack perfectly. They don’t get squished like gummy bears, and they don’t melt in hot car seats like chocolate. They’re the ideal partner for other back-to-school cheese and cracker stackers or back-to-school mini egg and cheese breakfast muffins if you’re packing a full lunch.
- Budget-Smart — Frozen berries are often cheaper than fresh, especially out of season. A bag of frozen strawberries costs a fraction of the name-brand fruit snacks, and you get way more rolls out of it.
This is my go-to when I need a snack to just work. No complicated techniques, no weird ingredients, just reliable, delicious food that makes everyone happy. It’s the answer to “what’s for a snack?” when the clock hits 5pm.
Ingredients You’ll Need
Here’s the best part: you probably have most of this already in your pantry or freezer. This isn’t a recipe that requires a special trip to the grocery store.
For the Fruit Puree
Frozen strawberries (12 ounces / 340g) — I always use frozen. They break down faster, cost less, and have the same flavor as fresh. You can use blueberries, raspberries, or a mix. Just make sure they’re unsweetened. If you use fresh fruit, you’ll need about 20 ounces, but it takes longer to cook down.
Honey (2-3 tablespoons / 30-45ml) — This adds sweetness and helps with the texture. Use raw honey if you have it. If you prefer maple syrup, that works too, though the flavor will be slightly different. I start with 2 tablespoons and taste the mixture before adding more.
Lemon juice (1 tablespoon / 15ml) — This is crucial. It brightens the flavor and prevents the fruit from tasting flat. It also helps the pectin in the fruit set a little better. Don’t skip it, even if you’re not a lemon person.
Water (2-3 tablespoons / 30-45ml) — Just enough to help the fruit start breaking down in the pan. You can add more if it looks too thick.
For the Setup
Parchment paper — Essential. Do not use wax paper; it will melt. Parchment is non-stick and heat-safe. I keep a roll in the fridge so it’s always ready.
Light cooking oil (like avocado or vegetable oil) — Just a tiny bit to grease the parchment if you’re worried about sticking. I usually don’t need it, but it’s good to have on hand.
Optional: Powdered sugar or cornstarch (1 teaspoon) — If your puree is very watery, a tiny dusting can help dry the surface faster. I rarely need this, but it’s handy for humid days.
Personal tip: I buy the big bags of frozen strawberries from Costco or Walmart. They last forever in the freezer, and I always have them on hand for smoothies, these roll-ups, or after-school crispy baked chicken nuggets if I need a quick side dish.
Equipment Needed
You don’t need fancy gadgets for this. Here’s what I actually use.
Saucepan — A medium-sized one works best. I use a 3-quart pot. It needs to be wide enough to spread the puree thinly, but deep enough to prevent splattering.
Immersion blender or regular blender — An immersion blender is perfect because you can blend right in the pot. Less cleanup. If you don’t have one, a regular blender works, but you’ll need to let the fruit cool slightly first. Be careful with hot liquids in blenders!
Baking sheet (sheet pan) — A standard 13×18 inch half-sheet pan. I use the one I keep for roasting vegetables. It needs to be flat and even.
Parchment paper — As mentioned, you need a sheet that fits your pan. I sometimes tear it to fit if it’s too big, but it’s okay if it overhangs a little.
Spatula — A silicone spatula is best for spreading the puree evenly. You want a thin, consistent layer.
Knife — For slicing the dried roll-ups into strips. A sharp chef’s knife works, but a pizza cutter is actually easier and less messy.
Oven — Obviously. But keep your oven door slightly open during baking (see tips below).
Optional but nice: Rolled parchment paper — I keep a roll of parchment handy. It makes cleanup super fast because you can just lift the whole sheet out of the pan.
How to Make It: Step-by-Step
Alright, let’s make this! I’m walking you through exactly how I do it, including the little tricks I’ve picked up over the last few months.
Step 1: Prep Your Pan (2 minutes)
Preheat your oven to 170°F (75°C). This is a low and slow temperature. You want to dry the fruit, not bake it. If your oven doesn’t go this low, set it to the lowest possible setting (usually 150-170°F). Line your baking sheet with parchment paper. I like to tear it so it fits snugly, but don’t worry if it’s not perfect. Just make sure the surface is flat.
Step 2: Cook the Fruit (10-12 minutes)
Throw the frozen strawberries into the saucepan. Add the honey, lemon juice, and water. Turn the heat to medium. Stir occasionally as the fruit thaws and starts to bubble. This takes about 10 minutes. You want the fruit to break down completely. It will look like a chunky sauce. Don’t rush this step—let it get nice and bubbly.
Step 3: Blend Until Smooth (1-2 minutes)
Remove the pan from the heat. Let it cool for just a minute. Now, blend it. If using an immersion blender, just plunge it in and blend until completely smooth. No chunks! If using a regular blender, transfer the mixture carefully (it’s hot!) and blend until silky smooth. This is what gives the roll-ups that uniform texture. If you leave chunks, they’ll dry unevenly.
Step 4: Spread the Puree (3 minutes)
Pour the puree onto the prepared baking sheet. Use your silicone spatula to spread it out. You want a thin, even layer. Aim for about 1/8 inch thick. If it’s too thick, it will take forever to dry and might stay gummy. If it’s too thin, it might tear when you roll it. Spread it all the way to the edges, but not over the sides. This step is key for even drying.
Step 5: Dry in the Oven (2-3 hours)
Place the pan in the oven. Prop the oven door open slightly—I use a wooden spoon to keep it ajar. This lets moisture escape. Bake for 2 to 3 hours. You’ll know it’s done when the surface feels dry to the touch and doesn’t stick to your finger. It should still be slightly pliable, not brittle. If you lift the edge, it should come up easily without tearing.
Step 6: Roll and Slice (5 minutes)
Once dry, carefully lift the parchment paper off the pan. Place it on a clean surface. Peel the fruit sheet off the parchment. If it’s sticking, you can put it back in the oven for 5 more minutes. Once it’s free, use a pizza cutter or knife to slice it into strips. I cut them into 1-inch wide strips. You can roll them up immediately or store them as flat sheets.
Step 7: Store
Store in an airtight container at room temperature for up to 2 weeks. Or freeze them for up to 3 months. I usually keep a batch in the fridge for quick access.
Total Time: About 3 hours and 20 minutes (mostly hands-off).
Expert Tips & Tricks
Here’s everything I’ve learned from making these dozens of times. These tips will save you from my mistakes.
The Oven Door Trick
This is the #1 secret. You MUST prop the oven door open. If you close it, the moisture gets trapped, and your fruit roll-ups will be sticky and gummy, not dry and chewy. I use a wooden spoon or a heat-resistant oven mitt to keep it open about an inch.
Low and Slow is Key
Do not turn up the heat to speed things up. Higher heat will cook the fruit rather than dry it, leading to a leathery texture. Patience pays off here. If you’re in a rush, you can use a dehydrator, but the oven works fine if you have the time.
Check for Stickiness
Before you take them out, touch the center. It should feel dry, like a leather belt, not like a wet sponge. If it sticks to your finger, give it 30 more minutes. It’s better to over-dry slightly than under-dry.
Use a Pizza Cutter
I tried using a knife first, and it squished the fruit. A pizza cutter glides through cleanly and doesn’t deform the roll-ups. It’s a small change that makes a big difference.
Don’t Skip the Lemon
The lemon juice isn’t just for flavor. It helps preserve the color and adds acidity that balances the sweetness. Without it, the roll-ups can taste flat or overly sweet.
Common Mistakes
Mistake: The fruit roll-ups are too sticky.
Fix: They need more time in the oven. Check every 30 minutes after the 2-hour mark.
Mistake: The fruit roll-ups are too brittle and crack when rolled.
Fix: They dried too much. Next time, check them 30 minutes earlier. They should be pliable, not hard.
Mistake: The puree has chunks.
Fix: You didn’t blend it enough. Blend until completely smooth. Chunks dry at different rates, leading to an uneven texture.
Pro Trick: The Freezer Hack
If you want to make them faster, you can freeze the spread puree for 15 minutes before baking. This firms it up slightly, making it easier to handle. I do this when I’m short on time.
Variations & Substitutions
Once you’ve nailed the basic strawberry version, here’s how you can mix it up. I’ve tried all of these.
Mixed Berry Bliss
Swap half the strawberries for blueberries or raspberries. This creates a beautiful purple hue and a more complex flavor. I love this version for its tartness.
Tropical Twist
Use frozen mango and pineapple. Add a little lime juice instead of lemon. It tastes like summer in a snack. I made this for a pool party, and it was a hit.
Apple Cinnamon
Cook down chopped apples with cinnamon and a little apple cider vinegar. It tastes like apple pie filling. This is great for fall.
Lower Sugar
Skip the honey entirely if your berries are very sweet. Add a teaspoon of stevia or monk fruit if you need sweetness. The fruit’s natural sugar is usually enough.
Gluten-Free & Vegan
This recipe is naturally gluten-free and vegan. Just make sure your honey is vegan-friendly (some vegans avoid honey) or use maple syrup instead.
Other Proteins
Not applicable here, but these pair well with back-to-school pepperoni pizza lunchbox muffins if you’re packing a savory-sweet lunch.
Serving & Storage
How to Serve:
I usually roll them up and put them in small snack bags. My kids love picking their own snack. You can also serve them flat on a plate with yogurt or cream cheese for a dip. It’s like a fruit taco!
Side Dishes:
These go great with ants on a log for a complete snack plate. Or pair them with back-to-school turkey and cheese kabobs for a balanced lunch.
Storage Instructions:
Refrigerator: Store in an airtight container for up to 2 weeks. They might get a bit softer in the fridge, but they’re still good.
Freezer: Place in a freezer bag with parchment paper between layers. They last for 3 months. Thaw at room temperature for 10 minutes.
Room Temperature: Store in a cool, dry place for up to 2 weeks. They dry out more over time, so check them regularly.
Pro tip: If they get too dry, add a slice of bread to the container for a day. The bread releases moisture and softens them slightly.
Nutrition Information
I’m not a nutritionist, but here’s the breakdown if you’re tracking. Per serving (based on 10 rolls):
| Nutrient | Amount |
|---|---|
| Calories | 45 |
| Protein | 0.2g |
| Carbs | 11g |
| Fiber | 1.5g |
| Sugar | 9g |
| Fat | 0.1g |
| Sodium | 2mg |
What’s Good:
Low calorie, no artificial colors, high in vitamin C from the strawberries.
What to Know:
Contains natural fruit sugars. If you’re watching sugar intake, reduce the honey or skip it entirely.
My Take:
Look, this is a fruit snack. It’s not a vegetable. But it’s way better than the store-bought version because it’s just real fruit. When I want to make it lighter, I use less honey and add more berries. But usually? I just enjoy it as a treat.
Final Thoughts
So that’s my go-to homemade fruit roll-up recipe! I’ve probably talked your ear off at this point, but when you make a recipe this often, you have a lot to say about it.
This has saved my sanity more times than I can count. It’s my answer to “what’s for a snack?” when the clock hits 5pm and I’m exhausted. My kids are happy, I’m happy because I’m not stressing about buying processed snacks, and we’re all happy because the house doesn’t smell like artificial strawberry.
Make it yours! Try different berries, adjust the sweetness, or add a dash of spice. The best recipes are the ones you adapt to your family’s tastes.
If you make this, drop a comment and let me know what you think! I love hearing how recipes turn out in your kitchen. And if something doesn’t work, tell me that too—I’m here to help troubleshoot.
Happy cooking! And I hope your kitchen smells half as good as mine does right now.
Frequently Asked Questions
Can I use fresh fruit instead of frozen?
Yes, but you’ll need more of it. Use about 20 ounces of fresh strawberries for the same yield. It will take longer to cook down—maybe 15-20 minutes. Frozen fruit breaks down faster and has a more intense flavor because it’s picked at peak ripeness.
Why are my fruit roll-ups sticky?
They probably need more time in the oven. Check them every 30 minutes after the 2-hour mark. The goal is a dry surface that doesn’t stick to your finger. Also, make sure you’re propping the oven door open to let moisture escape.
Can I make these in a dehydrator?
Absolutely. Spread the puree on dehydrator sheets and dry at 135°F (57°C) for 6-8 hours. They’ll be slightly chewier than oven-baked ones. This is a great option if you live in a humid climate.
How do I store them?
Keep them in an airtight container at room temperature for up to 2 weeks. For longer storage, freeze them in a freezer bag. They last up to 3 months in the freezer.
Can I add other flavors?
Yes! Add a teaspoon of vanilla extract, a dash of cinnamon, or some zest from a lemon or orange. I’ve even added a little ginger for a spicy kick. Get creative!
Do they need to be refrigerated?
No, they don’t. They’re dried fruit, so they’re shelf-stable. However, in very humid weather, they might get a bit soft. If that happens, just pop them in the fridge or freezer for a bit.
Can I double this recipe?
Yes, but you’ll need two baking sheets. Bake them one at a time if your oven is small, or rotate the pans halfway through. The cooking time stays the same.
Pin This Recipe!
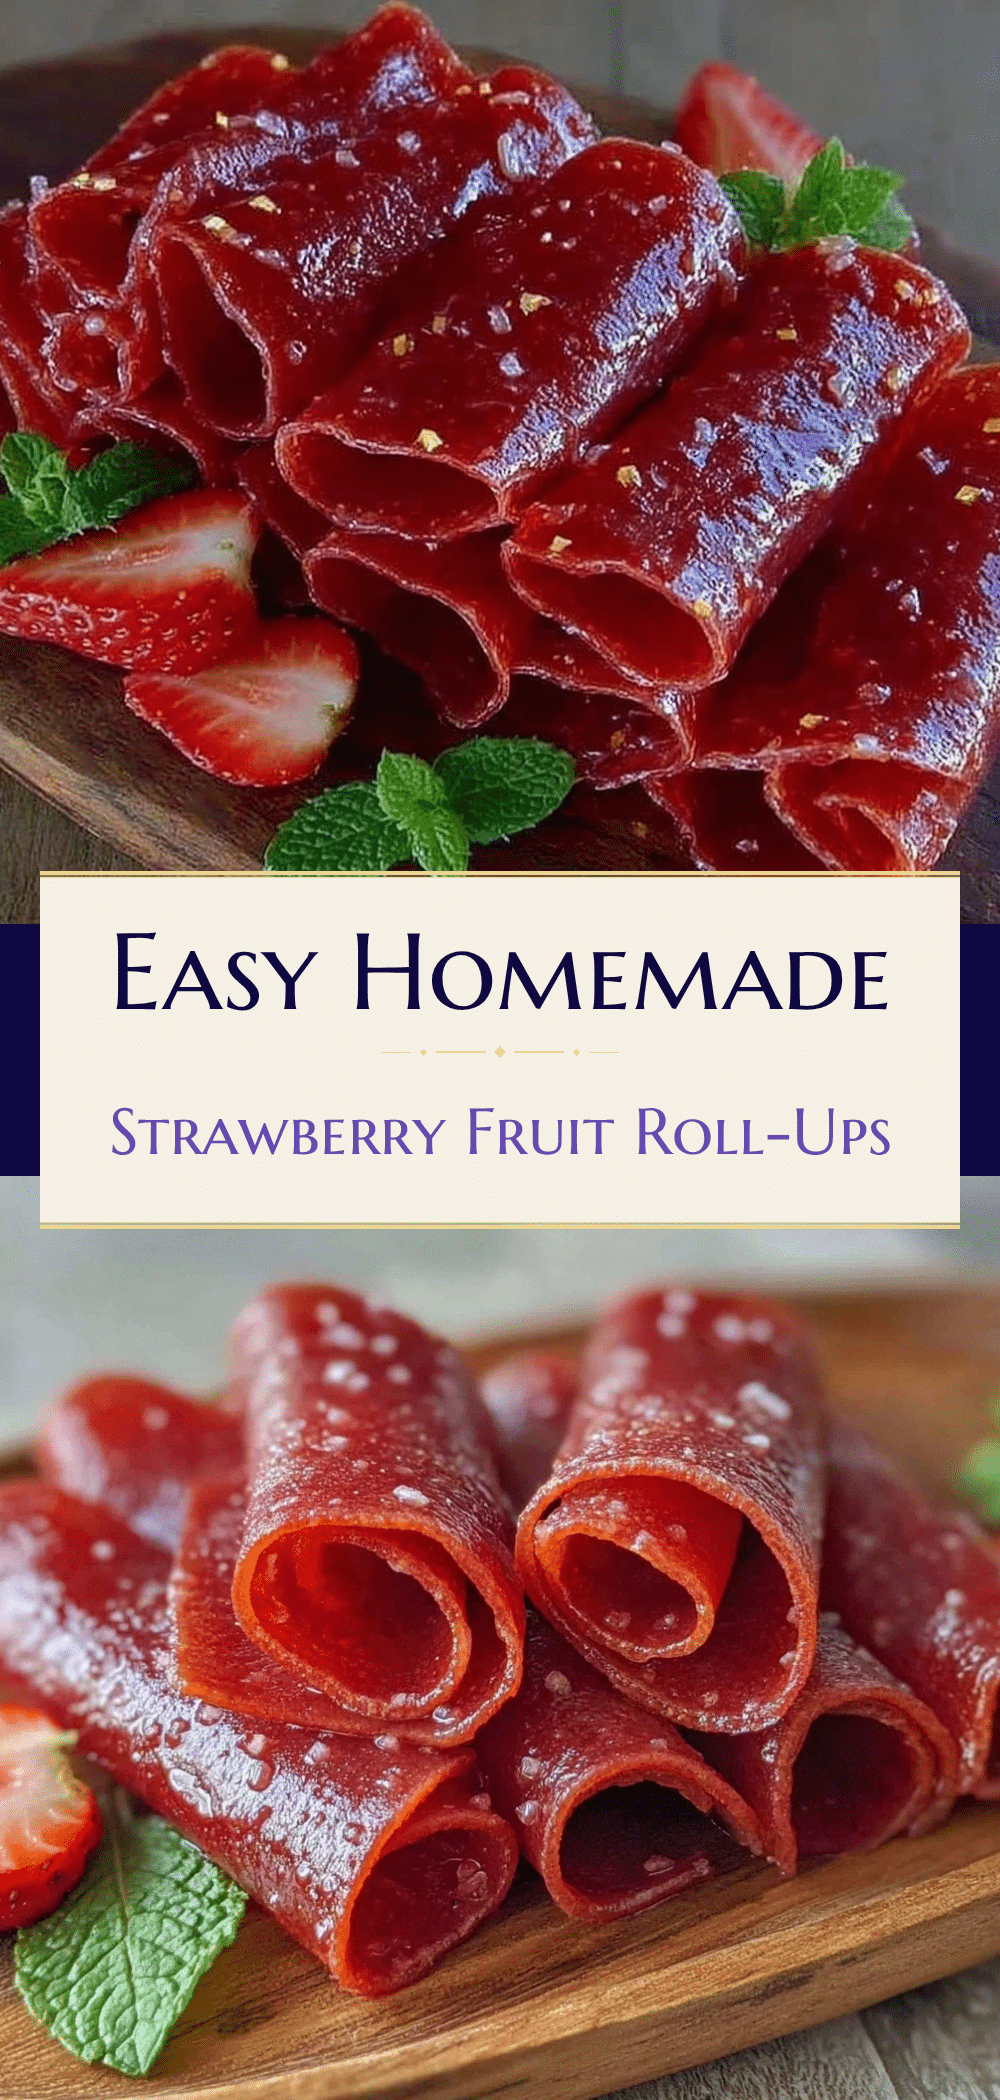

Back to School Homemade Fruit Roll-Ups: Easy 5pm Snack
- Total Time: 3 hours 20 minutes
- Yield: 10 servings 1x
Description
A simple, healthy homemade fruit roll-up recipe using frozen berries, honey, and lemon juice. Perfect for busy parents looking for a low-effort, sugar-controlled after-school snack.
Ingredients
- 12 ounces (340g) frozen strawberries (unsweetened)
- 2–3 tablespoons honey (or maple syrup)
- 1 tablespoon lemon juice
- 2–3 tablespoons water
- Parchment paper
- Light cooking oil (optional, for greasing)
- Powdered sugar or cornstarch (optional, for watery puree)
Instructions
- Preheat oven to 170°F (75°C). Line a baking sheet with parchment paper.
- In a saucepan, combine frozen strawberries, honey, lemon juice, and water. Cook over medium heat for 10-12 minutes until the fruit breaks down and bubbles.
- Remove from heat and let cool slightly. Blend the mixture until completely smooth using an immersion blender or regular blender.
- Pour the puree onto the prepared baking sheet. Spread into a thin, even layer (about 1/8 inch thick) using a silicone spatula.
- Place in the oven and prop the door open slightly with a wooden spoon to allow moisture to escape. Bake for 2-3 hours until the surface is dry to the touch and pliable.
- Lift the parchment paper off the pan. Peel the fruit sheet off the paper.
- Slice into 1-inch wide strips using a pizza cutter or knife.
- Roll up or store flat in an airtight container.
Notes
Prop the oven door open to let moisture escape; this prevents sticky results. Use frozen berries for faster breakdown and better flavor. If using fresh fruit, increase quantity to 20 ounces and cook longer. Store in an airtight container at room temperature for up to 2 weeks or freeze for up to 3 months.
- Prep Time: 10 minutes
- Cook Time: 2-3 hours
- Category: Snack
- Cuisine: American
Nutrition
- Serving Size: 1 roll-up
- Calories: 45
- Sugar: 9
- Sodium: 2
- Fat: 0.1
- Carbohydrates: 11
- Fiber: 1.5
- Protein: 0.2
Keywords: homemade fruit roll-ups, healthy kids snacks, after school snacks, gluten-free snacks, vegan snacks, easy fruit snacks, back to school snacks