It’s 5 PM on a Sunday. The house is quiet, but the clock is ticking louder than ever. You know what that means: tomorrow is Monday. Tomorrow is the start of back-to-school season, which means 7 AM alarms, frantic searches for missing shoes, and the looming dread of packing lunches for the next five days.
Two years ago, I would have been sweating through my blouse by now. I’d be frantically googling “healthy school lunch ideas” while trying to fold a fitted sheet that refused to cooperate. But this year? I’m calm. Why? Because I’ve cracked the code on the ultimate weeknight lunch hack: turkey and cheese pinwheels.
These aren’t those sad, dry tortillas you buy pre-made at the gas station. These are soft, savory, perfectly rolled spirals of cream cheese, sharp cheddar, and sliced turkey that my kids actually fight over. They’re easy to make in bulk, freeze beautifully, and—most importantly—they don’t require a single pot to clean.
I’ve tested this turkey and cheese pinwheel recipe with three different types of tortillas and five different cheese blends. I’ve made them for picky eaters who refuse to touch anything green (no veggies in this version, sorry) and for kids who demand extra crunch. This method works every time. It’s my 5pm lunch win, and it’s going to be yours too.
Why You’ll Love This Recipe
Let’s be real: lunch packing is the unglamorous hero work of parenting. If you’re looking for something that saves your sanity without sacrificing taste, this is it. Here’s why these pinwheels have taken over our kitchen routine:
Zero Morning Stress — Seriously, if you can roll a sleeping bag, you can make these. I spend about 15 minutes on Sunday night assembling a tray of them. By Monday morning, they’re already in the lunchbox. No cooking, no heating, no debate.
Freezer-Friendly Magic — This is the game-changer. I make a double batch, freeze half, and have lunches ready for weeks. When my son forgets his lunchbox at school (which happens, let’s be honest), I grab a frozen pinwheel. It thaws by recess. Perfect.
Customizable to the Nth Degree — My daughter loves jalapeños. My son thinks they’re poison. With this turkey and cheese pinwheel base, I make two trays. One with green onions, one without. Everyone gets what they want. No lunchbox negotiations required.
Actually Tastes Good — I’ve tried BLT lunchbox wraps before, and while they’re tasty, they get soggy by second period. These pinwheels stay firm and flavorful. The cream cheese keeps everything moist, and the tortilla doesn’t turn into cardboard.
Budget-Smart — Tortillas, deli turkey, and block cheese are cheap. I can make 24 pinwheels for under $10. That’s less than half the cost of buying pre-made lunch kits. Plus, no food waste because we eat every single one.
This is my go-to when I need lunch to just work. No fancy techniques, no weird ingredients, just reliable, delicious food that makes the morning rush slightly less chaotic.
Ingredients You’ll Need
Here’s the best part: you probably have most of this already. I’m not asking you to run to the store for obscure items. This is pantry-and-fridge friendly cooking.
Flour Tortillas (12-inch, large) — 4-6 wraps. You need the big ones. The smaller ones don’t have enough surface area to hold the filling without bursting. I prefer the “burrito size” wraps. If you can’t find them, two medium wraps per pinwheel works too.
Softened Cream Cheese (8 oz / 225g) — Full-fat is non-negotiable here. Light cream cheese makes the filling dry and crumbly. Take it out of the fridge 20 minutes before you start, or microwave it in 10-second bursts until it’s spreadable. Softened is key.
Sharp Cheddar Cheese (1 cup / 100g, shredded) — Block cheese, grated yourself. Pre-shredded cheese has cellulose that prevents it from melting properly, which means your pinwheels won’t hold together. Sharp cheddar gives the best flavor punch. Mild cheddar is too boring for my taste.
Deli Turkey Breast (8-10 slices / about 200g) — Look for the low-sodium variety if you can find it. I prefer the thicker-sliced deli meat over the thin, flat slices. It adds more texture and meatiness. If you’re watching sodium, rinse the turkey slices quickly under water before using them.
Green Onions (3 stalks, thinly sliced) — This adds a fresh, oniony bite that cuts through the richness of the cheese. If your kids hate green onions, skip it or swap for chives. But honestly, you can’t taste them once they’re rolled up.
Optional Add-Ins — I keep these on hand for variety: sliced avocado (adds creaminess but can brown, so add right before packing), diced bell peppers (for crunch), or hot sauce (for a kick). I also occasionally swap turkey for ham if I have leftovers from a previous dinner.
Equipment Needed
You don’t need fancy equipment for this. Here’s what I actually use:
Large Mixing Bowl — Just enough space to mix the cream cheese and cheddar together. A small bowl works if you’re careful.
Butter Knife or Spatula — For spreading the cream cheese mixture evenly. A small offset spatula is nice but not necessary. I usually just use a regular butter knife.
Cutting Board — Any size. I use a plastic one because it’s easier to clean.
Chef’s Knife — For slicing the green onions and the final pinwheels. Sharp knives are safer, especially when cutting through the rolled tortilla.
Plastic Wrap or Parchment Paper — Essential for wrapping the logs before freezing. I keep a roll of parchment paper handy specifically for this.
Airtight Container or Freezer Bag — For storing the finished pinwheels. I prefer heavy-duty freezer bags because they lay flat in the freezer, saving space.
Optional but nice: A rolling pin to gently flatten the tortillas if they’re too thick. I rarely need this, but it helps if your tortillas are puffy.
How to Make It: Step-by-Step
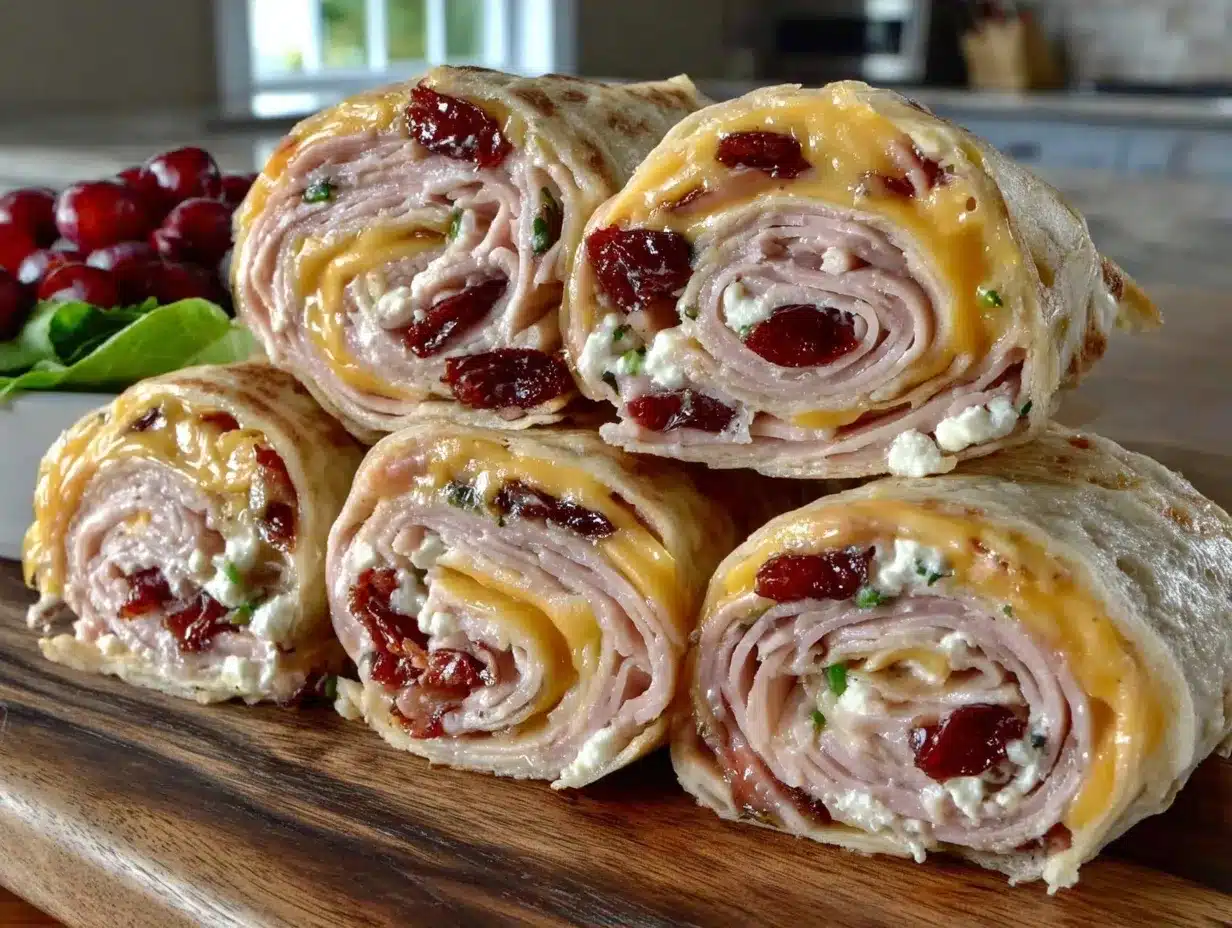
Alright, let’s make this! I’m walking you through exactly how I do it, including the little tricks I’ve picked up so your pinwheels don’t fall apart.
Step 1: Prep the Filling (5 minutes)
In your mixing bowl, combine the softened cream cheese and shredded cheddar. Mix vigorously with your butter knife or a small spatula until it’s smooth and uniform. If there are still big chunks of cheese, keep mixing. You want a creamy, spreadable paste. If the cream cheese is still too cold and firm, microwave it for another 10 seconds. This step takes less time than you think.
Step 2: Prepare the Tortillas (2 minutes)
Lay out your flour tortillas on the cutting board. If they’re stiff, microwave them for 10-15 seconds to soften them up. A soft tortilla rolls better than a cold, brittle one. Spread the cream cheese mixture evenly over each tortilla, leaving a ½-inch border around the edges. Don’t skimp on the edges; that’s where the seal happens. If you leave too much border, the pinwheel will be all tortilla. If you don’t leave any, the filling will ooze out.
Step 3: Layer the Turkey (2 minutes)
Lay the turkey slices flat over the cream cheese layer. Overlap them slightly so there are no gaps. If there are gaps, the filling will leak out during rolling. Press the turkey down gently so it adheres to the cream cheese. This creates a single layer of meat that’s easy to roll.
Step 4: Add the Crunch (1 minute)
Sprinkle the sliced green onions evenly over the turkey. Again, keep it simple. You just want little bursts of flavor throughout. If you’re adding other veggies like peppers or spinach, do it now. Keep it light so the roll doesn’t get too bulky.
Step 5: The Roll (3 minutes)
This is the critical part. Starting from one long edge, tightly roll the tortilla up into a log. Use your fingers to tuck the filling in as you roll. Don’t rush this. If you roll too fast, it will tear. Apply even pressure. Once rolled, pinch the seam closed with your fingers. If it looks loose, wrap it tightly in plastic wrap to help it hold its shape.
Step 6: Chill and Slice (10 minutes chilling + 5 minutes slicing)
Wrap each log tightly in plastic wrap or parchment paper. Place them in the freezer for at least 30 minutes (or fridge for 1 hour). Chilling firms up the cream cheese, making it much easier to slice cleanly. If you skip this step, you’ll end up with mushy, messy pinwheels. After chilling, unwrap and slice into 1-inch rounds with a sharp knife. Wipe the knife clean between cuts for neat edges.
Total Time: About 25 minutes active, plus chilling time.
Expert Tips & Tricks
Here’s everything I’ve learned from making this dozens of times. These tips will save you from my mistakes.
Chill, Chill, Chill
I cannot stress this enough. The chilling step is not optional. It’s what makes the difference between a beautiful spiral and a tortilla soup. If you’re in a rush, freeze for 30 minutes minimum. If you have time, overnight is best.
Softened Cream Cheese is Key
Cold cream cheese is hard to spread evenly. Lumps in the filling lead to uneven rolls. Make sure it’s room temperature before you start. If you forget, microwave in short bursts.
Don’t Overfill
It’s tempting to pile on the turkey and cheese, but less is more. A thin, even layer rolls better than a thick, bulky one. If you overfill, the tortilla will tear, and the filling will spill out.
Use a Sharp Knife
A dull knife will crush the pinwheel. Use a sharp chef’s knife and use a gentle sawing motion. Don’t press down hard. Let the knife do the work.
Freeze Flat
When storing in the freezer, lay the bags flat. This saves space and prevents the pinwheels from getting crushed by other items. I label the bags with the date so I know which ones are oldest.
Variations & Substitutions
Once you’ve nailed the basic version, here’s how you can mix it up. I’ve tried all of these.
Spicy Turkey Pinwheels
Add 1 teaspoon of hot sauce or a dash of cayenne pepper to the cream cheese mixture. Or include diced jalapeños with the green onions. My husband loves this version.
Veggie-Packed
Add finely diced bell peppers, spinach, or sun-dried tomatoes to the filling. This adds color and nutrients. I use this version when I want to sneak more vegetables into my kids’ diet.
Herb-Infused
Mix 1 tablespoon of fresh dill, parsley, or chives into the cream cheese. This adds a fresh, herbal note that pairs well with the turkey. It’s subtle but delicious.
Gluten-Free
Use gluten-free flour tortillas. I’ve tested several brands, and the ones with rice flour tend to hold up best. Be careful not to overfill, as GF tortillas can be more fragile.
Dairy-Free
Use dairy-free cream cheese and cheese slices. The texture will be different, but it still works. I use this version when a friend with a dairy allergy is coming over.
Protein Swap
Swap turkey for deli ham or roast beef. All work equally well. I sometimes use leftover grilled chicken shredded up, which is a great way to use leftovers.
Serving & Storage
How to Serve:
I usually serve these straight from the lunchbox. They’re perfect at room temperature. No reheating needed. I pack them with a side of fruit or veggies for a balanced lunch.
Refrigerator:
Store in an airtight container for up to 3 days. They stay fresh and moist.
Freezer:
Store in a heavy-duty freezer bag for up to 3 months. Thaw in the fridge overnight or in the lunchbox for a few hours before school.
Pro Tip:
If you’re packing for a hot day, include an ice pack. While these don’t need refrigeration immediately, the cream cheese filling is safer with an ice pack in extreme heat.
Nutrition Information
I’m not a nutritionist, but here’s the breakdown if you’re tracking. This is per pinwheel (makes about 24).
| Nutrient | Amount per Pinwheel |
|---|---|
| Calories | 85 |
| Protein | 5g |
| Carbs | 6g |
| Fat | 4g |
| Sodium | 180mg |
What’s Good: Decent protein from the turkey, calcium from the cheese, and low in sugar. It’s a balanced snack that keeps kids full until lunch.
What to Know: Higher in sodium if you use regular deli turkey. Opt for low-sodium versions if you’re watching salt intake. Contains gluten and dairy.
My Take: This is comfort food in a portable format. It’s not a diet recipe, but it’s far better than processed lunch meats and white bread sandwiches. When I want to make it lighter, I use low-fat cream cheese and extra veggies. But usually? I just eat a reasonable portion and enjoy it.
Final Thoughts
So that’s my turkey and cheese pinwheel recipe! I’ve probably talked your ear off at this point, but when you make a recipe this often, you have a lot to say about it.
This has saved my back-to-school mornings more times than I can count. It’s my answer to “what’s for lunch?” when I’m tired, don’t want to cook, and still want something that tastes really good. My kids are happy, my husband’s happy, and I’m happy because I’m not stressed about cooking.
Make it yours! Try different add-ins, swap in your favorite vegetables, adjust the spice level. The best recipes are the ones you adapt to your family’s tastes. And if you need more lunchbox inspiration, check out my cheese and cracker stackers for a no-tortilla option.
If you make this, drop a comment and let me know what you think! I love hearing how recipes turn out in your kitchen. And if something doesn’t work, tell me that too—I’m here to help troubleshoot.
Happy lunch packing! And I hope your kitchen smells half as good as mine does right now.
Frequently Asked Questions
Can I use whole wheat tortillas?
Yes! Whole wheat tortillas work great and add a nuttier flavor. They’re a bit sturdier, so they hold up well to rolling. Just make sure they’re soft, or microwave them briefly first.
Why did my pinwheels fall apart when I sliced them?
Usually means they weren’t chilled long enough. The cream cheese needs to be firm to hold the shape. Freeze for at least 30 minutes. Also, make sure your knife is sharp and use a gentle sawing motion.
Can I make these ahead for the week?
Absolutely! I make them on Sunday and freeze half for later in the week. The unfrozen ones last 3 days in the fridge. This is perfect for meal prepping lunches.
Do I need to add veggies?
No, the basic version is delicious without them. But adding veggies like spinach or peppers is a great way to boost nutrition. My kids love the crunch, and it adds color.
Can I use different cheese?
Of course! Pepper jack adds spice, Swiss adds nuttiness, and mozzarella adds mildness. I stick with cheddar for the best flavor, but feel free to experiment.
How do I prevent the tortilla from tearing?
Use fresh, soft tortillas. Cold tortillas crack. Microwave them for 10-15 seconds before spreading. Also, don’t overfill. A thin layer rolls better than a thick one.
Pin This Recipe!
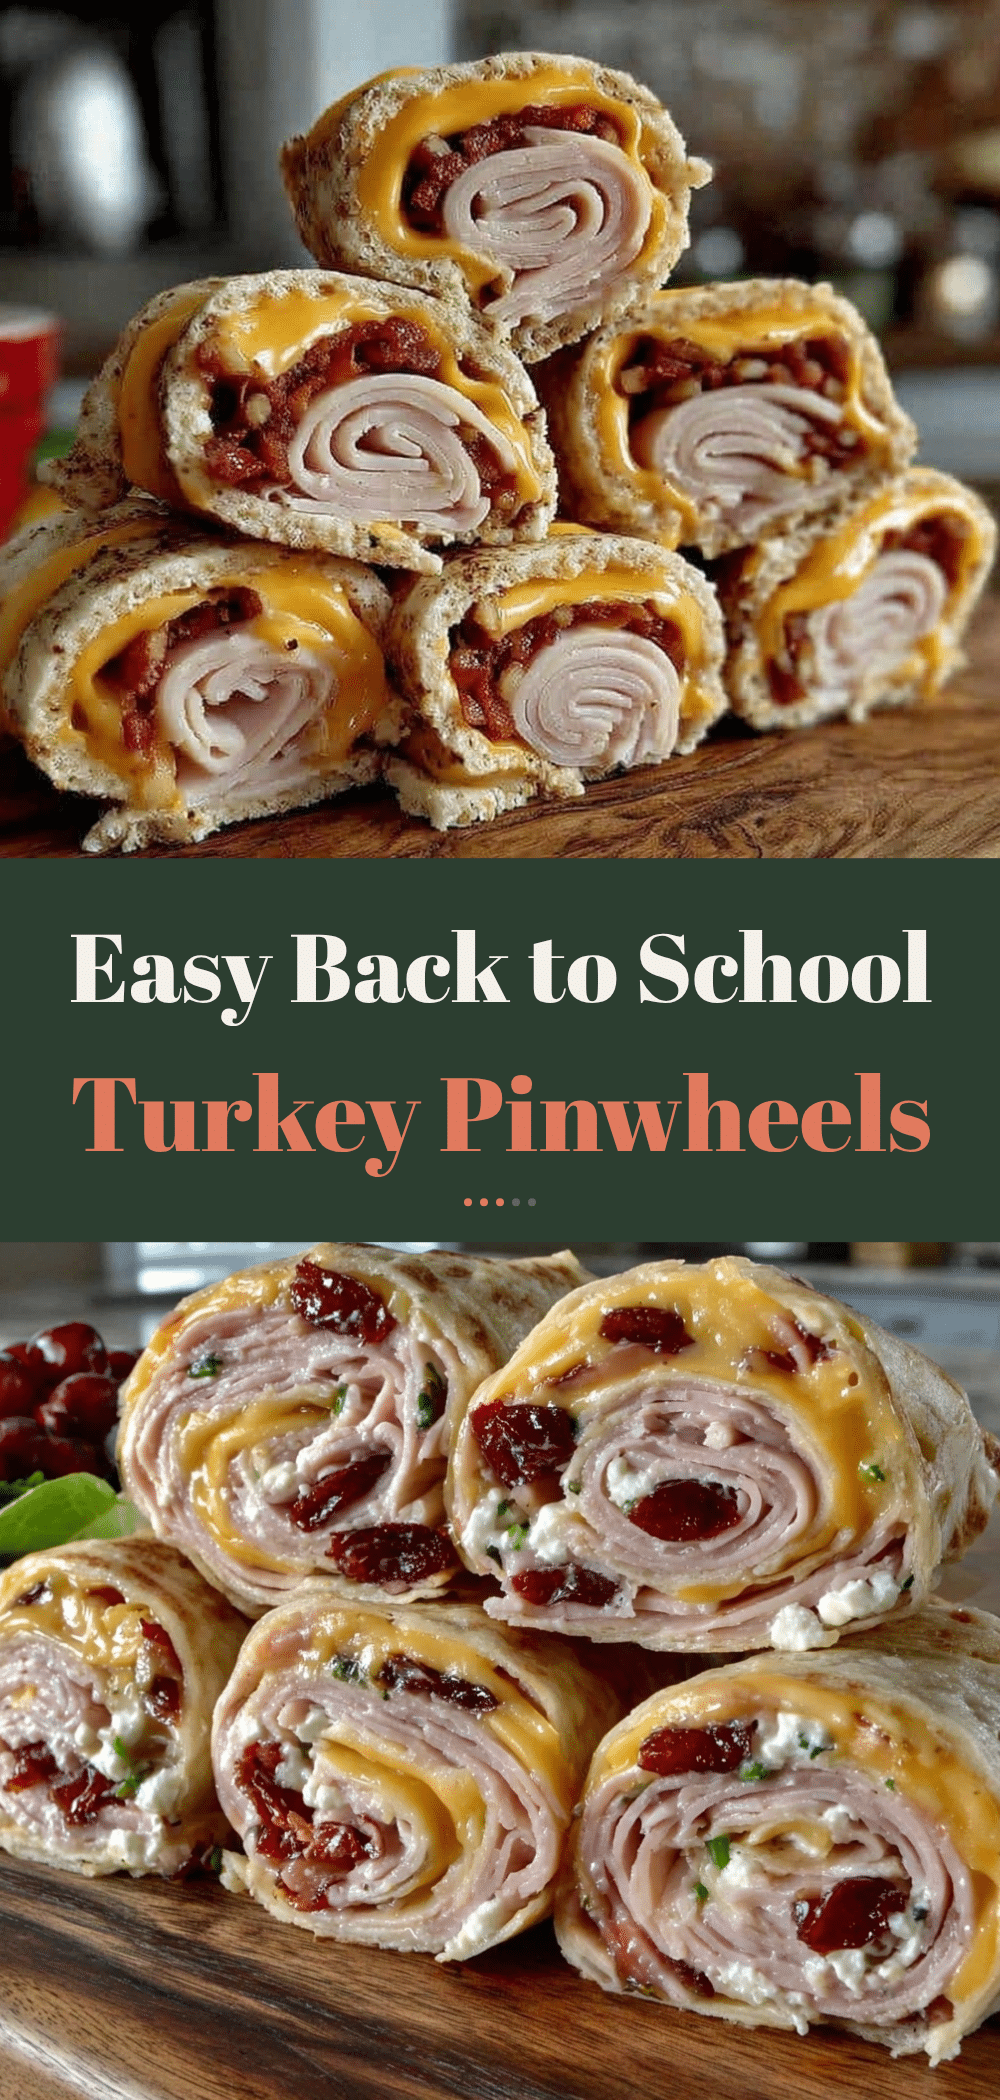

Turkey and Cheese Pinwheels: 5pm Lunch Win
- Total Time: 25 minutes
- Yield: 24 pinwheels 1x
Description
Easy, freezer-friendly turkey and cheese pinwheels perfect for back-to-school lunches. These savory spirals are made with cream cheese, sharp cheddar, and deli turkey, requiring no cooking and minimal cleanup.
Ingredients
- 4–6 large flour tortillas (12-inch)
- 8 oz (225g) softened full-fat cream cheese
- 1 cup (100g) sharp cheddar cheese, shredded
- 8–10 slices deli turkey breast (about 200g)
- 3 stalks green onions, thinly sliced
- Optional: sliced avocado, diced bell peppers, hot sauce, or ham
Instructions
- In a mixing bowl, combine softened cream cheese and shredded cheddar. Mix vigorously until smooth and spreadable.
- Lay tortillas on a cutting board. If stiff, microwave for 10-15 seconds to soften. Spread the cream cheese mixture evenly over each tortilla, leaving a ½-inch border.
- Layer turkey slices flat over the cream cheese, overlapping slightly to prevent gaps. Press gently to adhere.
- Sprinkle sliced green onions evenly over the turkey layer.
- Starting from one long edge, tightly roll the tortilla into a log, tucking in the filling as you go. Pinch the seam closed.
- Wrap each log tightly in plastic wrap or parchment paper. Freeze for at least 30 minutes (or refrigerate for 1 hour) to firm up.
- Unwrap and slice into 1-inch rounds using a sharp knife. Wipe the knife between cuts for clean edges.
Notes
Chilling is essential for clean slicing. Use softened cream cheese for best texture. For low-sodium options, rinse turkey slices or use low-sodium deli meat. These freeze well for up to 3 months.
- Prep Time: 15 minutes
- Cook Time: 0 minutes
- Category: Lunch
- Cuisine: American
Nutrition
- Serving Size: 1 pinwheel
- Calories: 85
- Sugar: 1
- Sodium: 180
- Fat: 4
- Saturated Fat: 2
- Carbohydrates: 6
- Protein: 5
Keywords: turkey pinwheels, school lunch ideas, easy lunch recipe, freezer friendly lunch, kid friendly lunch, meal prep, no cook lunch