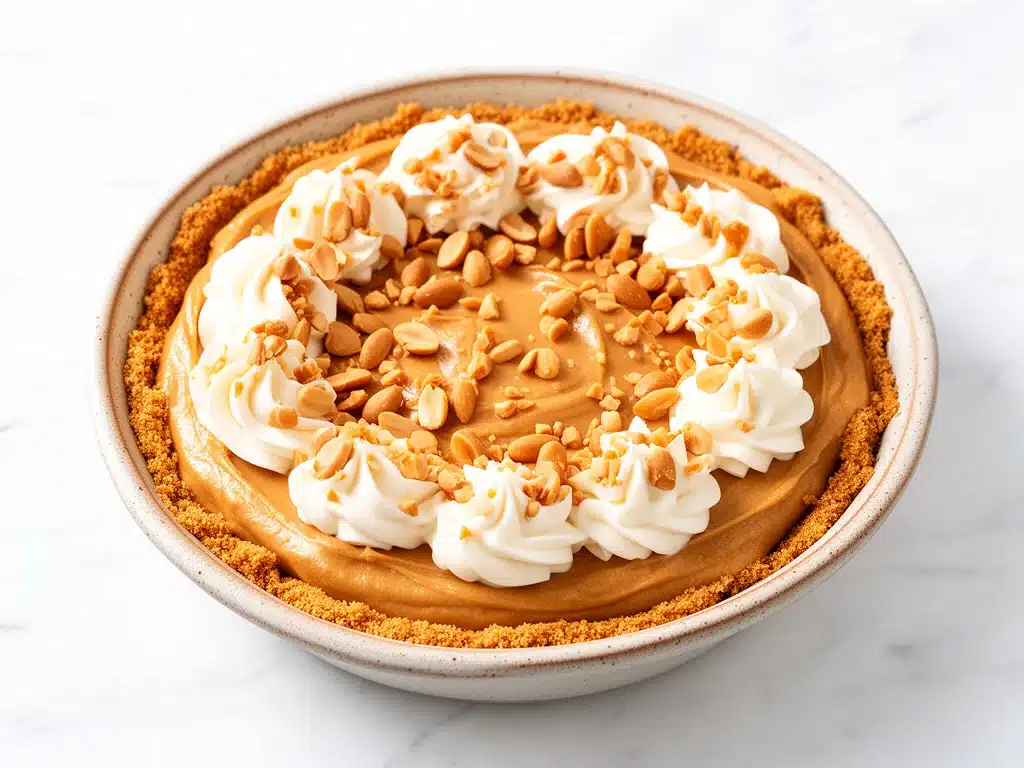
One chilly Saturday afternoon, my niece declared she wanted a peanut butter pie for her birthday—no fuss, no baking, just something creamy and sweet. I was skeptical at first because I’m used to pies that demand hours of painstaking work and a hot oven. But then I stumbled upon this no bake peanut butter pie recipe that called for just five ingredients. I whipped it up on a whim, thinking, “Well, it can’t be that good.”
Fast forward to the moment we cut the first slice: the whole family practically fought over who got the biggest piece. My husband, who usually isn’t a huge fan of desserts, kept going back for more, and even my picky teenager gave me a thumbs up. I’ve made this pie at least a dozen times since then, always with the same result—pure, unadulterated peanut butter bliss that everyone craves.
Here’s the thing about this no bake peanut butter pie recipe: it’s ridiculously simple, uses ingredients you likely already have in your pantry, and takes less than 15 minutes to put together. No oven, no complicated steps, just creamy, dreamy peanut butter perfection. I even brought it to a potluck once, and people asked for the recipe—impressive for a pie that barely makes a mess!
If you love peanut butter as much as I do (and who doesn’t?), you’re going to want this recipe in your back pocket. And if you’ve ever felt intimidated by pies or just want a quick, easy dessert that your whole family will crave, this is it.
Why You’ll Love This No Bake Peanut Butter Pie
This pie is a game-changer in the dessert world, especially when you want something indulgent without the hassle.
- Crazy simple — Five ingredients, no baking. I literally made this while helping my kids with homework.
- Family favorite — I’ve served this at birthdays, weekend get-togethers, and casual dinners. Everyone asks for seconds, no exceptions.
- Speedy prep — From start to finish, about 15 minutes. Perfect for last-minute cravings or unexpected guests.
- Pantry-friendly — Peanut butter, cream cheese, whipped topping, sugar, and a graham cracker crust. I always have these on hand.
- Make-ahead magic — It chills in the fridge and gets even better the next day, making it ideal for meal prep or party planning.
- Kid-approved — My niece declared it the “best dessert ever,” and trust me, she’s a tough critic.
This no bake peanut butter pie has been my go-to for easy entertaining and weeknight desserts alike. It’s the kind of recipe that makes you look like a kitchen rockstar without breaking a sweat.
Ingredients You’ll Need
Here’s the best part: you probably have most of these ingredients sitting in your kitchen already. I’m picky about the cream cheese and peanut butter quality here—it really makes a difference.
- Graham cracker crust (1 9-inch pre-made crust) — I use store-bought for convenience, but if you want to make your own, crushed graham crackers mixed with melted butter works great.
- Cream cheese (8 ounces / 225g, softened) — Full-fat only. It gives the pie that rich, velvety texture. Don’t skip softening it first; it mixes easier.
- Peanut butter (1 cup / 250g, creamy) — Use your favorite brand, but creamy works best for smoothness. I once tried chunky and it was a little too lumpy for this pie.
- Powdered sugar (1 cup / 120g) — Sweetens the filling without graininess. Regular granulated sugar won’t dissolve properly here.
- Whipped topping (8 ounces / 240ml, thawed) — I usually use Cool Whip or any store-bought whipped topping for that light airiness. You can also whip your own heavy cream if you’re feeling fancy.
Optional but delicious add-ons:
- Chocolate chips (½ cup / 90g) — Stir them in for extra texture and chocolate-peanut butter magic.
- Chopped peanuts (¼ cup / 30g) — Sprinkle on top for a little crunch.
Quick tip: If you want to lighten it up, swap half the peanut butter for peanut butter powder mixed with water, but honestly, full creamy peanut butter is what makes this pie addicting.
Equipment Needed
You don’t need fancy gadgets for this dessert—just the basics.
- Mixing bowl — A medium bowl works fine. I use glass or stainless steel for easy cleanup.
- Electric mixer or hand whisk — An electric mixer makes life easier and gets the filling perfectly smooth, but a sturdy whisk works in a pinch.
- Spatula — For folding in the whipped topping gently without deflating it.
- Measuring cups and spoons — Accuracy helps the sugar and peanut butter balance.
- Pie dish or tart pan — If you’re making your own crust, otherwise, just use the pre-made crust it comes with.
Optional but convenient:
- Food processor — If making your own crust, it makes crushing graham crackers super easy.
How to Make No Bake Peanut Butter Pie: Step-by-Step
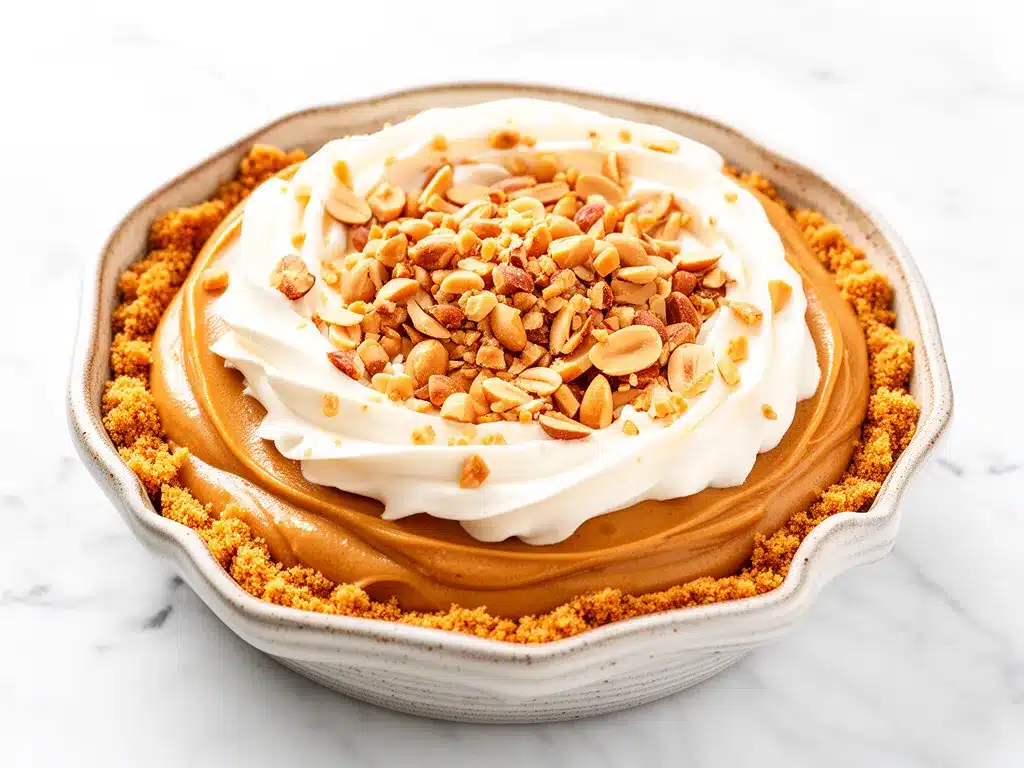
Alright, let’s get to the good stuff. I’m breaking it down exactly how I do it, including all the little tricks that make this pie foolproof.
Step 1: Soften and Mix Cream Cheese and Peanut Butter (5 minutes)
Start by placing the softened cream cheese and peanut butter in your mixing bowl. Beat them together on medium speed until smooth and creamy. This step is key—if your cream cheese is cold or lumpy, the filling won’t be silky. I’ve messed this up a few times and ended up with stubborn chunks that no one wants.
Step 2: Add Powdered Sugar (2 minutes)
Gradually add the powdered sugar while continuing to beat. This sweetens the filling and helps it thicken. Make sure to scrape down the sides of the bowl so everything combines evenly.
Step 3: Fold in Whipped Topping (3 minutes)
Gently fold in the whipped topping using a spatula. This lightens the filling and gives it that fluffy, airy texture. Don’t overmix or you’ll lose that cloud-like feel—fold just until no white streaks remain.
Step 4: Pour Filling into Crust (2 minutes)
Pour the creamy filling into your graham cracker crust and smooth the top with a spatula. You want it even but don’t stress about perfection—this pie is rustic and cozy.
Step 5: Chill and Set (At least 3 hours)
Cover the pie with plastic wrap and refrigerate for at least 3 hours, or overnight if you can wait. This chilling step is what helps the pie firm up and the flavors meld. I’ve learned that skipping this is a recipe for a runny mess (been there, done that).
Step 6: Serve and Enjoy
Slice it up and serve chilled. Top with chopped peanuts or a drizzle of melted chocolate if you want to impress. The pie should be creamy, smooth, and utterly irresistible.
Expert Tips & Tricks for Perfect No Bake Peanut Butter Pie
Here’s everything I’ve learned from making this pie over and over. These tips will save you from my earlier blunders.
- Use full-fat cream cheese and peanut butter: Fat is flavor here. Don’t try low-fat versions—they won’t set properly or taste as rich.
- Softened cream cheese is non-negotiable: I take mine out of the fridge 30 minutes before starting. If you forget, microwave in 10-second bursts until soft but not melted.
- Fold, don’t mix, the whipped topping: Overmixing deflates the air and makes the pie dense.
- Let it chill long enough: At least 3 hours, but overnight is best for a slice that holds together perfectly.
- Make your own crust if you want: Mixing crushed graham crackers with melted butter and pressing it into your pan takes 5 minutes and tastes even better.
- Mix in chocolate chips or chopped peanuts for texture and extra flavor—my husband swears by this.
If you’re interested in other easy, family-friendly desserts, you might like my fudgy brookies recipe or the classic banana bread with brown butter. Both are crowd-pleasers that come together with simple ingredients and minimal fuss.
Variations & Substitutions for Your No Bake Peanut Butter Pie
Once you’ve nailed the classic, these variations keep things fresh and exciting. I’ve tested all of these and they work beautifully.
- Chocolate Peanut Butter Pie: Add ½ cup melted semi-sweet chocolate to the filling before folding in whipped topping. Extra decadent and perfect for chocolate lovers.
- Nut-Free Version: Swap peanut butter for sunflower seed butter. It’s just as creamy and safe for nut allergies.
- Vegan-Friendly: Use vegan cream cheese, coconut whipped topping, and natural peanut butter. Chill longer to help firm up.
- Add Fresh Fruit: Top with sliced bananas or strawberries for a fresh twist.
- Crunchy Crust: Mix chopped pretzels or crushed cookies into your graham cracker crust for extra texture.
For a lighter take, try swapping half the powdered sugar with powdered erythritol or another sweetener you prefer. Just remember, sugar helps with the pie’s structure, so don’t eliminate it completely.
Serving & Storage Tips
I usually slice this pie right from the fridge and serve it chilled—it holds its shape beautifully. It’s perfect for casual family dinners or impressing guests with minimal effort.
Serving Suggestions:
- Pair with a scoop of vanilla ice cream or a drizzle of chocolate sauce.
- Offer a sprinkle of chopped peanuts or mini chocolate chips on the side.
- Serve with a cup of coffee or a cold glass of milk to balance the richness.
For sides, I love simple fresh fruit or a light salad after a rich dessert like this. If you’re interested in easy savory ideas to pair with your sweet treats, my cheesy ham and cheddar quesadilla is a fantastic quick option.
Storage: Store any leftovers tightly covered in the fridge for up to 4 days. The pie actually tastes better the next day once the flavors have melded. When reheating (if you like it slightly softer), let it sit at room temperature for 15 minutes before serving.
Freezing: Not recommended. The texture suffers and can get watery after thawing.
Nutrition Information
I’m not a nutritionist, but here’s a rough idea if you’re tracking. This is based on 8 servings.
| Nutrient | Amount per Serving |
|---|---|
| Calories | 320 |
| Protein | 7g |
| Carbohydrates | 28g |
| Fiber | 2g |
| Sugar | 18g |
| Fat | 22g |
| Saturated Fat | 7g |
| Sodium | 220mg |
| Calcium | 80mg |
This pie is definitely a treat, packed with creamy peanut butter and rich cream cheese. It’s far better than store-bought desserts because you control the ingredients, and it’s made from scratch (without baking!). For a lighter option, try reducing sugar or swapping in lighter whipped toppings as mentioned earlier.
Final Thoughts on This No Bake Peanut Butter Pie
So that’s my easy, no bake peanut butter pie—the one that’s saved me from dessert disasters and won over my family’s taste buds time and time again. I probably could’ve stopped at “five ingredients” and “no bake” and you’d be sold, but the truth is, it’s the creamy, dreamy texture and that perfect peanut butter flavor that make it a keeper.
This pie fits every mood: whether you’re craving something sweet after dinner or need a quick dessert to bring to a potluck, it’s your answer. I love that it’s fast, uses simple ingredients, and makes everyone happy. Plus, it pairs beautifully with other easy recipes I swear by, like those turkey and cheese kabobs or even those crispy baked chicken nuggets for a full family meal.
Make it yours! Add a sprinkle of chopped peanuts, swirl in some chocolate, or top with fresh fruit. And hey, if you make this, drop a comment below and tell me how it turned out. I’m all ears for your twists, questions, or “I messed up” stories—I’ve got plenty of those myself.
Happy baking (or should I say, no baking)! I hope your kitchen smells as good as mine does right now.
Frequently Asked Questions
Q: Can I use crunchy peanut butter instead of creamy?
A: You can, but the texture will be a bit chunkier. I tried it once and found the filling less smooth. If you like a little crunch, go for it! Otherwise, creamy peanut butter gives the best silky texture.
Q: Can I substitute the whipped topping with homemade whipped cream?
A: Absolutely! Freshly whipped heavy cream will make the pie taste even richer and less processed. Just whip it to soft peaks and fold it in gently like the store-bought topping.
Q: How long does this pie last in the refrigerator?
A: It keeps well for up to 4 days. The flavors actually develop more after chilling overnight, so if you can wait, that’s ideal. Just keep it covered tightly to avoid fridge odors.
Q: Can I double this no bake peanut butter pie recipe?
A: Yes, definitely! Just double all the ingredients and use a larger or two pie crusts. The preparation time stays about the same, but chilling time might increase slightly.
Q: Why did my pie filling turn out runny?
A: This usually happens if the cream cheese wasn’t fully softened or if you overfolded the whipped topping, deflating it. Another culprit can be substituting low-fat ingredients which don’t set as well. Stick to full-fat cream cheese and fold gently for best results.
Q: Can I add chocolate chips or other mix-ins?
A: Totally! I love stirring in mini chocolate chips or chopped peanuts for extra texture. Add them just before pouring the filling into the crust.
Q: Is this pie gluten-free?
A: The traditional graham cracker crust contains gluten, but you can easily use a gluten-free crust or make your own with gluten-free cookies. The filling itself is naturally gluten-free.
Pin This Recipe!
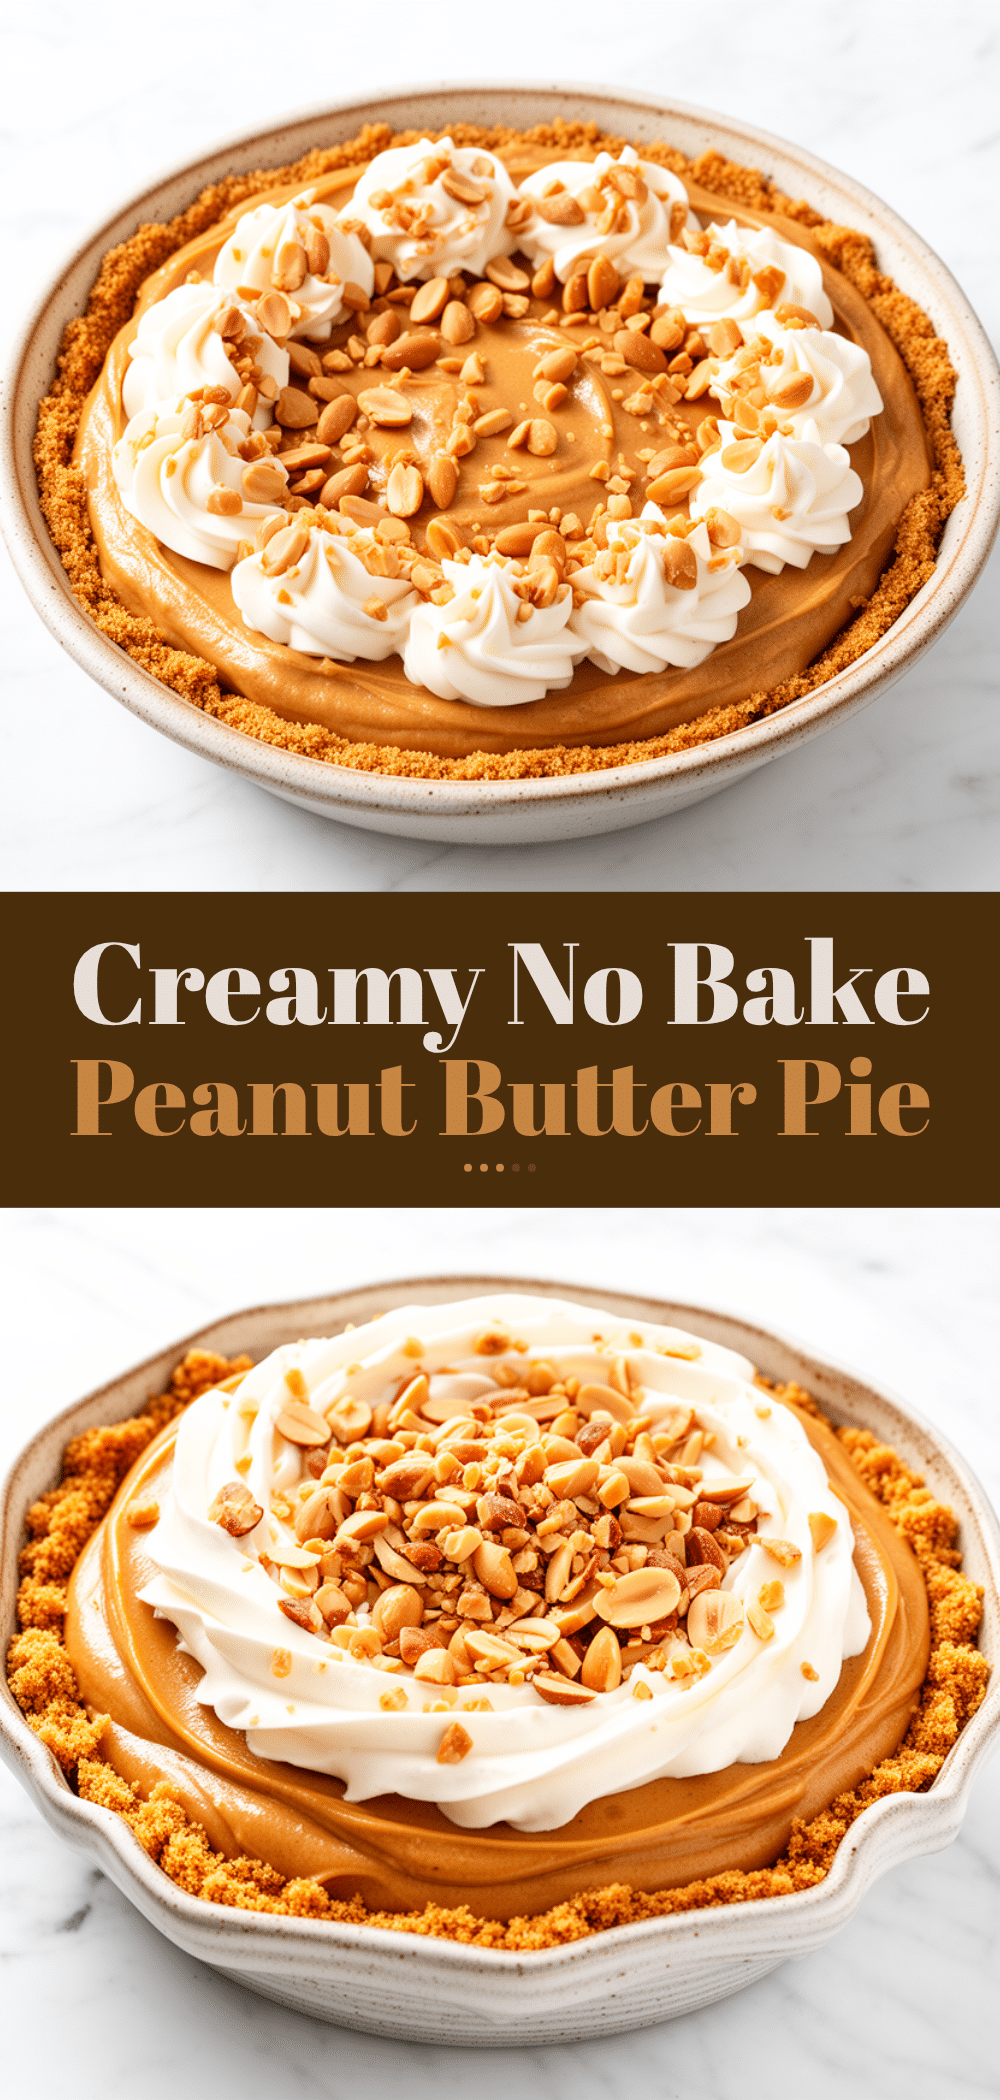
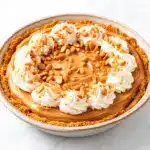
No Bake Peanut Butter Pie Recipe Easy 5-Ingredient Family Favorite
- Total Time: 3 hours 10 minutes
- Yield: 8 servings 1x
Description
A creamy, dreamy no bake peanut butter pie made with just five simple ingredients. Perfect for quick desserts and family gatherings, this pie requires no oven and takes less than 15 minutes to prepare.
Ingredients
- 1 9-inch graham cracker crust (store-bought or homemade)
- 8 ounces (225g) full-fat cream cheese, softened
- 1 cup (250g) creamy peanut butter
- 1 cup (120g) powdered sugar
- 8 ounces (240ml) whipped topping, thawed (e.g., Cool Whip)
- Optional: ½ cup (90g) chocolate chips
- Optional: ¼ cup (30g) chopped peanuts
Instructions
- Soften the cream cheese and peanut butter. Place both in a mixing bowl and beat on medium speed until smooth and creamy (about 5 minutes).
- Gradually add the powdered sugar while continuing to beat, scraping down the sides to combine evenly (about 2 minutes).
- Gently fold in the whipped topping using a spatula until no white streaks remain, being careful not to overmix (about 3 minutes).
- Pour the filling into the graham cracker crust and smooth the top with a spatula (about 2 minutes).
- Cover the pie with plastic wrap and refrigerate for at least 3 hours or overnight to chill and set.
- Slice and serve chilled. Optionally, top with chopped peanuts or drizzle with melted chocolate.
Notes
Use full-fat cream cheese and creamy peanut butter for best texture and flavor. Soften cream cheese before mixing. Fold whipped topping gently to keep the filling airy. Chill at least 3 hours or overnight for best results. Optional add-ins include chocolate chips and chopped peanuts. Store leftovers covered in the fridge up to 4 days. Not recommended to freeze.
- Prep Time: 10 minutes
- Cook Time: 0 minutes
- Category: Dessert
- Cuisine: American
Nutrition
- Serving Size: 1 slice (1/8 of pie)
- Calories: 320
- Sugar: 18
- Sodium: 220
- Fat: 22
- Saturated Fat: 7
- Carbohydrates: 28
- Fiber: 2
- Protein: 7
Keywords: no bake peanut butter pie, easy peanut butter pie, 5 ingredient dessert, no bake dessert, family favorite pie, creamy peanut butter pie