Last Tuesday, I walked through the door at 5:05 PM feeling exactly like I did in high school during finals week: exhausted, hungry, and completely mentally blank. My brain was fried. The kids were asking “what’s for dinner?” with that specific tone that suggests they’ve already decided the answer is probably wrong. I stared into the fridge, saw a bag of cornmeal, some eggs, and a stick of butter that had been sitting out a little too long. I didn’t want to cook. I definitely didn’t want to do dishes. But I also knew that ordering takeout was going to cost me $30 and arrive cold.
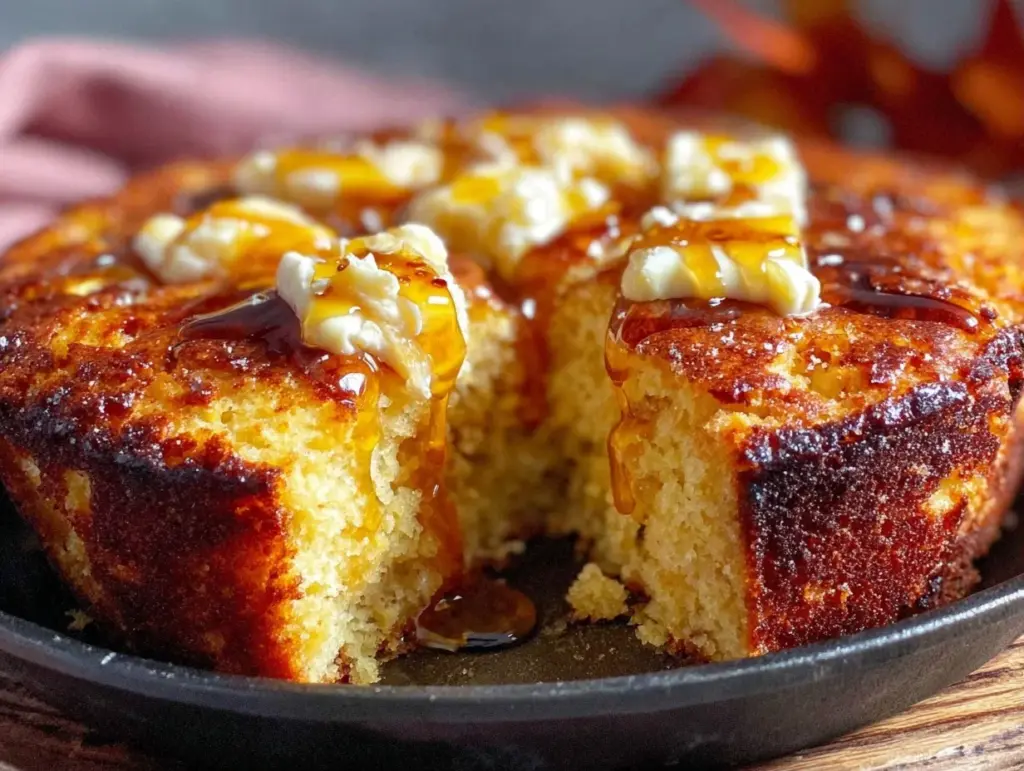
So I made this Labor Day Cast Iron Skillet Cornbread. And not just any cornbread. The kind that’s crispy on the bottom, tender on top, and smells like heaven so the kids think I’m a genius chef instead of just someone who panicked.
Here’s the thing about this recipe: it’s the ultimate cheat code for busy weeknights. You don’t need to measure flour, sift anything, or worry about gluten development. You just dump, whisk, and bake. It pairs perfectly with the smoky bourbon BBQ ribs I made last weekend, but honestly? It’s just as good on a random Wednesday when you’re running on fumes. It’s sweet enough to satisfy a craving but savory enough to stand up to chili, beans, or even leftover chicken.
I’ve tested this cornbread recipe about a dozen times over the last few months—sometimes with buttermilk, sometimes with yogurt, sometimes with straight milk. This version? This is the one. It’s the one that gets made again and again because it works. Every. Single. Time. It’s golden, buttery, and requires zero skill beyond knowing how to turn on your oven.
Why You’ll Love This Cast Iron Skillet Cornbread
There are a hundred reasons I keep coming back to this skillet cornbread, but let’s be real—you’re here because you need dinner to work right now. Here’s why this recipe is going to save your evening:
It’s Actually Fast — Seriously. From the moment you grab the mixing bowl to the moment it goes in the oven, it takes about 10 minutes. Then you just let the oven do the work. I can mix this while the kettle boils or while I’m folding laundry. It doesn’t demand my attention. The 20-25 minute bake time is just passive cooking. I can sit on the couch, drink a glass of wine, and not feel guilty.
One Pan, Zero Drama — This is the biggest selling point for me. One skillet. One bowl. One whisk. If you can wash a whisk, you can make this. There are no nested dishes, no measuring cups clogging your sink, and no complicated techniques. It’s the kind of recipe that makes you feel like a competent adult even when you’re running on three hours of sleep.
It’s Forgiving — I’ve made this with ingredients I had lying around. Ran out of buttermilk? Use milk and a splash of vinegar. Forgot the sugar? It’s still good. Too dry? Add a little more butter. This recipe is incredibly flexible because it’s simple. You can’t really mess it up unless you burn it, and even then, it’s just a little extra crunch.
It Pairs with Everything — I’ve served this with spicy chili, creamy mac and cheese bites, simple roasted vegetables, and even just a big spoonful of peanut butter (yes, really, it’s surprisingly good). It’s the perfect side because it’s neutral enough to not fight with your main dish but flavorful enough to not be boring.
Leftovers Are Actually Good — I know, I know. People say cornbread is best fresh. But honestly? Cold cornbread is amazing for breakfast. Toast a slice in the morning with a little honey or jam, and it’s like a dessert for breakfast. Or just eat it straight from the fridge. It holds up really well.
This is my go-to when I need dinner to just work. No stress, no fancy ingredients, just reliable, delicious food that makes everyone happy. It’s the answer to “5pm and nothing planned.”
Ingredients You’ll Need
Here’s the best part: you probably have most of this already. This isn’t a recipe that requires a trip to three different specialty stores. It’s pantry-friendly, simple, and straightforward.
For the Cornbread Base
Yellow Cornmeal (1 cup / 140g) — This is the star. Don’t use fine meal if you want that classic crumbly texture; medium grind is best. I like Stone Ground for a nuttier flavor, but regular yellow cornmeal works perfectly fine. Just make sure it’s not corn flour (which is super fine and makes dense cakes).
All-Purpose Flour (½ cup / 65g) — Yes, we’re adding a little flour. It gives the cornbread structure so it doesn’t crumble into a million pieces when you try to cut it. It keeps it tender without being too gritty.
Baking Powder (1 tablespoon) — Fresh baking powder is key here. If yours is older than six months, it might not leaven properly, and your cornbread will be dense. I keep a new can in my pantry just for this.
Baking Soda (½ teaspoon) — This reacts with the acid in the buttermilk to create lift. Don’t skip it!
Salt (1 teaspoon) — Essential. Cornmeal is bland on its own. Salt brings out the corn flavor. Use kosher salt if you have it; if you use table salt, maybe reduce to ¾ teaspoon.
Sugar (2 tablespoons) — We’re going for slightly sweet, not cake-sweet. 2 tablespoons gives that nice caramelized edge in the skillet without making it taste like dessert. If you prefer savory, reduce to 1 tablespoon.
Eggs (2 large) — Room temperature eggs mix better, but cold eggs work fine too. Just whisk them well.
Buttermilk (1 cup / 240ml) — This is the secret to tenderness. The acid breaks down the cornmeal proteins, making it softer. If you don’t have buttermilk, make a quick substitute: add 1 tablespoon of white vinegar or lemon juice to a measuring cup, then fill the rest with regular milk. Let it sit for 5-10 minutes until it curdles slightly.
Melted Butter (¼ cup / 55g) — For richness. You can use oil, but butter tastes better. If you’re dairy-free, use melted coconut oil, but the flavor profile will change slightly.
For the Skillet Finish
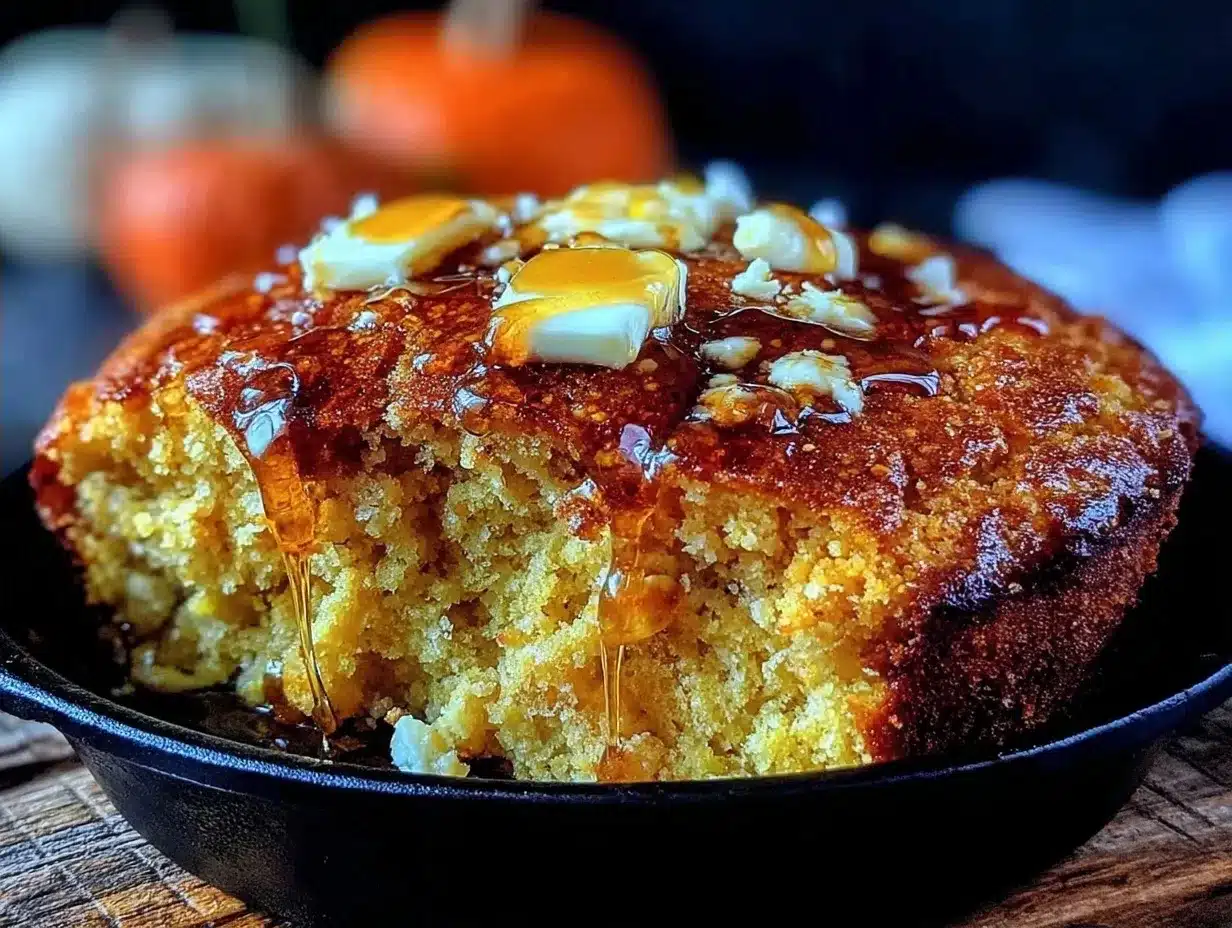
Extra Butter or Oil (1 tablespoon) — This goes in the skillet *before* the batter. It fries the bottom of the cornbread, creating that iconic crispy, golden crust. Do not skip this step. It’s the difference between good and great.
Optional: Honey Butter — For serving. Mix softened butter with a drizzle of honey. It’s amazing on warm cornbread.
Equipment Needed
You don’t need fancy equipment for this. Here’s what I actually use.
10-inch Cast Iron Skillet — I use my trusty Lodge skillet. It holds heat well and creates that crispy crust. If you don’t have cast iron, a 9-inch metal baking pan works, but you won’t get the same crispy bottom. A glass pie dish will work too, but the baking time might be slightly longer.
Mixing Bowl — Any medium bowl works. I usually use a ceramic bowl because it’s heavy and doesn’t slip.
Whisk — For mixing the wet ingredients. A fork works in a pinch, but a whisk is faster.
Measuring Cups and Spoons — Standard stuff. Dollar store versions work fine.
Pastry Brush or Spoon — To spread the butter in the skillet.
Cooling Rack — Optional, but helpful if you want to let it cool slightly before cutting.
How to Make It: Step-by-Step
Alright, let’s make this! I’m walking you through exactly how I do it, including the little tricks I’ve picked up. It’s simple, but there are a few things to watch for.
Step 1: Preheat Your Oven and Skillet (5 minutes)
First, preheat your oven to 425°F (220°C). This is crucial. We want a hot oven to get that rise and crispiness. While the oven heats, put your empty cast iron skillet in the oven. Yes, really. Letting the skillet heat up with the oven ensures that when you pour the batter in, it sizzles immediately, creating that crispy crust. This step takes about 10-15 minutes.
Step 2: Mix the Dry Ingredients (2 minutes)
In your mixing bowl, whisk together the cornmeal, all-purpose flour, baking powder, baking soda, salt, and sugar. Make sure there are no lumps of baking powder. If your cornmeal is very coarse, you might want to sift it, but usually, a good whisk is enough.
Step 3: Mix the Wet Ingredients (2 minutes)
In a separate bowl (or the same one if you’re lazy, but separate is cleaner), whisk the eggs, buttermilk, and melted butter. The melted butter should be warm but not hot—if it’s boiling, it’ll cook the eggs. You want it just melted.
Step 4: Combine Wet and Dry (1 minute)
Pour the wet ingredients into the dry ingredients. Stir gently with a spatula or wooden spoon. Stop mixing as soon as the flour is moistened. It will look lumpy. That’s okay! Overmixing makes cornbread tough. We want it tender and crumbly, not dense like a brick. If you overmix, you’re developing gluten, and we don’t want that in cornbread.
Step 5: Pour and Bake (20-25 minutes)
Using oven mitts, carefully remove the hot skillet from the oven. Add the tablespoon of butter or oil to the hot skillet. It will melt instantly and maybe smoke a little. Swirl it around to coat the bottom and sides. Carefully pour the batter into the hot skillet. It will sizzle—that’s the sound of deliciousness. Put the skillet back in the oven and bake for 20-25 minutes. The cornbread is done when the top is golden brown, the edges pull away slightly from the skillet, and a toothpick inserted in the center comes out clean or with just a few moist crumbs.
Step 6: Cool and Serve (5-10 minutes)
Remove the skillet from the oven and let it cool for at least 5-10 minutes before cutting. This allows the cornbread to set. If you cut it immediately, it might fall apart. Slice it into wedges, just like a pie. Serve warm with extra butter or honey.
Expert Tips & Tricks
Here’s everything I’ve learned from making this dozens of times. These tips will save you from my mistakes.
The Skillet Must Be Hot — This is the #1 tip. If your skillet isn’t hot enough, you won’t get that crispy crust. Preheat it with the oven. It’s non-negotiable for the best texture.
Don’t Overmix — I know it’s tempting to stir until it’s smooth, but resist. Lumpy batter = tender cornbread. Smooth batter = dense cornbread. Trust me on this.
Check at 20 Minutes — Ovens vary. Start checking your cornbread at 20 minutes. If the toothpick comes out clean, it’s done. If it’s wet, give it another 2-3 minutes. You don’t want dry cornbread.
Use Fresh Baking Powder — I’ve made this with old baking powder, and it was flat and dense. Check the date on your can. If it’s old, buy a new one. It’s cheap insurance for good cornbread.
Buttermilk Substitutions — If you don’t have buttermilk, use milk + vinegar. If you don’t have vinegar, use milk + lemon juice. If you don’t have either, use milk + yogurt. It’s not quite the same, but it works. The acid is important for the chemical reaction.
Crispy Edges Are Good — If the edges get a little dark, don’t worry. That’s the best part. Just keep an eye on it in the last few minutes of baking.
Variations & Substitutions
Once you’ve nailed the basic version, here’s how you can mix it up. I’ve tried all of these.
Jalapeño Cornbread — Add 1-2 diced jalapeños (seeds removed if you want less heat) to the batter. Add a handful of shredded cheddar cheese. This is perfect with chili or crispy baked chicken nuggets for a spicy twist.
Honey Cornbread — Increase the sugar to ¼ cup and add 2 tablespoons of honey to the wet ingredients. This is sweeter and great for breakfast or dessert.
Herb Cornbread — Add 1 teaspoon of dried thyme or rosemary to the dry ingredients. This makes it more savory and great with roasted vegetables or soup.
Corn and Cheese — Add 1 cup of fresh or frozen corn kernels and ½ cup of shredded cheddar cheese. This adds texture and flavor. It’s like a corn chowder in bread form.
Gluten-Free Option — Swap the all-purpose flour for a gluten-free 1:1 baking flour. The texture will be slightly different, but it’s still good. I’ve used Bob’s Red Mill 1:1 flour and it works well.
Dairy-Free Option — Use dairy-free milk (almond, soy, oat) and dairy-free butter or coconut oil. It’s still delicious, just slightly less rich.
Serving & Storage
How to Serve: I usually serve this straight from the skillet at the dinner table—it looks rustic and stays warm. But here are other ways I’ve enjoyed it:
- With Chili: The classic combo. The sweetness of the cornbread balances the spice of the chili.
- With BBQ: Pairs perfectly with smoky bourbon BBQ ribs or pulled pork.
- With Soup: Great with tomato soup or roasted tomato basil soup.
- For Breakfast: Toast a slice and top with peanut butter and honey, or jam.
Toppings Bar: When I have guests, I put out: extra butter, honey, jalapeños, shredded cheese. Everyone customizes their slice.
Storage Instructions:
Refrigerator: Store in an airtight container for up to 4 days. The cornbread will dry out slightly in the fridge, so it’s best eaten at room temperature or reheated.
Reheating: Best method: Toast in a toaster oven or regular oven at 350°F for 5-10 minutes. This restores the crispiness. Microwave works in a pinch (30 seconds), but it will be soft and chewy, not crispy.
Freezing: Cornbread freezes well! Wrap individual slices in plastic wrap and then in foil. Freeze for up to 3 months. Thaw at room temperature or toast from frozen.
Pro tip: If leftovers are drying out, wrap the whole loaf in foil and warm it in a 350°F oven for 10 minutes. It’ll be soft and fresh again.
Nutrition Information
I’m not a nutritionist, but here’s the breakdown if you’re tracking.
Per Serving (based on 8 servings):
| Nutrient | Amount |
|---|---|
| Calories | 180 |
| Protein | 4g |
| Carbs | 22g |
| Fiber | 2g |
| Sugar | 4g |
| Fat | 8g |
| Saturated Fat | 4g |
| Cholesterol | 35mg |
| Sodium | 320mg |
What’s Good:
- Decent protein from eggs and dairy
- Gluten-free option available
- Simple ingredients
What to Know:
- Higher in calories due to butter and cornmeal
- Contains dairy and eggs
- Can be made gluten-free
My Take: Look, this is comfort food. It’s not a diet recipe. But it’s way better than store-bought, costs less, and I know exactly what’s in it. When I want to make it lighter, I reduce the butter and use less sugar. But usually? I just eat a reasonable portion and enjoy it.
Final Thoughts
So that’s my go-to Labor Day Cast Iron Skillet Cornbread! I’ve probably talked your ear off at this point, but when you make a recipe this often, you have a lot to say about it.
This has saved weeknight dinners more times than I can count. It’s my answer to “what’s for dinner” when I’m tired, don’t want takeout, and still want something that tastes really good. My kids are happy, my husband’s happy, and I’m happy because I’m not stressed about cooking.
Make it yours! Try different add-ins, swap in your favorite vegetables, adjust the sweetness. The best recipes are the ones you adapt to your family’s tastes. And if you need a side dish that’s easy to make ahead, check out these back-to-school mini egg and cheese breakfast muffins—they’re great for meal prep.
If you make this, drop a comment and let me know what you think! I love hearing how recipes turn out in your kitchen. And if something doesn’t work, tell me that too—I’m here to help troubleshoot.
Happy cooking! And I hope your kitchen smells half as good as mine does right now.
Frequently Asked Questions
Can I use white cornmeal instead of yellow?
Absolutely. White cornmeal has a slightly more delicate, sweet flavor, while yellow cornmeal has a more pronounced corn taste. Both work perfectly. I usually use yellow because it’s what I have, but white is great too. The texture will be the same.
Why did my cornbread turn out dense?
This usually happens for two reasons: overmixing the batter or old baking powder. If you mix until the batter is smooth, you’re developing gluten, which makes it tough. Also, check your baking powder. If it’s old, it won’t rise properly. Make sure you’re using fresh baking powder and stop mixing as soon as the flour is moistened.
Can I make this in a regular baking pan?
Yes, but you won’t get the crispy crust. Use a 9-inch square metal baking pan. Grease it well with butter. Bake at 425°F for 20-25 minutes. The texture will be softer all over, which some people prefer. Just know you’re missing out on that crispy bottom.
How do I reheat leftovers without them drying out?
Wrap the cornbread in foil and warm it in a 350°F oven for 10 minutes. This keeps the moisture in. If you microwave it, it will be soft and chewy, which is fine, but it won’t have that fresh-baked texture. Toasting slices in a toaster oven is also great.
Can I add cheese to this?
Yes! Cheddar is the classic choice. Add ½ cup of shredded cheddar to the batter. You can also add jalapeños for a spicy kick. Just fold the cheese and jalapeños in gently at the end. It makes the cornbread more savory and delicious.
Why does the butter sizzle when I pour the batter in?
That’s supposed to happen! The hot skillet melts the butter instantly, and when the cool batter hits it, it sizzles. This creates the crispy, fried bottom crust. If it’s not sizzling, your skillet wasn’t hot enough. Preheat it with the oven to ensure it’s ready.
Can I make this ahead of time?
You can make the batter ahead, but it’s best to bake it fresh. If you mix the batter and let it sit, the baking powder will start to activate, and the cornbread might not rise as well. I recommend mixing the dry ingredients ahead of time and adding the wet ingredients right before baking. Or just make the whole thing and freeze the leftovers—it’s just as good reheated.
Pin This Recipe!
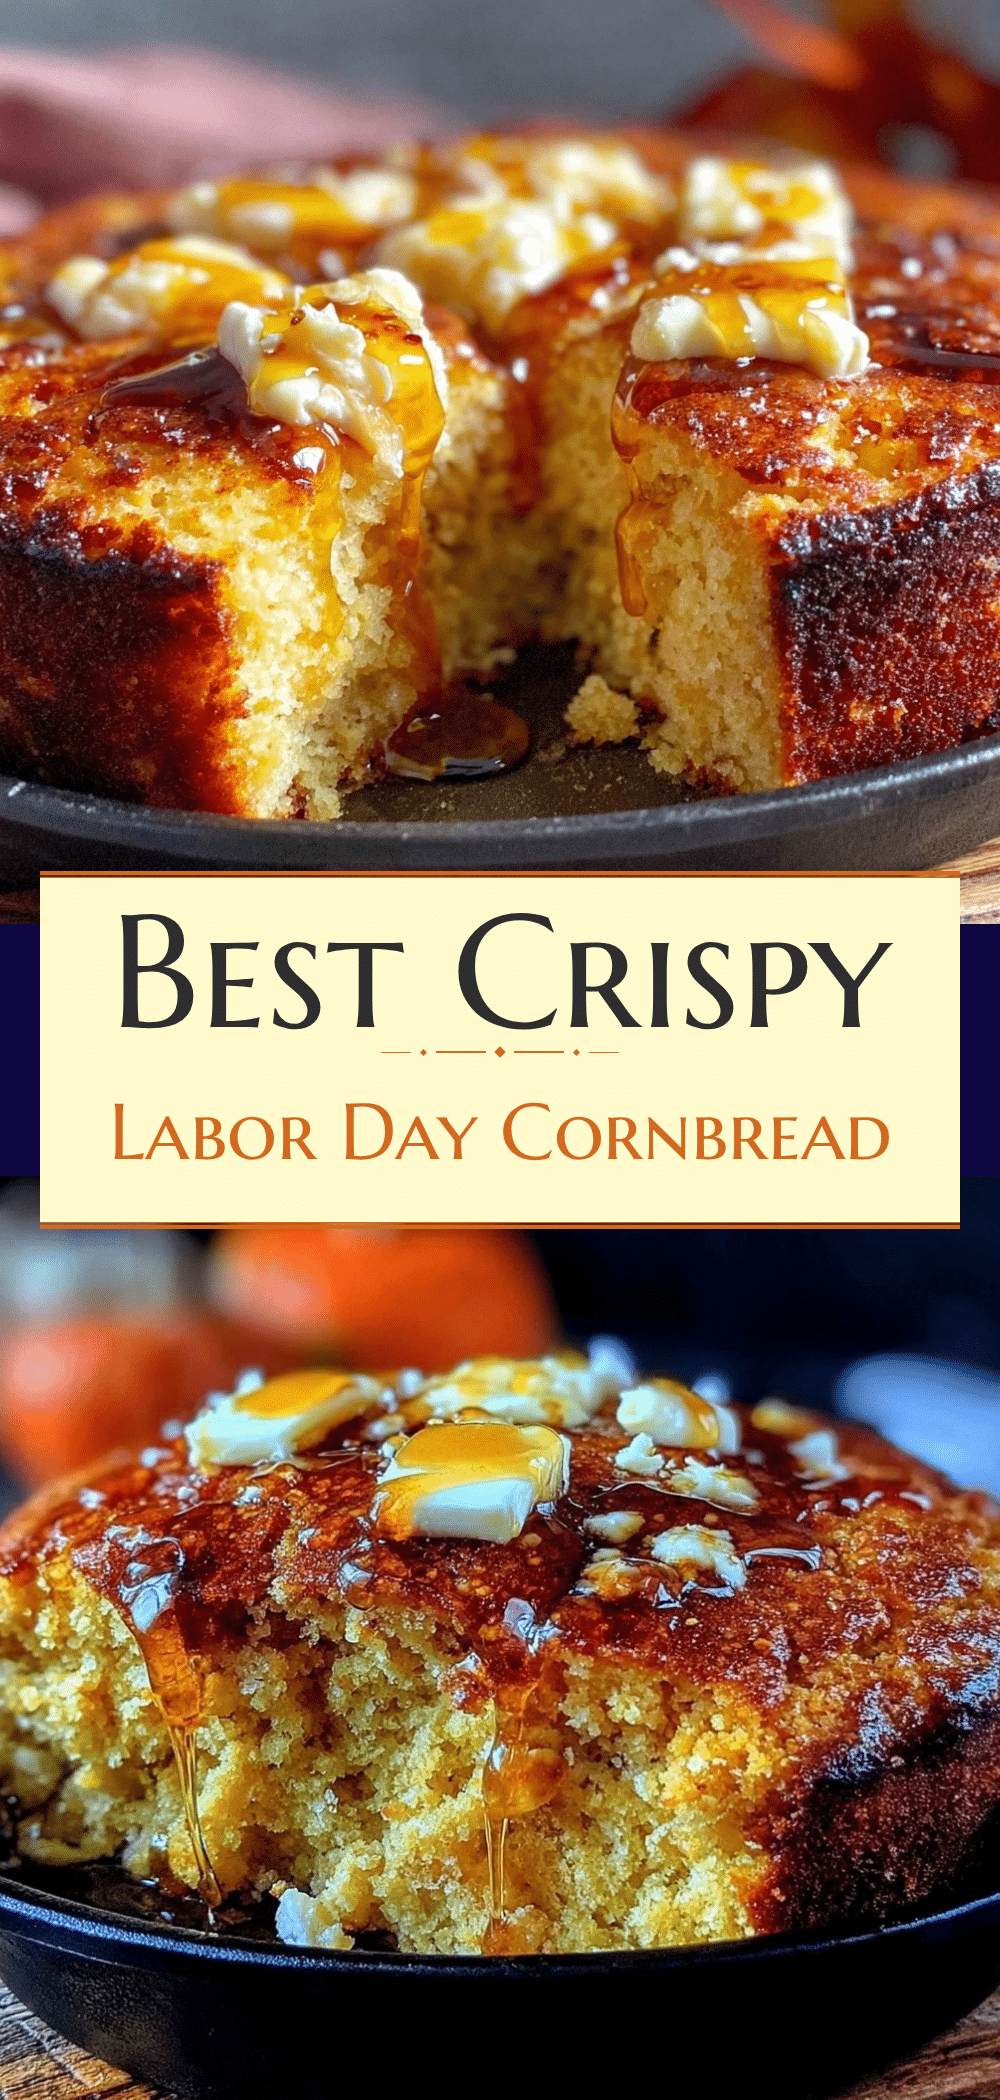
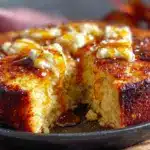
Labor Day Cast Iron Skillet Cornbread: The 5PM Win
- Total Time: 35-45 minutes
- Yield: 8 servings 1x
Description
A fast, forgiving, and crispy-bottomed cast iron skillet cornbread that is perfect for busy weeknights. It requires minimal effort, uses simple pantry ingredients, and pairs well with chili, BBQ, or soup.
Ingredients
- 1 cup (140g) yellow cornmeal (medium grind)
- ½ cup (65g) all-purpose flour
- 1 tablespoon baking powder
- ½ teaspoon baking soda
- 1 teaspoon salt (kosher or table)
- 2 tablespoons sugar
- 2 large eggs
- 1 cup (240ml) buttermilk
- ¼ cup (55g) melted butter
- 1 tablespoon extra butter or oil (for the skillet)
Instructions
- Preheat oven to 425°F (220°C). Place an empty 10-inch cast iron skillet in the oven to heat up for 10-15 minutes.
- In a mixing bowl, whisk together the cornmeal, all-purpose flour, baking powder, baking soda, salt, and sugar until combined.
- In a separate bowl, whisk the eggs, buttermilk, and melted butter until smooth.
- Pour the wet ingredients into the dry ingredients. Stir gently with a spatula or wooden spoon just until the flour is moistened. Do not overmix; the batter should remain lumpy.
- Carefully remove the hot skillet from the oven. Add the tablespoon of butter or oil to the hot skillet and swirl to coat the bottom and sides.
- Pour the batter into the hot skillet. It will sizzle immediately.
- Bake for 20-25 minutes, or until the top is golden brown, the edges pull away from the skillet, and a toothpick inserted in the center comes out clean.
- Remove from the oven and let cool for 5-10 minutes before slicing into wedges and serving.
Notes
Ensure the skillet is preheated with the oven to create a crispy crust. Do not overmix the batter to avoid a dense texture. If you don’t have buttermilk, substitute with milk plus 1 tablespoon of vinegar or lemon juice. For a gluten-free version, swap all-purpose flour for a 1:1 gluten-free baking flour.
- Prep Time: 10 minutes
- Cook Time: 20-25 minutes
- Category: Side Dish
- Cuisine: American
Nutrition
- Serving Size: 1 wedge
- Calories: 180
- Sugar: 4
- Sodium: 320
- Fat: 8
- Saturated Fat: 4
- Carbohydrates: 22
- Fiber: 2
- Protein: 4
Keywords: cornbread, cast iron skillet, easy dinner, weeknight meals, side dish, gluten-free option, buttermilk cornbread, crispy cornbread