It’s 6:45 AM on a Tuesday. The alarm didn’t go off because my phone died. My kids are already arguing over who gets the blue cup. And I’m standing in the kitchen, staring at a cold counter, realizing I have exactly twelve minutes before the school bus pulls up to the curb. In any other life, I’d be serving dry cereal out of the box. But last semester, I hit a breaking point. I was too tired to cook, too stressed to clean, and my kids were too hungry to care about nutrition. That’s when I stopped trying to be the perfect mom and started being the smart one.
I discovered that the secret to surviving the morning rush wasn’t waking up earlier; it was cooking the night before. Specifically, these apple cinnamon oatmeal cups. They’re not just breakfast. They’re a peace treaty. They’re the reason I can shower without rushing, grab my coffee, and actually say goodbye to my kids instead of waving from the driveway. If you’re drowning in the back-to-school chaos, this is your lifeline.
I’ve tested this recipe about twenty times. Some batches were too mushy, some were too dry, and one time I accidentally used salt instead of sugar (don’t ask). But after refining the ratios, I landed on the perfect texture: tender oats, juicy apple chunks, and just enough cinnamon to smell like autumn, even in the dead of winter. These apple cinnamon oatmeal cups are the best make-ahead breakfast I’ve ever made. They hold up in the lunchbox, reheat beautifully in the microwave, and taste like a treat rather than a chore.
What I love most is that they bridge the gap between healthy and indulgent. My kids think they’re getting a mini apple pie. I know they’re getting fiber, protein, and slow-release energy that keeps them focused in first period. It’s a win-win. And the best part? You only need one bowl and a muffin tin. No fancy equipment, no complicated techniques. Just simple ingredients you probably already have in your pantry.
Why You’ll Love This Recipe
Look, I’m not going to pretend that making breakfast from scratch every morning is my idea of fun. It’s not. But these oatmeal cups have completely changed our morning routine. Here’s why they’ve earned a permanent spot in my weekly meal prep rotation.
Stupid Simple Prep — Seriously, if you can stir a bowl, you can make these. I mix everything in a single large bowl. One bowl. One muffin tin. I’ve made these while holding my toddler on my hip. It’s that easy.
Freezer-Friendly — This is the game-changer. I make a double batch on Sunday night, freeze half immediately, and keep the other half in the fridge for quick grab-and-go mornings. Three months later, they still taste fresh. I’ve done this through snow days, flu seasons, and exam weeks.
Kid-Approved Taste — My pickiest eater, who usually refuses anything “oat-like,” asks for these specifically. The cinnamon and apple flavor masks the healthiness entirely. They taste like dessert. I’ve even packed them in lunchboxes alongside my back-to-school oatmeal raisin lunchbox cookies for a sweet, wholesome treat.
Customizable — Need more protein? Add a scoop of powder. Want it dairy-free? Use plant-based butter and milk. My daughter loves adding chocolate chips, while my son prefers walnuts. The base recipe is flexible enough to handle whatever your family craves that morning.
Budget-Smart — Oats are cheap. Apples are cheap. These cost pennies per cup compared to the $4 breakfast sandwich from the drive-thru. I save probably $50 a month just by making these instead of buying pre-packaged breakfast bars.
This is my go-to when I need dinner to just work. No complicated techniques, no weird ingredients, just reliable, delicious food that makes everyone happy. It’s the answer to ‘5pm and nothing planned’ but for the morning rush.
Ingredients You’ll Need
Here’s the best part: you probably have most of this already. This isn’t a recipe that requires a special trip to the grocery store for one obscure ingredient. It’s pantry staples and fresh basics.
Old-Fashioned Rolled Oats (2 cups / 160g) — Do not use instant oats. They turn to mush. Do not use steel-cut. They won’t cook through in the muffin tin. Old-fashioned rolled oats give the perfect chewy texture. I always buy the store brand; it’s identical to the name brand and saves money.
Milk (1 cup / 240ml) — Any milk works. I use whole milk for richness, but almond or oat milk works perfectly fine if you’re dairy-free. Just make sure it’s not too watery.
Eggs (2 large) — These act as the binder. They hold everything together so the cups don’t fall apart. Room temperature eggs mix easier, but cold ones work too. I’ve been burned by cracked eggs in the batter before, so crack them carefully!
Apples (2 medium, about 300g) — I use Honeycrisp or Gala. They’re sweet and hold their shape well. Granny Smith works if you like tartness, but my kids prefer sweeter. Peel them? Your call. I peel mine because my picky eater refuses to eat skin, but the nutrition is in the peel, so don’t feel bad if you leave it on.
Butter (2 tablespoons / 30g) — Melted. I use salted butter for flavor. If you’re using unsalted butter, add a tiny pinch of salt to the batter. Coconut oil works for dairy-free versions, but the flavor is different.
Pure Maple Syrup (3 tablespoons / 45ml) — Real maple syrup, not pancake syrup. The flavor is distinct and worth the extra few dollars. It adds a deep, rich sweetness that sugar just can’t match. If you’re out, honey works, but the maple taste is iconic here.
Cinnamon (1 teaspoon) — Ground cinnamon. Don’t skimp. This is the main flavor profile. If you have pumpkin pie spice, you can use that for a warmer, spicier kick.
Vanilla Extract (1 teaspoon) — Pure vanilla, please. I know it’s tempting to use imitation, but in a recipe with few ingredients, the vanilla quality really shines through.
Salt (¼ teaspoon) — Just a pinch to balance the sweetness. It wakes up the other flavors.
Optional Add-ins:
– Chopped Walnuts or Pecans (½ cup) — For crunch and healthy fats.
– Dark Chocolate Chips (¼ cup) — Because why not? My kids love these as “breakfast cookies.”
– Protein Powder (1 scoop) — Vanilla or unflavored works best. Adds a scoop of protein without changing the taste much.
Shopping Tip: I buy a big bag of oats and a bag of apples every Sunday. It’s cheap, it lasts weeks, and it means I’m never caught without breakfast ingredients. I also keep a bottle of maple syrup in the pantry at all times because I use it for everything from after-school cinnamon apple nachos to these cups.
Equipment Needed
You don’t need fancy equipment for this. Here’s what I actually use.
Large Mixing Bowl — I use a 4-quart ceramic bowl. It’s heavy enough not to tip over when I’m stirring vigorously. Any large bowl works, just make sure it’s big enough to hold all the ingredients without spilling.
12-Cup Muffin Tin — Standard size. I use a non-stick tin. If yours is well-seasoned or non-stick, you probably won’t even need to grease it, but I always spray it lightly with oil just to be safe. I’ve lost cupcakes to stuck bottoms before, and it’s heartbreaking.
Pastry Brush or Spray Oil — For greasing the muffin cups. I keep a silicone pastry brush in my drawer for this. It’s cheaper than buying baking spray every week.
Grater or Knife — To chop the apples. I use a box grater for a finer dice, which cooks faster and feels softer in the mouth. If you prefer chunks, a knife is fine. Just keep the pieces small—no bigger than a pea.
Measuring Cups and Spoons — Standard stuff. Dollar store versions work fine. Accuracy matters here because oats absorb liquid differently than flour.
Freezer-Safe Containers or Bags — If you plan to freeze them (which you should), get some airtight containers or heavy-duty freezer bags. I use glass containers because they don’t stain and I can reheat them directly in the microwave. Plastic bags save space but can get messy.
Microwave — Obviously, for reheating. But you can also eat these cold if you’re in a huge hurry. They’re not terrible cold, just best warm.
How to Make It: Step-by-Step
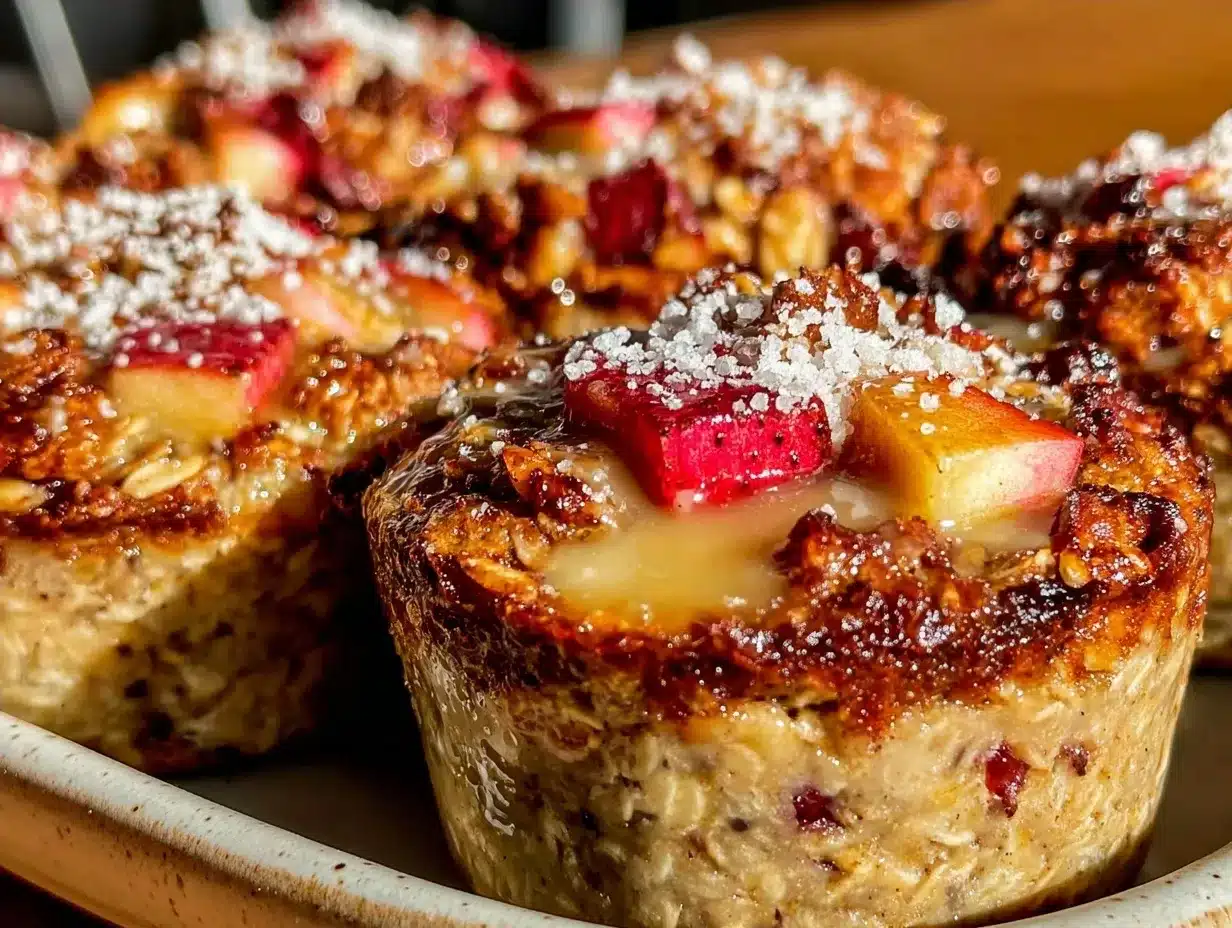
Alright, let’s make this! I’m walking you through exactly how I do it, including the little tricks I’ve picked up.
Step 1: Prep the Apples (5 minutes)
Wash your apples. Peel them if you want to (I do). Dice them into small, uniform pieces. I like them about the size of blueberries. If they’re too big, they won’t cook evenly and you’ll get crunchy bits in your soft oatmeal. Set them aside in a small bowl.
Step 2: Mix the Wet Ingredients (2 minutes)
In your large mixing bowl, whisk together the milk, melted butter, eggs, maple syrup, vanilla, and salt. Whisk until it’s smooth and uniform. It should look like a pale yellow liquid. Don’t worry about over-whisking; you’re just emulsifying the butter and egg.
Step 3: Add the Dry Ingredients (2 minutes)
Add the rolled oats and cinnamon to the wet mixture. Stir well. Make sure all the oats are submerged in the liquid. If some are floating, give it a good stir. Let this sit for 5 minutes. This is crucial. It lets the oats absorb some of the liquid so they don’t stay crunchy. I usually do this while I’m getting the kids dressed.
Step 4: Combine Everything (2 minutes)
Add the diced apples to the oat mixture. Stir until evenly distributed. If you’re adding nuts or chocolate chips, fold them in now. The batter will look thick and chunky. That’s exactly what you want.
Step 5: Fill the Muffin Tin (3 minutes)
Lightly grease your muffin tin. Spoon the batter into each cup, filling them about ¾ full. Don’t overfill them, or they’ll bubble over and make a mess. Use a spoon to flatten the tops slightly. I like them to look like little cakes, not mounds.
Step 6: Bake (18-20 minutes)
Preheat your oven to 350°F (175°C). Place the tin in the center rack. Bake for 18-20 minutes. You’ll know they’re done when the tops are golden brown and a toothpick inserted into the center comes out clean (or with just a few moist crumbs, not wet batter). The smell will fill your house with that warm, cozy apple cinnamon scent.
Step 7: Cool and Store (15 minutes)
Let them cool in the pan for 5 minutes. Then transfer them to a wire rack to cool completely. This prevents them from getting soggy from steam. Once cool, you can eat them immediately, store them in the fridge for up to 5 days, or freeze them for up to 3 months.
Troubleshooting:
– Soggy bottoms? Make sure you’re using a non-stick tin or greasing well. Also, let them cool completely before storing.
– Dry texture? You might have overbaked them. Check at 18 minutes. Ovens vary.
– Too flat? Make sure your oats are old-fashioned, not instant. Instant oats absorb too much liquid too fast.
Expert Tips & Tricks
Here’s everything I’ve learned from making this dozens of times. These tips will save you from my mistakes.
Soak the Oats
I mentioned this in the steps, but it bears repeating. Letting the oats sit in the milk for 5 minutes before baking makes a huge difference. It ensures they cook evenly and have a tender bite. If you skip this, they might stay a bit chewy or hard. I’ve done both, and the soak version is always better.
Don’t Overcrowd the Tin
If you’re doubling the recipe, bake in two batches. Don’t try to squeeze extra batter into the cups to make them taller. They’ll overflow and stick. Better to have perfectly formed cups than a mess.
Freeze in Layers
When freezing, place the cooled cups on a baking sheet and freeze them for 1 hour until solid. Then transfer them to a freezer bag. This prevents them from sticking together in a giant clump. You can grab one or two at a time without thawing the whole batch.
Reheat Properly
Microwave for 30-60 seconds. If you’re in a rush, 30 seconds is enough. If you like them warm all the way through, go for 60 seconds. Add a splash of milk if they seem dry after reheating. The moisture comes back nicely.
Customize the Sweetness
If your apples are very sweet, reduce the maple syrup to 2 tablespoons. If they’re tart, keep it at 3 or even add 1 more tablespoon. Taste your apples first if you can. I once used sour apples and the cups were bland, so I learned to adjust accordingly.
Variations & Substitutions
Once you’ve nailed the basic version, here’s how you can mix it up. I’ve tried all of these.
Chocolate Chip Oatmeal Cups
Add ½ cup of dark chocolate chips to the batter. My kids call these “breakfast brownies.” They’re a huge hit. I also make these with fudgy brookies for dessert, but these are the healthy version.
Banana Walnut Oatmeal Cups
Swap the apples for 2 mashed ripe bananas and add ½ cup chopped walnuts. This is great for using up brown bananas. The banana adds natural sweetness, so you can reduce the maple syrup to 2 tablespoons.
Pumpkin Spice Oatmeal Cups
Add ½ cup pumpkin puree and 1 tablespoon pumpkin pie spice. Reduce the milk to ½ cup because the pumpkin adds moisture. Perfect for fall.
High-Protein Version
Add 1 scoop of vanilla protein powder and increase the milk to 1.5 cups. These are great for post-workout breakfasts or for my older son who needs more fuel for sports.
Dairy-Free
Use coconut oil instead of butter and almond milk instead of dairy milk. Everything else stays the same. They taste almost identical.
Gluten-Free
Use certified gluten-free rolled oats. The rest of the ingredients are naturally gluten-free. I’ve used Bob’s Red Mill GF oats and they work perfectly.
Serving & Storage
How to Serve:
I usually serve these warm from the microwave. They’re best eaten with a fork, honestly. But you can also eat them cold like a muffin. I pack them in my kids’ lunchboxes with a side of fruit or yogurt. They hold up well for lunch, unlike regular oatmeal which gets soggy.
Side Dishes:
– Fresh berries
– A glass of milk or juice
– A handful of nuts
– A side of bacon or sausage if you’re feeling indulgent
Storage Instructions:
– Fridge: Store in an airtight container for up to 5 days. They stay moist and fresh.
– Freezer: Store in a freezer-safe bag for up to 3 months. They don’t freeze well for longer than that, but I’ve never made a batch that lasted that long.
Reheating:
Microwave for 30-60 seconds. If you’re reheating from frozen, add an extra 30 seconds. You can also reheat them in a toaster oven at 350°F for 10 minutes if you want them crispier on the edges.
Pro Tip: If you’re meal prepping for the week, label your containers with the date. I’ve had instances where I couldn’t remember if I made these on Monday or Wednesday. Labeling saves the stress.
Nutrition Information
I’m not a nutritionist, but here’s the breakdown if you’re tracking. This is per cup (based on 12 cups).
| Nutrient | Amount per Cup |
|---|---|
| Calories | 180 |
| Protein | 5g |
| Carbs | 28g |
| Fiber | 3g |
| Sugar | 12g |
| Fat | 6g |
| Sodium | 120mg |
What’s Good:
– Decent fiber from the oats and apples
– Natural sugars from fruit and maple syrup
– Protein from eggs and oats
– No refined sugar (if you use real maple syrup)
What to Know:
– Calorie count can vary based on apple size and butter amount
– Higher in carbs due to oats, but complex carbs for sustained energy
– Contains gluten (unless using GF oats) and dairy (unless substituted)
My Take:
Look, these are oatmeal cups. They’re not a diet food. But they’re way better than a donut or a granola bar with 20 grams of sugar. They’re whole-food based, filling, and nutritious. When I want to make them lighter, I use less butter and more apples. But usually? I just eat one or two and enjoy them as part of a balanced breakfast.
Final Thoughts
So that’s my go-to apple cinnamon oatmeal cups! I’ve probably talked your ear off at this point, but when you make a recipe this often, you have a lot to say about it.
This has saved weeknight dinners more times than I can count. It’s my answer to ‘what’s for dinner’ when I’m tired, don’t want takeout, and still want something that tastes really good. My kids are happy, my husband’s happy, and I’m happy because I’m not stressed about cooking.
Make it yours! Try different add-ins, swap in your favorite vegetables, adjust the garlic (though more is always better in my opinion). The best recipes are the ones you adapt to your family’s tastes.
If you make this, drop a comment and let me know what you think! I love hearing how recipes turn out in your kitchen. And if something doesn’t work, tell me that too—I’m here to help troubleshoot.
Happy cooking! And I hope your kitchen smells half as good as mine does right now.
Frequently Asked Questions
Can I use steel-cut oats?
No, I don’t recommend it. Steel-cut oats are too hard and won’t cook through in the muffin tin time. They’ll stay crunchy and hard. Stick to old-fashioned rolled oats or quick oats (though quick oats will make them mushier).
Can I make these ahead and freeze them?
Yes! This is the best way to make them. Let them cool completely, then freeze them on a baking sheet before transferring to a bag. They’ll last up to 3 months. Reheat from frozen in the microwave for 1-2 minutes.
Why did my oatmeal cups turn out dry?
You probably overbaked them. Check them at 18 minutes. Ovens vary, so start checking early. If they’re dry, next time reduce the baking time by 2-3 minutes or add a tablespoon more milk.
Can I use applesauce instead of diced apples?
You can, but the texture will be different. Diced apples add chewiness and bursts of flavor. Applesauce makes them more cake-like. If you use applesauce, reduce the milk by ¼ cup to avoid making the batter too wet.
How do I reheat leftovers without them getting dry?
Add a splash of milk to the cup before microwaving. Cover it with a damp paper towel to trap steam. Heat for 30-60 seconds. This keeps them moist and tender.
Can I double this recipe?
Absolutely! Just use a larger bowl and bake in two batches if your oven is small. The cooking time stays the same. I do this when I’m meal-prepping for the whole week.
Are these safe for school allergies?
They contain eggs and dairy (unless substituted). If your school is nut-free, make sure you don’t add nuts. If you’re making them for a nut-free classroom, stick to the basic recipe or use chocolate chips instead of nuts. Always check with the school guidelines.
Pin This Recipe!
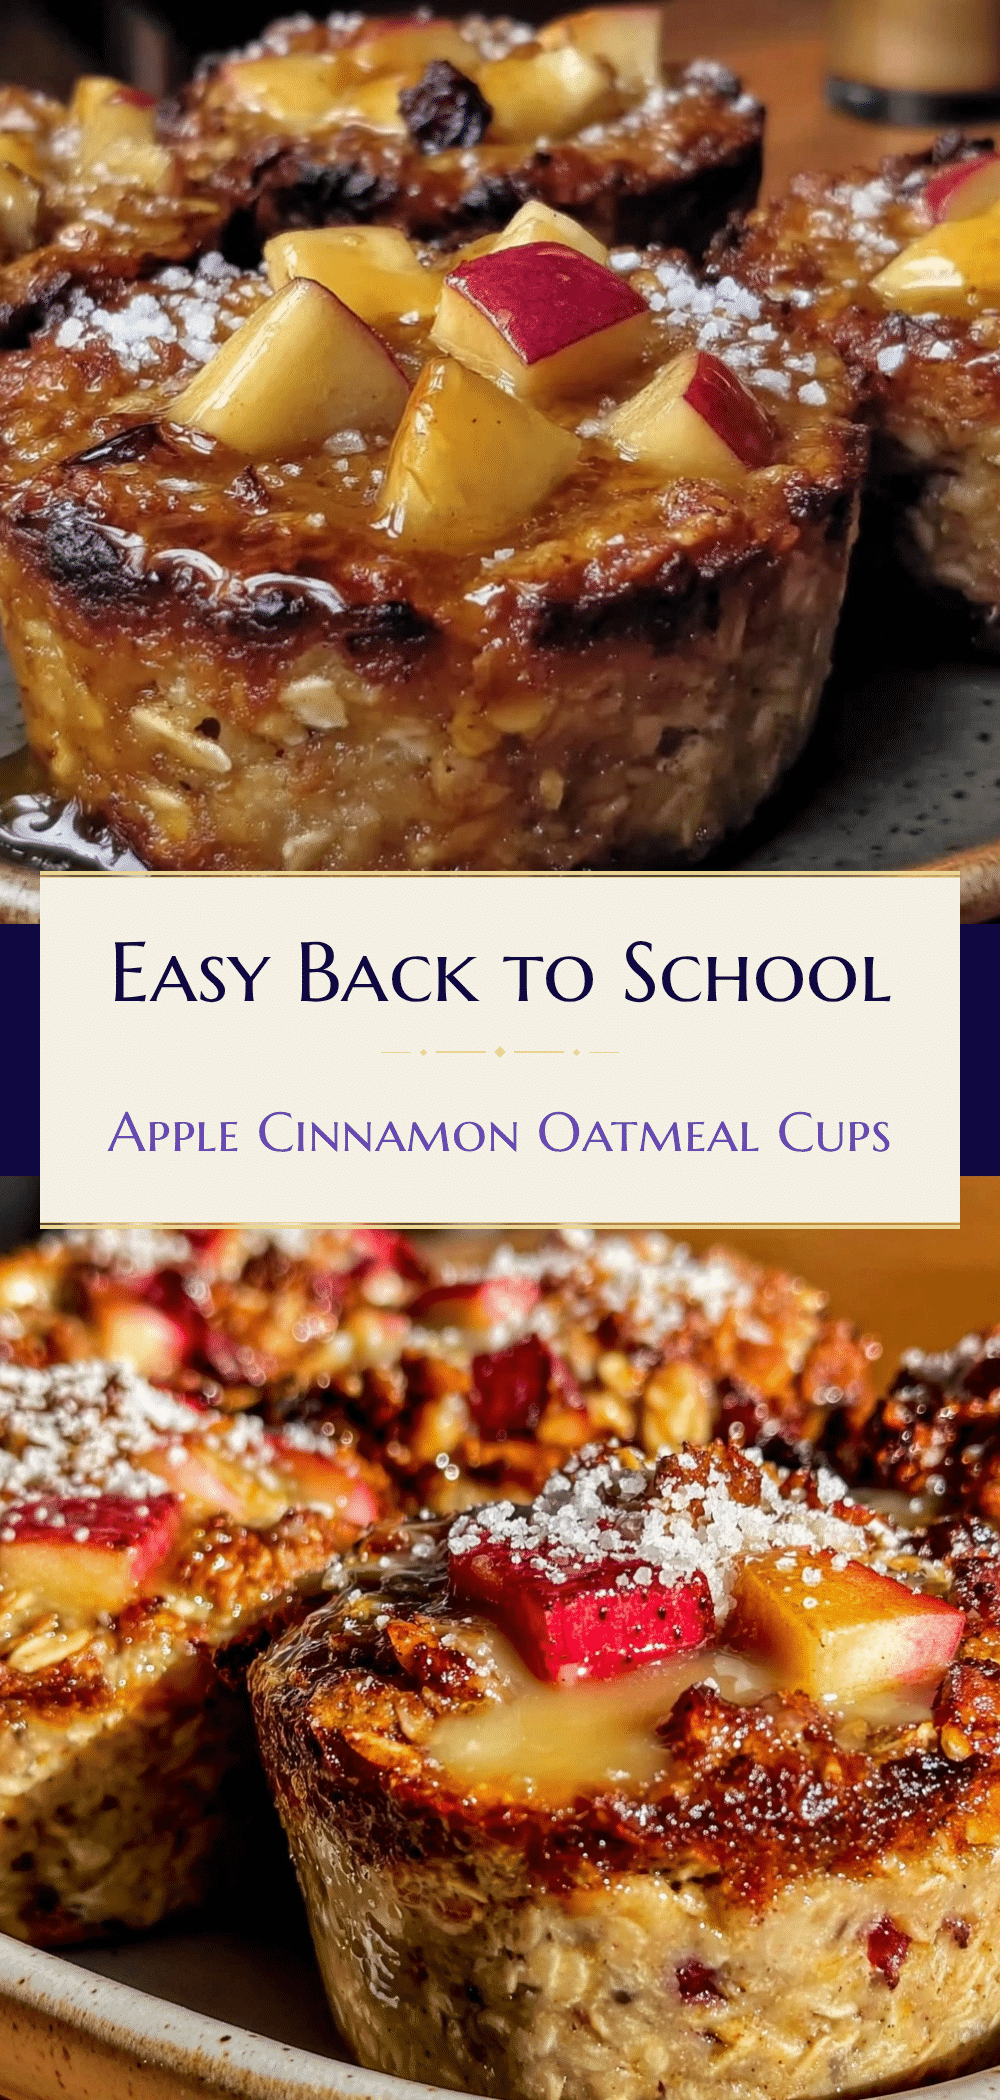

Apple Cinnamon Oatmeal Cups: Best Make-Ahead Breakfast
- Total Time: 35 minutes
- Yield: 12 servings 1x
Description
These make-ahead apple cinnamon oatmeal cups are a stress-free, kid-approved breakfast solution. They are freezer-friendly, customizable, and provide sustained energy for busy mornings.
Ingredients
- 2 cups old-fashioned rolled oats
- 1 cup milk (dairy or plant-based)
- 2 large eggs
- 2 medium apples (peeled and diced small)
- 2 tablespoons melted butter (or coconut oil for dairy-free)
- 3 tablespoons pure maple syrup
- 1 teaspoon ground cinnamon
- 1 teaspoon vanilla extract
- ¼ teaspoon salt
- Optional: ½ cup chopped walnuts or pecans
- Optional: ¼ cup dark chocolate chips
- Optional: 1 scoop protein powder
Instructions
- Preheat oven to 350°F (175°C).
- Wash, peel (optional), and dice apples into small, uniform pieces (about the size of blueberries). Set aside.
- In a large mixing bowl, whisk together milk, melted butter, eggs, maple syrup, vanilla, and salt until smooth.
- Add rolled oats and cinnamon to the wet mixture. Stir well to ensure oats are submerged. Let the mixture sit for 5 minutes to allow oats to absorb liquid.
- Add diced apples (and optional add-ins like nuts or chocolate chips) to the oat mixture. Stir until evenly distributed.
- Lightly grease a 12-cup muffin tin with oil or spray.
- Spoon the batter into each muffin cup, filling them about ¾ full. Flatten tops slightly.
- Bake for 18-20 minutes, or until tops are golden brown and a toothpick inserted into the center comes out clean.
- Let cups cool in the pan for 5 minutes, then transfer to a wire rack to cool completely.
- Store in an airtight container in the fridge for up to 5 days or freeze for up to 3 months.
Notes
Do not use instant or steel-cut oats as they will alter the texture. Letting the oats soak in the milk for 5 minutes is crucial for tender results. For freezing, place cooled cups on a baking sheet to freeze individually before transferring to bags to prevent sticking. Reheat in microwave for 30-60 seconds.
- Prep Time: 15 minutes
- Cook Time: 20 minutes
- Category: Breakfast
- Cuisine: American
Nutrition
- Serving Size: 1 oatmeal cup
- Calories: 180
- Sugar: 12
- Sodium: 120
- Fat: 6
- Saturated Fat: 3
- Carbohydrates: 28
- Fiber: 3
- Protein: 5
Keywords: apple cinnamon oatmeal cups, make-ahead breakfast, freezer-friendly breakfast, healthy oatmeal muffins, kid-friendly breakfast, meal prep breakfast