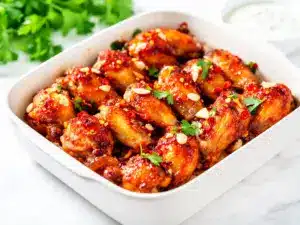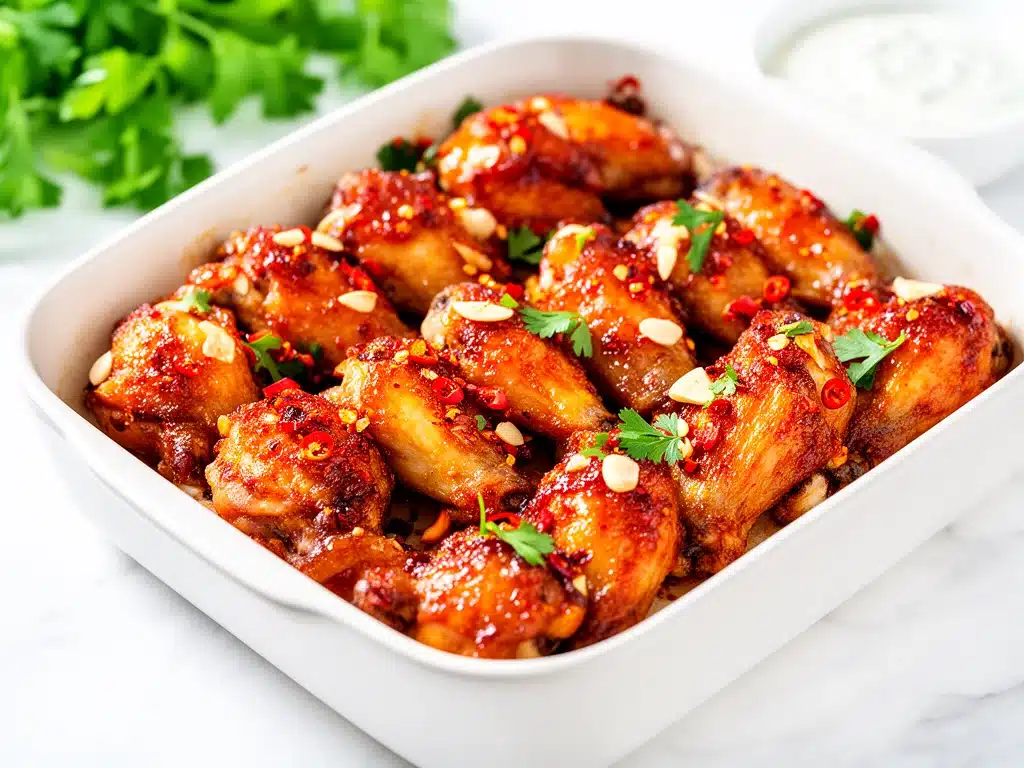
One Friday night, after a long week of juggling work and family chaos, I found myself craving something that hit all the right notes: spicy, sweet, sticky, and crispy. I wanted wings, obviously, but not the usual deep-fried mess that left me feeling guilty and exhausted from cleanup. I decided to bake them, toss them in a bold honey garlic glaze, and see what happened. Spoiler alert: my kitchen smelled like a five-star wing joint, and my husband practically licked the platter clean before I could blink. That’s how these Spicy Honey Garlic Baked Chicken Wings with Sticky Crispy Texture became our weekend obsession. I’ve made them over a dozen times since, tweaking the balance between heat and sweetness until it was just right—sticky enough to crave, crispy enough to impress, and easy enough to make any night of the week.
Why You’ll Love This Spicy Honey Garlic Baked Chicken Wings Recipe
This recipe has totally changed how I think about wings. Here’s why I keep going back to it:
- Perfectly Sticky and Crispy — The magic is in the baking technique and a quick broil at the end. You get that satisfying crunch without frying, and the honey garlic glaze clings like a dream.
- Balanced Heat and Sweetness — The spicy kick from chili flakes and a touch of cayenne warms you up without overpowering the honey’s mellow sweetness. I’ve had friends swear off takeout wings after trying these.
- Simple Ingredients, Big Flavor — No weird sauces or hard-to-find spices. If you have honey, garlic, chili flakes, and soy sauce, you’re already halfway there.
- Easy Cleanup — Baked wings mean less oil splatter and no messy deep-fryer. Plus, the sticky glaze bakes right in, so no extra sauce pots.
- Great for Any Occasion — Game day, weeknight dinner, or casual gatherings—these wings are always a hit. I’ve even made a double batch for parties, and they disappear fast.
Honestly, this recipe is my go-to when I want wings that taste like I spent hours perfecting them, but really, I’m just happy to spend 40 minutes in the kitchen. It’s the kind of dish that makes everyone smile—and isn’t that why we cook?
Ingredients You’ll Need
Here’s the best part: most of these ingredients are kitchen staples. I’m super picky about the glaze—especially the honey and garlic—because that’s where the magic happens.
- Chicken wings (2 pounds / 900g) — Drumettes and flats, skin on. Pat them dry for maximum crispiness. I like to trim the tips off, but that’s optional.
- Baking powder (1 tablespoon / 15g) — Not baking soda! This is the secret to crispy skin when baking wings. Toss wings with it before cooking.
- Salt (1 teaspoon / 5g) — Enhances flavor and helps the skin crisp up.
- Ground black pepper (½ teaspoon / 1g) — Adds mild heat and depth.
- Garlic cloves (4 cloves, minced / about 2 teaspoons) — Fresh garlic is a must for the glaze. Jarred garlic just doesn’t cut it here.
- Honey (¼ cup / 85g) — Use good quality honey for a natural sweetness and sticky finish. I’ve tried clover and wildflower, both work well.
- Soy sauce (3 tablespoons / 45ml) — Adds umami and saltiness to balance the honey. Low-sodium works if you want to control salt.
- Rice vinegar (1 tablespoon / 15ml) — Brightens and cuts through the sweetness.
- Red pepper flakes (½ teaspoon / 1g) — Gives the wings their kick. Adjust to your heat preference.
- Cayenne pepper (¼ teaspoon / 0.5g) — Optional but recommended for that smoky heat.
- Butter (2 tablespoons / 28g) — Adds richness and helps the glaze thicken to that irresistible sticky texture.
- Fresh parsley (2 tablespoons, chopped) — For garnish and a fresh pop of color.
- Lemon wedges (optional) — A squeeze before serving adds brightness.
If you want to mix things up, I sometimes swap soy sauce for tamari to make it gluten-free, or toss in a splash of sriracha for more heat. That said, stick to the basics first—you’ll thank me.
Equipment Needed
No fancy gadgets here. Just what you actually need to make crispy baked wings with sticky honey garlic glaze:
- Baking sheet — I use a rimmed sheet pan lined with foil and a wire rack on top. The rack lets air circulate for crispier skin.
- Mixing bowls — One for tossing wings with baking powder and seasoning, one for the glaze.
- Small saucepan — To gently melt the butter and combine the glaze ingredients.
- Measuring spoons and cups — Accuracy matters for that perfect glaze balance.
- Tongs — For turning wings and tossing with glaze.
- Oven thermometer (optional) — I swear by this because ovens can be unpredictable. Ensuring 425°F (220°C) makes all the difference for crispiness.
If you don’t have a wire rack, you can bake wings directly on foil, but they won’t be quite as crispy. I’ve done it both ways—trust me, the rack is worth it.
How to Make Spicy Honey Garlic Baked Chicken Wings: Step-by-Step
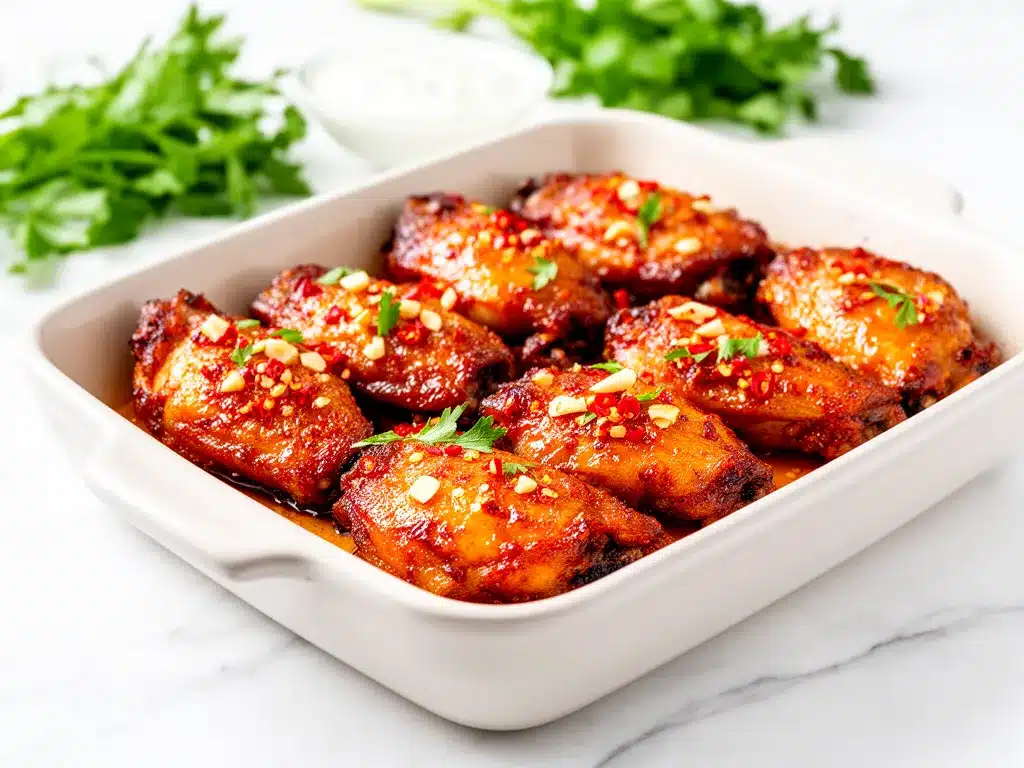
Alright, let’s get to the good stuff. Here’s exactly how I make these Spicy Honey Garlic Baked Chicken Wings with that perfect sticky crispy texture.
- Prep the wings (5 minutes): Pat chicken wings completely dry with paper towels. This is crucial—wet wings = soggy skin. Trim tips if you like. In a large bowl, toss wings with baking powder, salt, and black pepper until evenly coated. Baking powder is the secret weapon for crispiness, so don’t skip it.
- Arrange on rack and bake (35-40 minutes): Place wings skin side up on the wire rack set over a foil-lined baking sheet. Bake in a preheated oven at 425°F (220°C). After 20 minutes, flip the wings to help them crisp evenly. Continue baking until wings are golden, crispy, and cooked through (internal temp 165°F / 74°C). The house will start smelling amazing about halfway through—brace yourself.
- Make the honey garlic glaze (5 minutes): While wings bake, melt butter in a small saucepan over medium-low heat. Add minced garlic and sauté until fragrant but not browned (about 1 minute). Stir in honey, soy sauce, rice vinegar, red pepper flakes, and cayenne pepper. Let it simmer gently for 2-3 minutes until slightly thickened and glossy. Taste and adjust heat or sweetness if needed.
- Coat wings with glaze (2 minutes): When wings are done, transfer them to a large bowl. Pour the warm glaze over the wings and toss well to coat every piece. The glaze should stick and make them irresistibly sticky.
- Broil for extra crisp (2-3 minutes): For that final crispy edge, spread glazed wings back on the wire rack and broil on high for 2-3 minutes. Watch carefully so they don’t burn—this step caramelizes the glaze and ups the texture game.
- Garnish and serve: Sprinkle chopped fresh parsley over the wings and serve immediately with lemon wedges on the side. A squeeze of lemon brightens the richness beautifully.
Total active time is about 15 minutes, with the wings baking mostly hands-off. The payoff? Wings that are crispy, sticky, spicy, and sweet in all the right ways.
Expert Tips & Tricks for Perfect Wings Every Time
Here’s everything I’ve learned making these wings dozens of times (and eating my fair share):
- Dry the wings thoroughly: I can’t stress this enough. I once skipped drying and got limp skin. No thanks.
- Use baking powder, not baking soda: Baking powder creates tiny bubbles on the skin, leading to super crispiness. Baking soda tastes weird and can ruin the flavor.
- Don’t skip the broil: The glaze caramelizes under high heat and gets that sticky-crispy finish that makes these wings addictive.
- Adjust the spice level: Start with less red pepper flakes if you’re not into heat. You can always add more later or serve with a cooling dip like ranch or blue cheese.
- Make the glaze ahead: You can prep the honey garlic sauce a day ahead and gently reheat it. Saves time when you’re hungry.
- Leftover wings reheat well: Warm them in a skillet over medium heat to keep the skin crispy, then toss with extra glaze if needed.
Quick note: I once tried marinating the wings in the glaze before baking, and it made the skin soggy. Better to bake first, then toss in glaze.
Variations & Substitutions to Try
Once you’ve nailed the basic version, here are some ways to change things up. I’ve tested all of these personally:
- Buffalo Twist: Skip the honey and add hot sauce with melted butter for a classic buffalo wing vibe.
- Garlic Parmesan Wings: After baking, toss wings with melted butter, minced garlic, and freshly grated Parmesan cheese for a rich, savory option.
- Sweet & Smoky: Add 1 teaspoon smoked paprika to the baking powder mix and a splash of liquid smoke to the glaze.
- Sticky Asian Style: Add a tablespoon of hoisin sauce and a teaspoon of grated ginger to the glaze for extra depth.
- Gluten-Free: Use tamari instead of soy sauce, and make sure your baking powder is gluten-free.
- Spicier Version: Add sriracha or chili garlic sauce to the glaze for an extra punch.
Feel free to experiment! Just remember the core technique: dry wings, baking powder, bake at high heat, glaze, and broil.
Serving & Storage
I usually serve these wings straight from the baking rack onto a big platter. They look rustic, smell incredible, and stay warm longer that way. Here are some ways I like to round out the meal:
- Side Dishes: Crisp celery sticks, carrot sticks, or a simple green salad with a tangy vinaigrette.
- Dips: Ranch, blue cheese, or even a cool cucumber yogurt dip balance the heat perfectly.
- Drinks: Ice-cold beer or a sparkling lemonade are my go-to pairings for these wings.
When I’m feeding a crowd, I like setting up a toppings bar with extra red pepper flakes, chopped parsley, lemon wedges, and even crispy bacon bits for folks to customize their wings.
Storage: Store leftovers in an airtight container in the fridge for up to 3 days. To reheat, warm them in a skillet over medium heat to keep skin crispy—microwaving tends to make them soggy. If the glaze has dried out, toss the wings with a little honey or melted butter when reheating.
These wings really don’t freeze well because the glaze loses its texture, so I recommend making just enough for a day or two.
Nutrition Information
I’m no nutritionist, but here’s a rough estimate per serving (based on 4 servings):
| Nutrient | Amount |
|---|---|
| Calories | 380 |
| Protein | 28g |
| Carbohydrates | 15g |
| Fat | 22g |
| Saturated Fat | 8g |
| Sodium | 700mg |
| Sugar | 12g |
These wings pack a good protein punch thanks to the chicken, and the honey adds natural sweetness. They’re higher in fat because of the skin and butter, so I balance them with fresh veggies or a crisp salad. And hey, they’re way better than takeout, cheaper, and you know exactly what’s going in.
Final Thoughts
So that’s my ultimate recipe for Spicy Honey Garlic Baked Chicken Wings with Sticky Crispy Texture. I know I’ve rambled, but when I make these wings, I get a little excited—because they’re that good.
They’ve saved more game nights and last-minute dinners than I can count. The balance of sticky-sweet glaze and crispy skin is just right, and they’re easy enough to whip up on a weeknight or for a casual party. Plus, you get to skip the deep fryer and still impress everyone at the table.
Make it yours—add more garlic, dial up the heat, toss in your favorite herbs. That’s the beauty of wings: you can customize endlessly and still get that crave-worthy result.
If you give these wings a try, drop a comment below and let me know how they turned out! And if something’s tricky or you want tips on variations, I’m here to help. Happy cooking—and may your kitchen smell as amazing as mine does right now.
Frequently Asked Questions
Q: Can I use regular baking soda instead of baking powder?
A: No, baking soda won’t crisp up the skin the same way and can leave a weird taste. Baking powder is the key to crispy wings because it creates tiny bubbles on the skin when baking. Don’t skip it!
Q: How do I make the wings less spicy?
A: Simply reduce or omit the red pepper flakes and cayenne pepper in the glaze. You can add more honey to balance the heat if you like. These wings still taste amazing with mild heat.
Q: Can I make these wings ahead of time?
A: You can prep the glaze a day ahead and store it in the fridge. Wings are best fresh but can be baked, cooled, and reheated in a skillet. Just toss with fresh glaze before serving to keep that sticky, crispy texture.
Q: Why did my glaze not get sticky?
A: It probably didn’t simmer long enough or didn’t have enough butter. Let the glaze simmer gently until it thickens and turns glossy. Also, tossing the wings while the glaze is warm helps it stick better.
Q: Can I use frozen wings?
A: Yes, but thaw them completely and pat dry before baking. Wet or frozen wings won’t crisp up properly.
Q: How do I reheat leftover wings without losing crispiness?
A: Heat them in a skillet over medium heat with a splash of water or honey to loosen the glaze. Avoid microwaving unless you’re in a hurry—microwaving makes the skin soggy.
Q: Can I bake wings at a lower temperature?
A: You can, but baking at 425°F (220°C) ensures the skin crisps nicely. Lower temps will cook the meat but won’t give you that signature crispy skin and sticky glaze finish.
For more quick and flavorful chicken recipes, you might enjoy my crispy baked chicken nuggets or the cheesy ham and cheddar quesadilla, both perfect for busy weeknights when you want something delicious without the fuss.
Pin This Recipe!
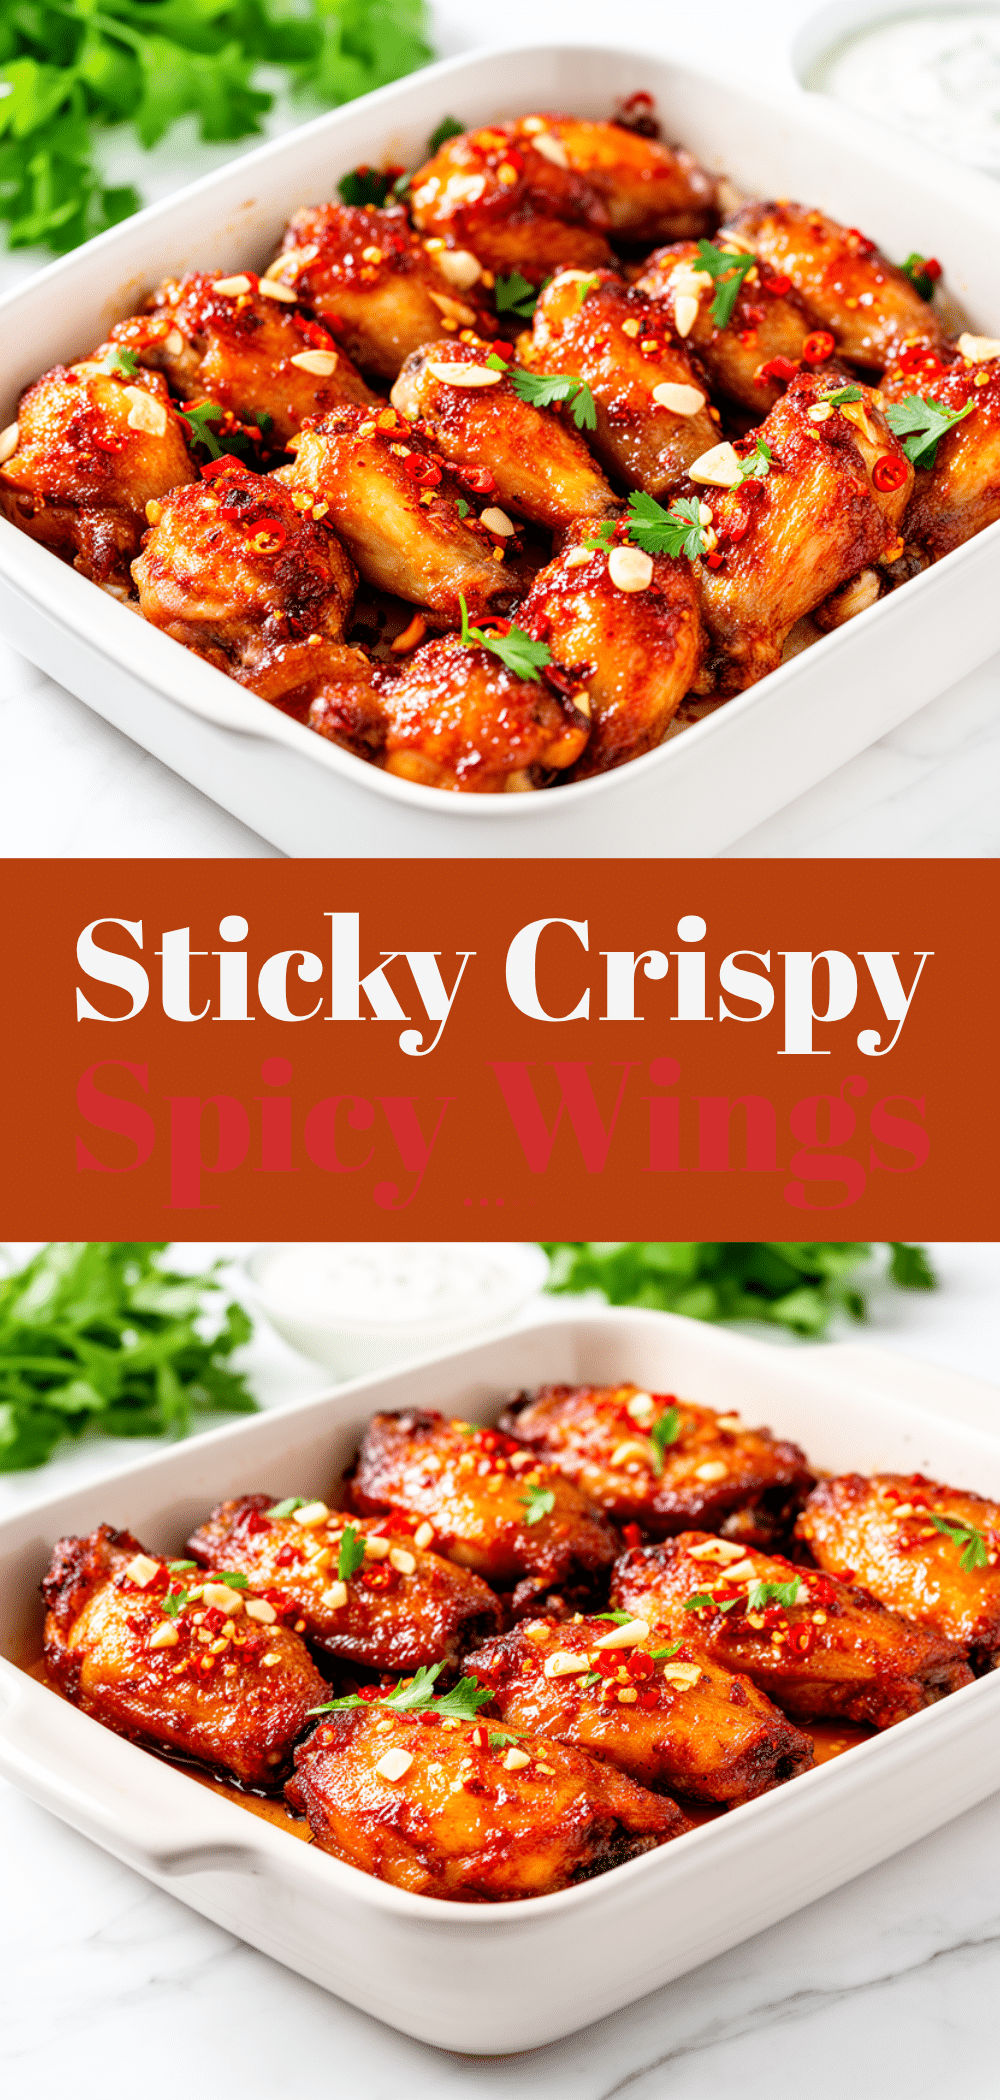

Spicy Honey Garlic Baked Chicken Wings
- Total Time: 50 minutes
- Yield: 4 servings 1x
Description
These baked chicken wings are perfectly sticky and crispy with a bold honey garlic glaze balanced by a spicy kick. Easy to make and great for any occasion.
Ingredients
- 2 pounds chicken wings (drumettes and flats, skin on)
- 1 tablespoon baking powder (not baking soda)
- 1 teaspoon salt
- ½ teaspoon ground black pepper
- 4 garlic cloves, minced (about 2 teaspoons)
- ¼ cup honey (85g)
- 3 tablespoons soy sauce (45ml)
- 1 tablespoon rice vinegar (15ml)
- ½ teaspoon red pepper flakes
- ¼ teaspoon cayenne pepper (optional)
- 2 tablespoons butter (28g)
- 2 tablespoons fresh parsley, chopped
- Lemon wedges (optional)
Instructions
- Pat chicken wings completely dry with paper towels. Trim tips if desired. In a large bowl, toss wings with baking powder, salt, and black pepper until evenly coated.
- Place wings skin side up on a wire rack set over a foil-lined baking sheet. Bake in a preheated oven at 425°F (220°C). After 20 minutes, flip the wings and continue baking until golden, crispy, and cooked through (about 35-40 minutes total).
- While wings bake, melt butter in a small saucepan over medium-low heat. Add minced garlic and sauté until fragrant but not browned (about 1 minute). Stir in honey, soy sauce, rice vinegar, red pepper flakes, and cayenne pepper. Simmer gently for 2-3 minutes until slightly thickened and glossy.
- When wings are done, transfer them to a large bowl. Pour the warm glaze over the wings and toss well to coat every piece.
- Spread glazed wings back on the wire rack and broil on high for 2-3 minutes to caramelize the glaze and add extra crispiness. Watch carefully to avoid burning.
- Sprinkle chopped fresh parsley over the wings and serve immediately with lemon wedges on the side.
Notes
Pat wings dry thoroughly for maximum crispiness. Use baking powder, not baking soda, to achieve crispy skin. Broil at the end to caramelize the glaze and add extra crispiness. Adjust spice level by varying red pepper flakes and cayenne pepper. Glaze can be made ahead and reheated gently. Reheat leftovers in a skillet to maintain crispiness; avoid microwaving.
- Prep Time: 10 minutes
- Cook Time: 40 minutes
- Category: Main Course
- Cuisine: American
Nutrition
- Serving Size: About 6-7 wings per
- Calories: 380
- Sugar: 12
- Sodium: 700
- Fat: 22
- Saturated Fat: 8
- Carbohydrates: 15
- Protein: 28
Keywords: chicken wings, baked wings, honey garlic wings, spicy wings, crispy wings, game day recipe, easy chicken wings