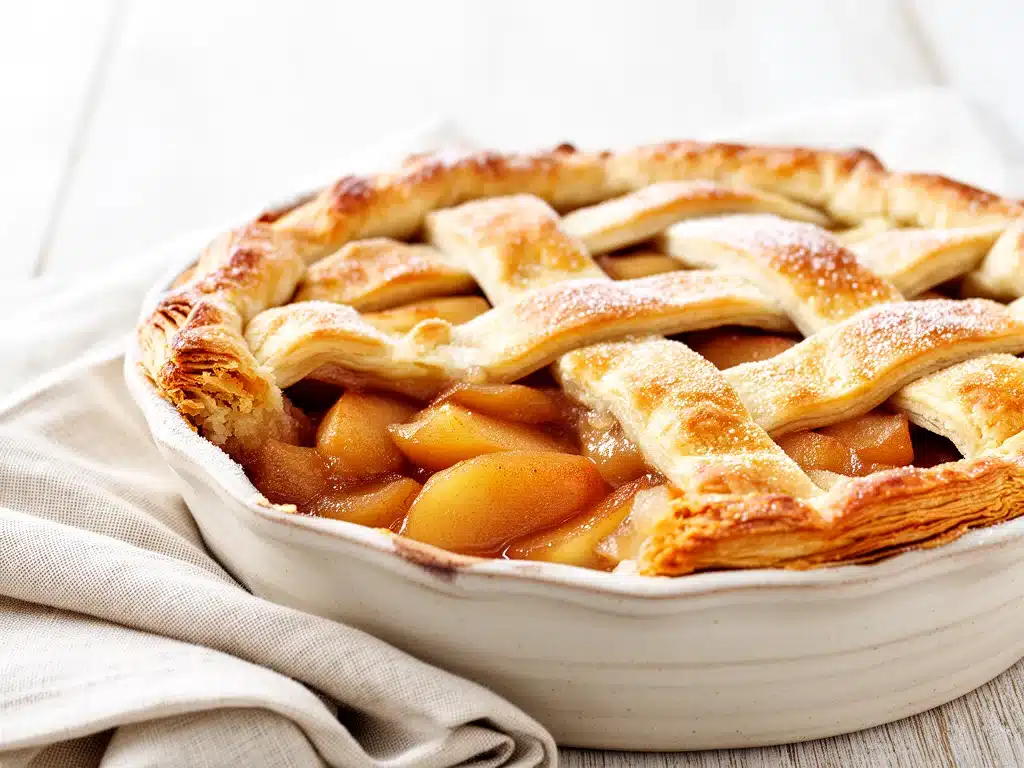
One chilly October evening, I found myself rummaging through my grandma’s old recipe box, looking for something to bring warmth and comfort to our dinner table. I wasn’t aiming for anything fancy—just that nostalgic, golden dessert that tastes like home. That’s when I stumbled upon her handwritten recipe for apple pie. It wasn’t just any apple pie; it was the kind with a flaky, buttery crust that practically melts in your mouth and a filling so fragrant with cinnamon and fresh apples that it stops you mid-sentence. After testing this classic apple pie recipe more times than I can count (and burning the crust a few times before getting it right), I’ve finally perfected it. Now, this is the pie my whole family craves, the one we pass around at holidays, and the one that makes the house smell like an autumn dream.
Here’s the thing—making a pie crust that’s flaky and buttery isn’t as scary as it sounds. It just takes a little patience and the right technique, which I’m spilling all about here. If you’ve ever been intimidated by pie baking, this classic apple pie with flaky buttery crust is the one to start with. I’ve made sure it’s straightforward and forgiving, so let’s get baking.
Why You’ll Love This Recipe
This classic apple pie recipe has completely changed how I approach baking desserts. There are a bunch of reasons why I keep coming back to it, but here are the big ones:
- Flaky, Buttery Crust — I’ve tried boxed crusts and quick-fix methods, but nothing beats making your own crust with real butter. It’s flaky, tender, and has that rich, buttery flavor that just can’t be faked. Plus, it’s easier than you think.
- Perfectly Spiced Filling — The filling strikes the ideal balance between sweet and tart, with fresh apples, cinnamon, and a touch of nutmeg. My picky kids even ask for seconds, which is saying a lot!
- Family Favorite — This pie has been requested at every family gathering since I started making it. It’s the kind of dessert that brings people to the table, ready to dig in.
- Prep Ahead Friendly — You can make the crust a day in advance, or prep the filling early in the day. It’s a huge time-saver, especially during busy holidays.
- Impress Without Stress — I promise, this recipe makes you look like a pro without hours in the kitchen. I’ve made this pie after long workdays and still got rave reviews.
Honestly, it’s my go-to when I want to impress with comfort food that feels homemade (because it is). If you want a pie that your whole family will crave and beg for again, this is it.
Ingredients You’ll Need
Here’s the best part: most of these ingredients are probably sitting in your pantry or fridge right now. I’m picky about three things here—real butter, fresh apples, and good cinnamon—and I’ll tell you why.
- All-purpose flour (2 ½ cups / 315g) — This is the foundation of your crust. I’ve found that using all-purpose flour creates the perfect balance of tenderness and structure.
- Unsalted butter (1 cup / 225g, cold and cubed) — Use real butter, cold from the fridge. This is what gives the crust its amazing flaky texture and buttery flavor. Don’t substitute with margarine or oil.
- Granulated sugar (¼ cup / 50g) — Adds a subtle sweetness to the crust and filling.
- Salt (1 teaspoon) — Just a pinch to balance flavors in the crust.
- Ice water (6-8 tablespoons / 90-120ml) — Cold water helps bind the crust. Add a tablespoon at a time until the dough just comes together.
- Apples (6 cups peeled and sliced / about 900g) — I recommend Granny Smith for tartness and Honeycrisp or Fuji for sweetness. Mixing varieties gives the best texture and flavor.
- Brown sugar (½ cup / 110g) — Adds warmth and caramel notes to the filling.
- Cinnamon (1 ½ teaspoons) — Fresh ground is best. This is the soul of the filling’s flavor.
- Nutmeg (¼ teaspoon) — Just a hint to deepen the spice profile.
- Lemon juice (1 tablespoon / 15ml) — Keeps the apples from browning and brightens the flavor.
- All-purpose flour (2 tablespoons / 16g) — For thickening the filling.
- Egg (1 large, beaten) — For brushing the crust to get that perfect golden color.
- Optional: coarse sugar — To sprinkle on top for a bit of crunch and sparkle.
If you’re wondering about substitutions, you can swap the all-purpose flour for gluten-free flour blend in the crust (I’ve tested this with good results), and for a twist on the filling, try adding a handful of dried cranberries or chopped walnuts.
Equipment Needed
You don’t need fancy tools to make this classic apple pie with flaky buttery crust. Here’s what I actually use:
- Mixing bowls — One for the dough and one for the filling. I usually use glass or stainless steel.
- Pastry cutter or food processor
- Rolling pin — For rolling out the dough. No need for anything fancy; a wooden rolling pin works perfectly.
- 9-inch pie dish
- Sharp knife
- Baking sheet — I place the pie on a baking sheet to catch any drips and make cleanup easier.
- Pastry brush — For brushing the egg wash over the crust.
Quick tip: If you don’t have a pastry cutter, you can use two butter knives or even your fingers, just work quickly so the butter stays cold.
How to Make It: Step-by-Step
Alright, let’s make this! I’m walking you through exactly how I do it, including the little tricks I’ve picked up over the years.
Step 1: Make the Pie Dough (15 minutes + chilling)
In a large bowl, whisk together the flour, sugar, and salt. Add the cold, cubed butter and use a pastry cutter (or your fingers, if you’re brave) to cut the butter into the flour until it resembles coarse crumbs with pea-sized bits of butter. This is the secret to a flaky crust. Slowly add ice water, one tablespoon at a time, mixing gently until the dough just starts to hold together. Don’t overwork it! Divide the dough into two discs, wrap each in plastic, and chill for at least 1 hour (or overnight). This step is crucial for texture.
Step 2: Prepare the Apple Filling (10 minutes)
While the dough chills, peel, core, and slice your apples evenly. Toss them in a big bowl with the brown sugar, granulated sugar, cinnamon, nutmeg, flour, and lemon juice. Stir until everything is well coated. The flour here helps the filling thicken as it bakes, so don’t skip this.
Step 3: Roll Out the Bottom Crust (5-7 minutes)
Lightly flour your surface and rolling pin. Take one disc of dough and roll it out into a 12-inch circle, about ⅛ inch thick. Carefully transfer it to your pie dish, letting the edges hang over slightly. I use the rolling pin to help lift it without stretching. Press it gently into the dish.
Step 4: Add the Filling (2 minutes)
Pour the apple mixture into the crust, spreading it evenly. Don’t pack it down—leave some space between the apples for juices to bubble up.
Step 5: Roll Out the Top Crust and Assemble (10 minutes)
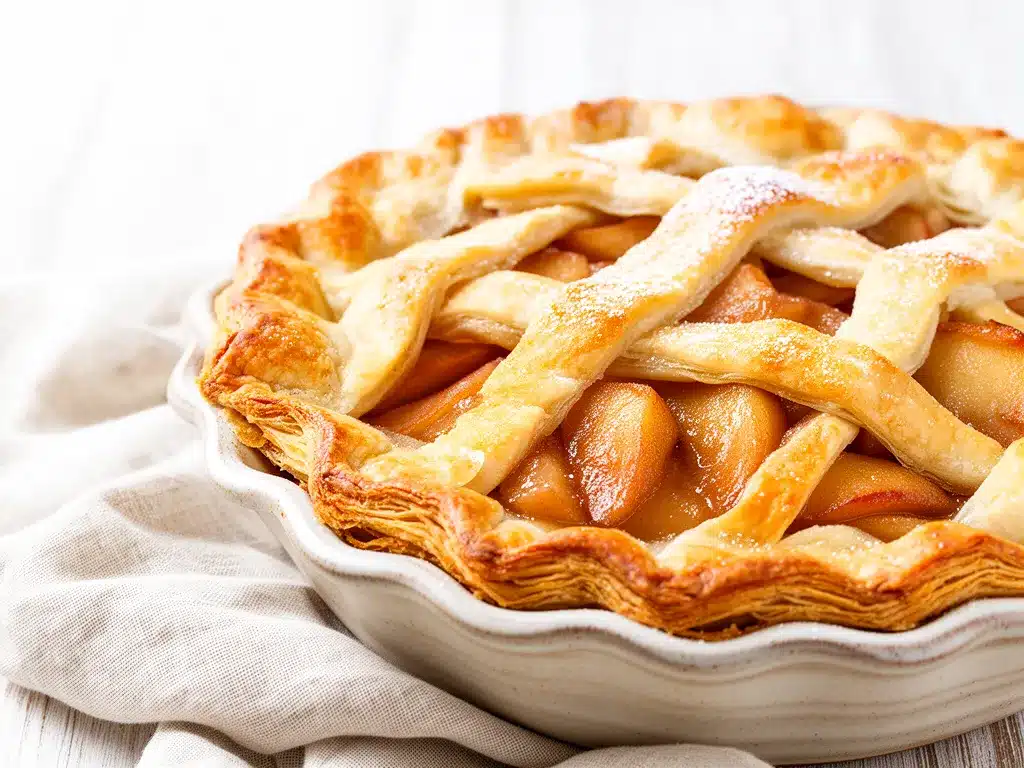
Roll out the second dough disc the same way. You can do a full top crust, a lattice, or even cut out shapes if you’re feeling creative. Place the top crust over the filling. Trim any excess dough around the edges, then crimp the edges together to seal. Cut a few small slits in the top crust to let steam escape.
Step 6: Egg Wash and Sugar (2 minutes)
Brush the entire crust with the beaten egg. This gives the pie that gorgeous golden shine. If you want a little sparkle and crunch, sprinkle coarse sugar on top.
Step 7: Bake the Pie (50-60 minutes)
Place your pie on a baking sheet and bake at 425°F (220°C) for 20 minutes, then reduce the temperature to 350°F (175°C) and bake for another 30-40 minutes until the crust is golden and the filling is bubbling. If the edges brown too quickly, cover them with foil halfway through baking.
Step 8: Cool and Serve (At least 2 hours)
Let the pie cool completely on a wire rack so the filling sets up. I know it’s hard to wait, but slicing too soon will make it runny. Serve with vanilla ice cream or whipped cream for the ultimate treat.
Expert Tips & Tricks
- Keep everything cold: Butter and water should be ice cold to get that flaky crust. I even chill my mixing bowl in the freezer.
- Don’t overwork the dough: The more you handle it, the tougher the crust. Mix until just combined.
- Use a mix of apples: Tart and sweet apples together give the best flavor and texture.
- Save your pie scraps: I roll leftover dough into tiny shapes, sprinkle sugar, and bake as little treats while the pie cooks.
- Prevent soggy bottom crust: Brush the bottom crust with a little beaten egg white before adding the filling. It creates a barrier.
- Rest the pie: Cooling for at least 2 hours is non-negotiable for a clean slice.
- Use foil shields: To protect crust edges from burning if your oven runs hot.
Variations & Substitutions
Once you’ve nailed the classic apple pie with flaky buttery crust, you can mix it up in these fun ways:
- Caramel Apple Pie — Drizzle ½ cup caramel sauce over the apples before adding the top crust. I do this when I want something extra indulgent.
- Apple Cranberry Pie — Toss in 1 cup fresh or frozen cranberries with the apples for a tart twist. Perfect for holiday dinners.
- Gluten-Free Crust — Use a gluten-free all-purpose flour blend for the crust. I’ve tested this with good success, but the texture is a bit different.
- Vegan Version — Swap butter for coconut oil and use a flax egg (1 tablespoon flaxseed meal + 3 tablespoons water) for the egg wash.
- Spiced Up — Add ½ teaspoon ground ginger or cardamom to the filling for a warm spice kick.
For a savory twist, if you liked my cheesy ham and cheddar quesadilla recipe, try pairing a slice of this pie with a simple green salad to balance richness.
Serving & Storage
I usually serve this classic apple pie warm or at room temperature, ideally with a scoop of vanilla ice cream melting down the sides. It’s also amazing alongside a cup of coffee or a glass of cold milk.
For sides, garlic roasted vegetables or a fresh salad pair surprisingly well, cutting through the richness and rounding out the meal. Speaking of sides, if you’re hunting for easy weeknight dinners, the turkey and cheese kabobs are a quick complement to a cozy dessert like this.
Storage: Cover leftover pie loosely with foil or plastic wrap and store in the fridge for up to 4 days. To reheat, warm slices in a 350°F (175°C) oven for about 15 minutes, or microwave for 30 seconds with a damp paper towel to keep it moist.
Freezing is possible but I don’t recommend it for the best texture. If you want to freeze, wrap tightly in plastic wrap and foil, and thaw overnight in the fridge before reheating.
Nutrition Information
| Nutrient | Amount per Serving (1/8 pie) |
|---|---|
| Calories | 400 |
| Protein | 3g |
| Carbohydrates | 58g |
| Fiber | 3g |
| Sugar | 28g |
| Fat | 17g |
| Saturated Fat | 10g |
| Cholesterol | 40mg |
| Sodium | 190mg |
| Calcium | 30mg |
Look, this is a classic dessert with butter and sugar—it’s not a health food. But it’s made from real ingredients, no weird additives, and tastes way better than anything store-bought. Plus, apples bring fiber and a bit of natural sweetness. For a lighter dessert, try pairing a small slice with fresh fruit or a dollop of Greek yogurt.
Final Thoughts
So that’s my classic apple pie with flaky buttery crust—the recipe my family can’t get enough of. I’ve probably talked your ear off, but when you bake this many pies, you pick up a lot of tricks and stories. This pie has rescued more holiday dinners and cozy nights than I can count. It’s my answer to “what dessert should I make” when I want something that tastes homemade, comforting, and just a little bit special.
Make it yours! Play with the spices, try different apple combos, or get creative with the crust design. The best pies are the ones you make with love and a little bit of elbow grease. If you try this, drop a comment below and tell me how it turned out. I’m always here to help if you get stuck or want to share your own variations.
Happy baking! And may your kitchen smell like fall all year long.
Frequently Asked Questions
Q: Can I use frozen apples for the filling?
A: You can, but fresh apples give the best texture. If you use frozen, thaw and drain excess liquid before mixing with other ingredients to avoid a watery filling.
Q: How do I prevent the bottom crust from getting soggy?
A: Brush the bottom crust with a beaten egg white before adding the filling. This creates a barrier to keep the crust flaky. Also, make sure your filling isn’t too watery—adding the flour helps with that.
Q: Can I make the pie dough ahead of time?
A: Absolutely! The dough can be made and chilled up to 3 days in advance. Just wrap it tightly in plastic wrap and keep it in the fridge.
Q: What’s the best way to store leftover pie?
A: Cover loosely with foil or plastic wrap and refrigerate for up to 4 days. Reheat slices in the oven or microwave with a splash of water to keep it moist.
Q: Can I double this recipe for a larger pie or two pies?
A: Yes! Double all the ingredients and use two pie dishes. The baking time stays about the same, but keep an eye on the crust for browning.
Q: Why did my crust turn out tough?
A: Most likely, the dough was overworked or the butter got too warm. Keep everything cold and handle the dough gently for a tender, flaky crust.
Q: How can I make a lattice top crust?
A: Roll out your top dough and cut it into even strips. Lay half the strips across the pie, then weave the remaining strips over and under to create a lattice pattern. It looks impressive but is pretty easy once you get the hang of it!
By the way, if you’re looking for other comforting baked goods, you might enjoy my classic banana bread with brown butter—it’s perfect for busy weeknights and just as beloved in my house.
Pin This Recipe!
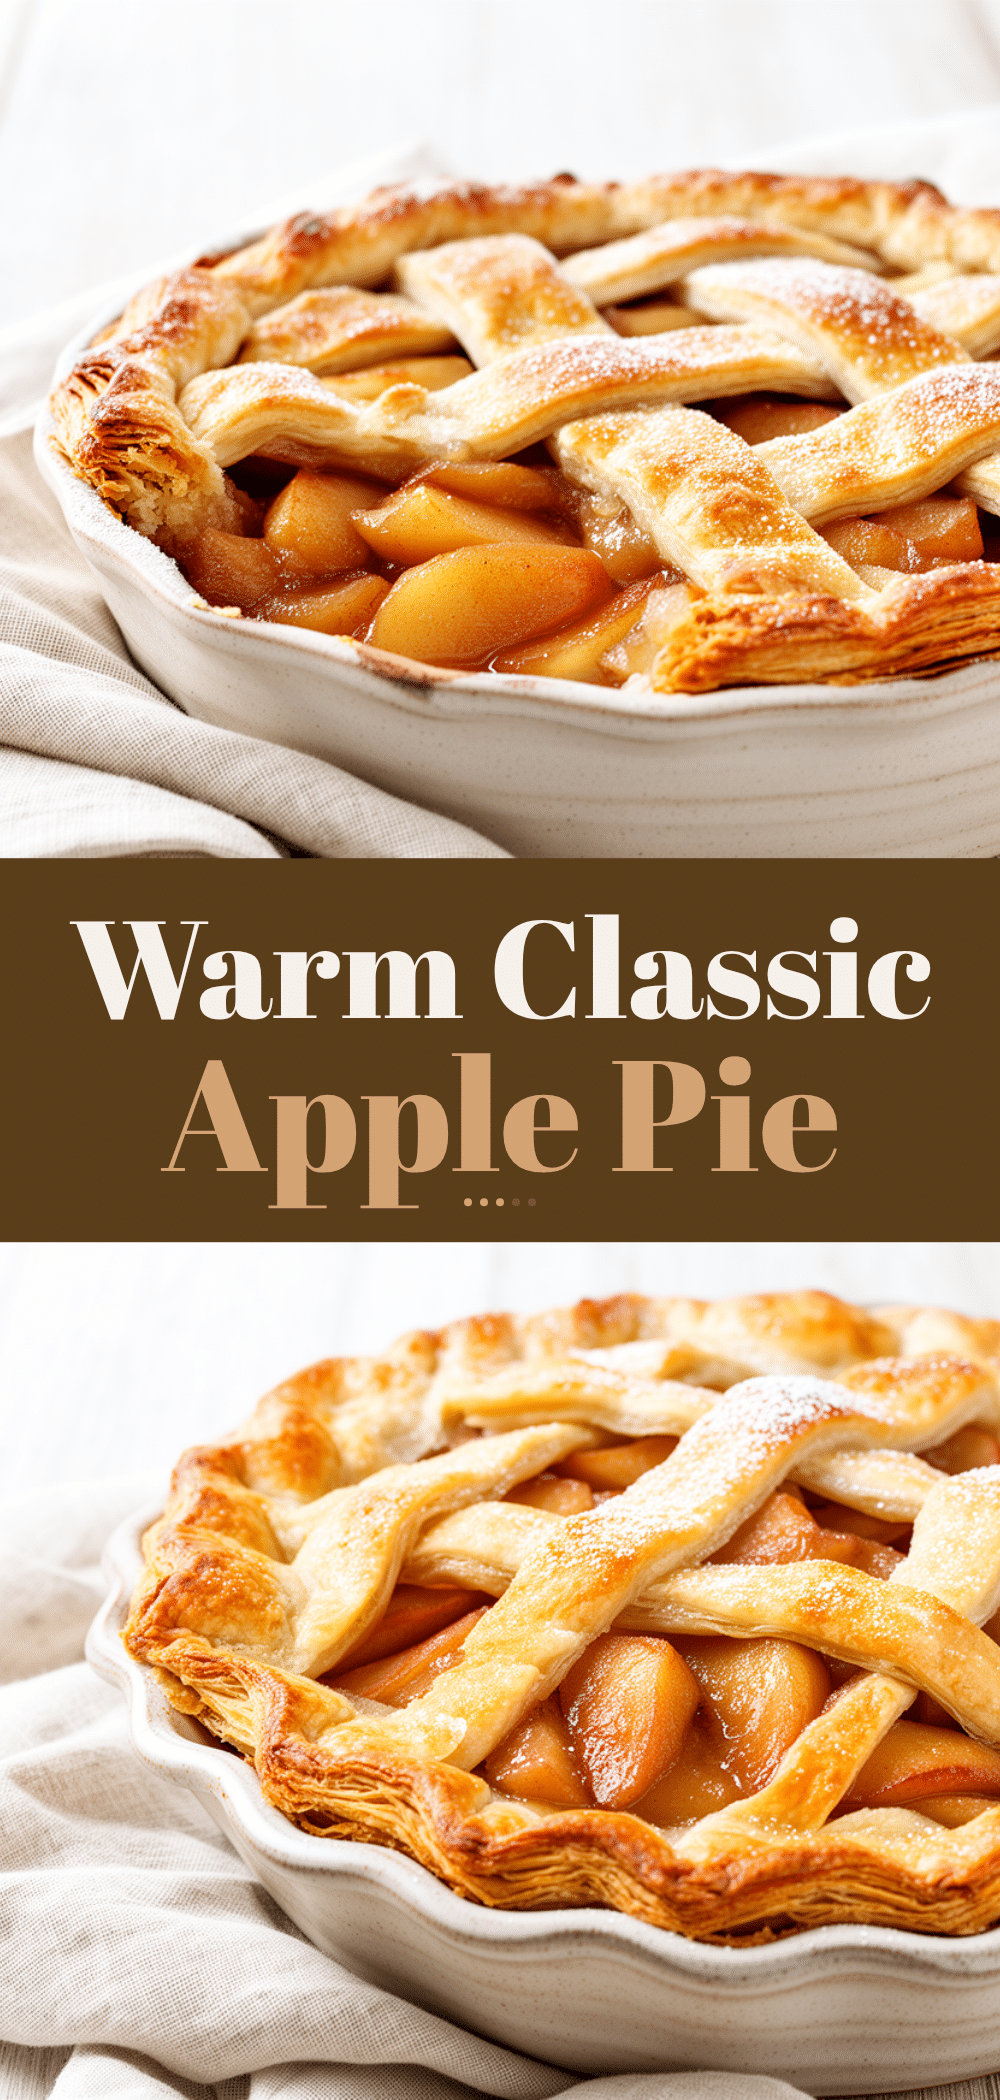
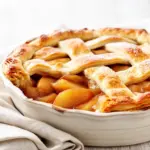
Classic Apple Pie Recipe Easy Flaky Buttery Crust Your Family Will Crave
- Total Time: 2 hours 30 minutes (including chilling and cooling)
- Yield: 8 servings 1x
Description
A nostalgic classic apple pie with a flaky, buttery crust and perfectly spiced apple filling that your whole family will love. Easy to make and perfect for holidays or cozy nights.
Ingredients
- 2 ½ cups all-purpose flour (315g)
- 1 cup unsalted butter, cold and cubed (225g)
- ¼ cup granulated sugar (50g)
- 1 teaspoon salt
- 6–8 tablespoons ice water (90-120ml)
- 6 cups peeled and sliced apples (about 900g) – recommended Granny Smith, Honeycrisp, or Fuji
- ½ cup brown sugar (110g)
- 1 ½ teaspoons cinnamon
- ¼ teaspoon nutmeg
- 1 tablespoon lemon juice (15ml)
- 2 tablespoons all-purpose flour (16g) for filling thickening
- 1 large egg, beaten (for egg wash)
- Optional: coarse sugar for sprinkling on top
Instructions
- Make the Pie Dough: In a large bowl, whisk together flour, sugar, and salt. Add cold, cubed butter and cut into flour using a pastry cutter or fingers until mixture resembles coarse crumbs with pea-sized bits of butter. Slowly add ice water, one tablespoon at a time, mixing gently until dough just holds together. Divide dough into two discs, wrap in plastic, and chill for at least 1 hour or overnight.
- Prepare the Apple Filling: Peel, core, and slice apples evenly. Toss apples with brown sugar, granulated sugar, cinnamon, nutmeg, flour, and lemon juice until well coated.
- Roll Out the Bottom Crust: Lightly flour surface and rolling pin. Roll one dough disc into a 12-inch circle about 1/8 inch thick. Transfer to a 9-inch pie dish, letting edges hang over slightly. Press gently into dish.
- Add the Filling: Pour apple mixture into crust, spreading evenly without packing down.
- Roll Out the Top Crust and Assemble: Roll out second dough disc similarly. Place over filling as a full crust, lattice, or cut-out shapes. Trim excess dough and crimp edges to seal. Cut small slits in top crust to vent steam.
- Egg Wash and Sugar: Brush entire crust with beaten egg. Sprinkle coarse sugar on top if desired.
- Bake the Pie: Place pie on baking sheet. Bake at 425°F (220°C) for 20 minutes, then reduce heat to 350°F (175°C) and bake for 30-40 minutes until crust is golden and filling bubbles. Cover edges with foil if browning too quickly.
- Cool and Serve: Cool pie completely on wire rack for at least 2 hours before slicing. Serve warm or room temperature, optionally with vanilla ice cream or whipped cream.
Notes
Keep butter and water ice cold for a flaky crust. Do not overwork dough to avoid toughness. Use a mix of tart and sweet apples for best flavor. Brush bottom crust with beaten egg white before filling to prevent soggy bottom. Cool pie completely before slicing for clean slices. Use foil shields to protect crust edges from burning.
- Prep Time: 30 minutes (plus at least 1 hour chilling)
- Cook Time: 50-60 minutes
- Category: Dessert
- Cuisine: American
Nutrition
- Serving Size: 1 slice (1/8 of pie)
- Calories: 400
- Sugar: 28
- Sodium: 190
- Fat: 17
- Saturated Fat: 10
- Carbohydrates: 58
- Fiber: 3
- Protein: 3
Keywords: apple pie, classic apple pie, flaky crust, buttery crust, homemade pie, apple dessert, cinnamon apple pie, holiday dessert