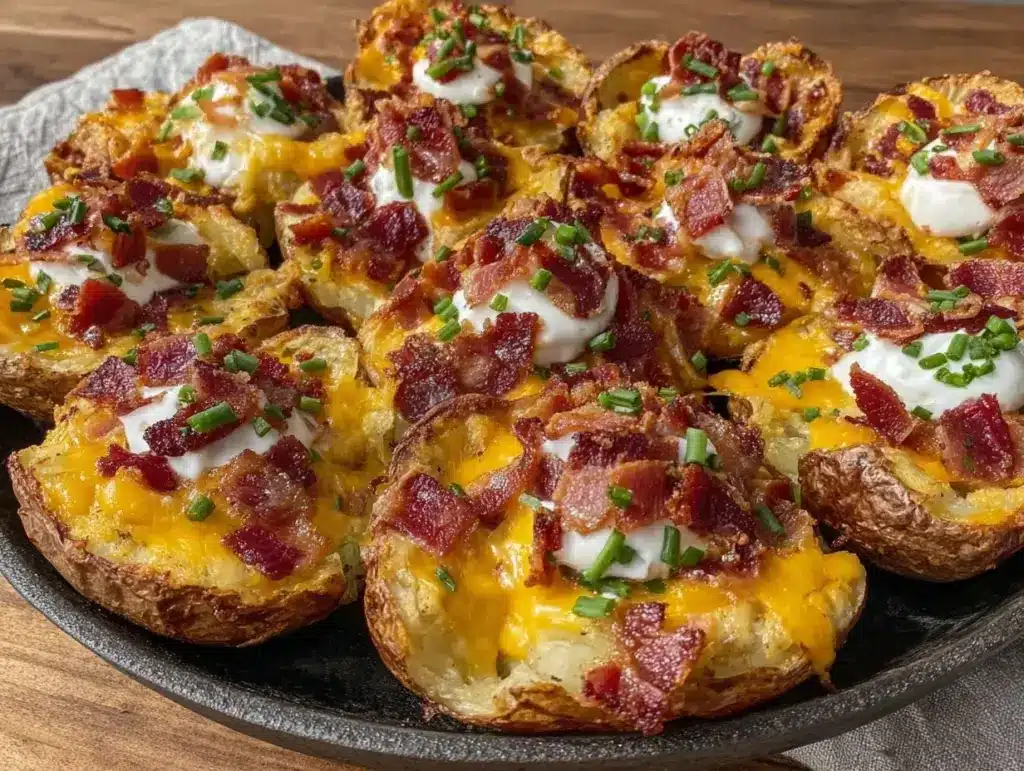
It was the fourth quarter of the playoffs last year, the kind of game where your heart is pounding so hard you can hear it over the commentary, and my husband reached into the bowl and ate the last skin. I was devastated. I had spent thirty minutes peeling potatoes, scooping out insides, and frying these little crispy boats of joy, and he had inhaled them before I could grab a napkin.
That was the moment I realized I needed a strategy. Not just a snack strategy, but a full-on game day defense. These football party loaded baked potato skins with bacon are not just a snack; they are a test of willpower. I’ve made them for Super Bowl parties, tailgates, and even quiet Sunday nights when I just need something to crunch on while I watch the highlights. And let’s be honest, they always disappear within twenty minutes of kickoff.
I’ve tested this recipe more times than I care to admit (probably 15+ times in the last two years). I’ve tried baking them vs. frying them. I’ve tried cheese blends that melted like clouds and ones that stayed clumpy. I’ve experimented with sour cream dollops that slid off and ones that stuck. Through all the mess and the burnt edges (yes, I burned a batch once because I was watching the game and forgot the oven), I’ve landed on the perfect method. It’s crispy, it’s loaded, it’s salty, and it’s the easiest thing you’ll make all season.
If you’re looking for a crowd-pleaser that looks impressive but takes almost no effort, this is it. These football party loaded baked potato skins with bacon are the answer to “5pm and nothing planned” when the game starts at 6:30. You’ll make them on repeat. I promise.
Why You’ll Love This Recipe
There are a million ways to serve snacks at a party, but these potato skins are in a league of their own. Here’s why they’ve become my go-to for every single game day:
Crispy Without the Deep Fryer — Seriously, who has a deep fryer in their apartment? I baked these until they were shatteringly crisp, then topped them and broiled them. The result? Fried-crisp texture without the mess or the grease splatter. It’s a game-changer.
Zero Stress Cooking — I know you’re worried about the main dish. Maybe you’re making smoky bourbon BBQ ribs which are amazing but take forever. These skins are your sidekick. They cook while you do literally anything else. You can prep them an hour ahead and just throw them in the oven right before the game starts.
Make-Ahead Friendly — This is the holy grail of party food. I scoop the potatoes, crisp the skins, and store them on a baking sheet in the fridge. When guests arrive, I just pop them in the oven for 10 minutes to re-crisp, then add the cheese and toppings. You look like a hero, but you barely lifted a finger.
Customizable for Everyone — My vegetarian sister doesn’t eat bacon, but she loves these skins with extra cheddar and jalapeños. My kid loves them plain with just cheese. These football party loaded baked potato skins with bacon are the great equalizer. Everyone finds their favorite version.
Crunch Factor — Let’s talk texture. Soft chips are boring. These skins have that snap when you bite into them, followed by the gooey cheese and the salty bacon. It’s the kind of snack that makes you close your eyes and sigh. I’ve served these next to crispy baked mac and cheese bites, and the skins usually win the popularity contest.
This recipe is my answer to “what do I bring?” when I’m hosting. It’s reliable, it’s delicious, and it never fails to make people happy. No complicated techniques, no weird ingredients, just pure, salty, cheesy comfort.
Ingredients You’ll Need
Here’s the best part: you probably have most of this already in your kitchen. This looks like a simple list, but the quality of your ingredients matters more than you think. I’m particular about three things here, and I’ll tell you exactly why.
Russet Potatoes (4 large) — You need big, starchy potatoes. Russets are the gold standard because they get fluffy on the inside and crisp on the outside. Sweet potatoes or Yukon Golds work, but they’re waxy and won’t get that same crunch. Look for potatoes that are uniform in size so they cook evenly.
Cheddar Cheese (2 cups, shredded) — Buy a block and shred it yourself. I know it takes five minutes, but pre-shredded cheese is coated in cellulose to prevent clumping. That stuff doesn’t melt right. It stays grainy. I use a sharp cheddar for flavor, but a mix of cheddar and Monterey Jack gives you the best melt. Trust me on this.
Bacon (12 slices, cooked and crumbled) — Thick-cut bacon is non-negotiable. Thin bacon burns to a crisp before it gets crunchy enough. I cook mine in the oven at 400°F for 15 minutes, then crumble it. It’s less messy than frying. If you’re making crispy baked chicken nuggets for the kids, you can use that same oven method for the bacon. Efficient kitchen hacking.
Sour Cream (1 cup) — Full-fat only. Light sour cream separates and looks weird when heated. If you want a tangy kick, mix in a teaspoon of lemon juice. I like to put the sour cream in a squeeze bottle for easy drizzling later.
Green Onions (4 stalks, thinly sliced) — These add that fresh, sharp bite that cuts through the heavy cheese and bacon. Don’t skip them. They’re the garnish that makes it look professional. I use both the white and green parts.
Butter (3 tablespoons, melted) — This goes into the potato skins before baking. It helps them crisp up and adds richness. I use unsalted butter so I can control the salt.
Garlic Powder (1 teaspoon) — Because fresh garlic burns in the oven, but garlic powder adds that savory depth without the risk. It’s a pantry staple for a reason.
Salt and Black Pepper — To taste. Russets are bland on their own, so season well. I use flaky sea salt on top at the end for that restaurant finish.
Optional Add-ins:
Jalapeños (sliced) — For heat. I love the contrast of spicy and cheesy.
Chives — A more subtle onion flavor than green onions.
BBQ Sauce — Drizzle this on top if you want a smoky twist. It goes great with the bacon.
Equipment Needed
You don’t need fancy equipment for this. Here’s what I actually use.
Baking Sheet — I use a large rimmed baking sheet. I line it with parchment paper for easy cleanup. Grease is the enemy of good cleanup.
Oven — Standard oven works perfectly. No air fryer needed, though you can use one for smaller batches.
Potato Scooper or Small Spoon — I use a small melon baller or just a regular teaspoon. Be careful not to poke holes in the skin. You want the skin to stay intact.
Cheese Grater — Box grater works fine. Microplane is faster if you’re grating lots of cheese.
Tongs — For flipping the skins. Metal tongs work best.
Squeeze Bottle — Optional but nice for the sour cream. Makes it look fancy.
How to Make It: Step-by-Step
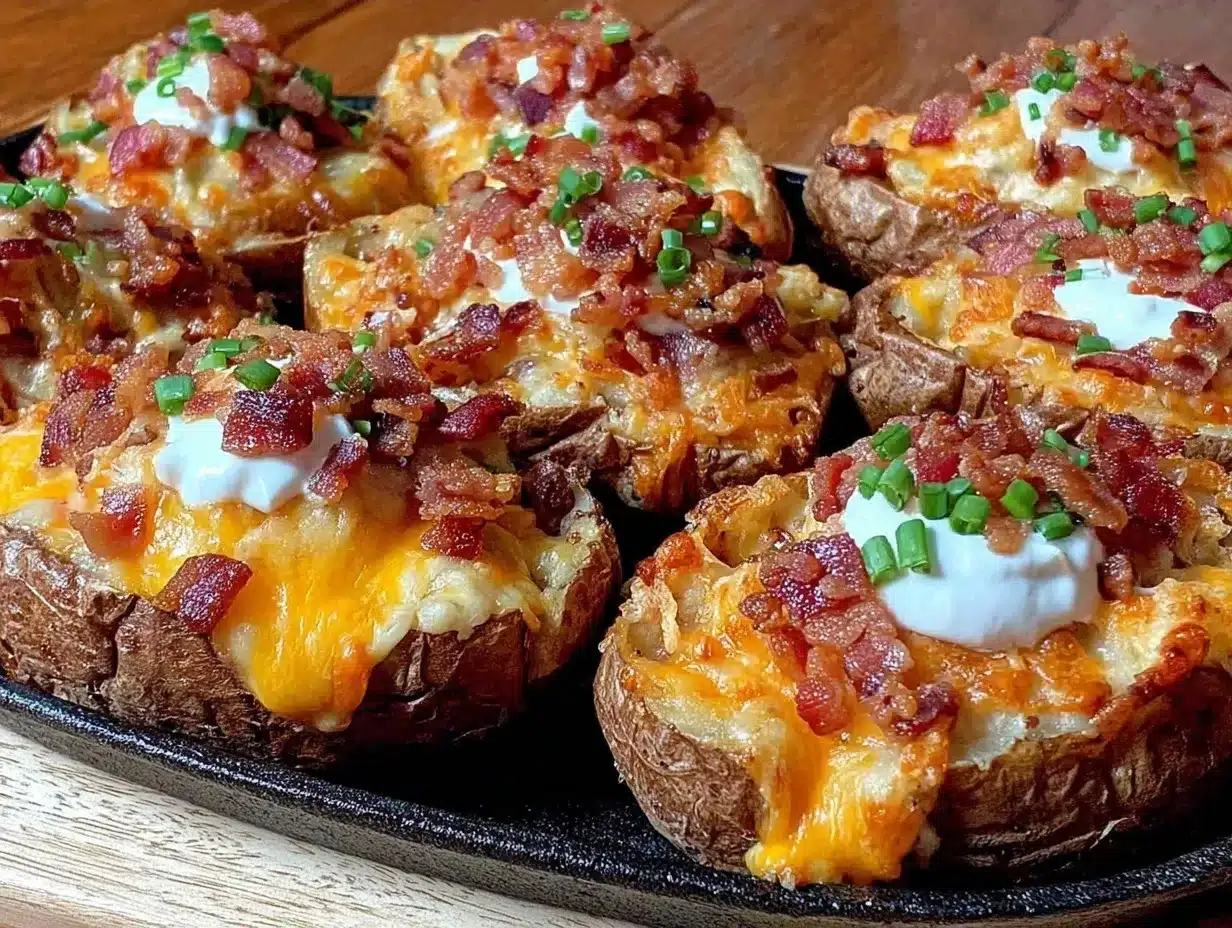
Alright, let’s make this! I’m walking you through exactly how I do it, including the little tricks I’ve picked up.
Step 1: Prep the Potatoes (10 minutes)
Preheat your oven to 400°F (200°C). Wash the potatoes thoroughly and pat them dry. Prick them all over with a fork—this lets steam escape so they don’t explode. Bake them directly on the oven rack for 45-60 minutes until they are soft all the way through. Squeeze one gently; it should yield like a stress ball. Let them cool for 10 minutes until you can handle them.
Step 2: Scoop Out the Insides (5 minutes)
Slice each potato in half lengthwise. Using a spoon, scoop out the insides, leaving about ¼ inch of potato attached to the skin. Don’t scrape it too thin, or the skins will break. Save the potato insides! You can mash them for cinnamon apple nachos or just eat them plain with butter. I usually eat them while I’m working. No judgment.
Step 3: Season and Crisp (15 minutes)
Brush the inside of each skin with melted butter. Sprinkle with garlic powder, salt, and pepper. Place them skin-side up on your lined baking sheet. Bake for 15 minutes. This step is crucial—it crisps up the potato skin so it’s not soggy later. They should look golden and firm.
Step 4: Load Them Up (5 minutes)
Remove the skins from the oven. Reduce the oven heat to broil. Divide the shredded cheese evenly among the skins. Sprinkle the crumbled bacon on top. Return to the oven and broil for 2-3 minutes, watching closely. You want the cheese melted and bubbly, not burnt. Cheese burns fast under the broiler.
Step 5: Finish and Serve (2 minutes)
Remove from the oven. Immediately sprinkle with sliced green onions and a pinch of flaky sea salt. Drizzle with sour cream if you’re feeling fancy. Serve hot. These are best eaten within 10 minutes of coming out of the oven, while the skins are still crunchy.
Total Time: About 1 hour 15 minutes (mostly hands-off baking time).
Expert Tips & Tricks
Here’s everything I’ve learned from making this dozens of times. These tips will save you from my mistakes.
Don’t Skip the Pre-Bake
If you go straight to topping and broiling, your skins will be soggy. The 15-minute pre-bake with butter is what creates that crispy shell. It’s non-negotiable.
Shred Your Own Cheese
I cannot stress this enough. Pre-shredded cheese has anti-caking agents that prevent melting. Your cheese will be clumpy and greasy. Grate a block of cheddar. It takes 3 minutes and makes a huge difference.
Cool the Potatoes Before Scooping
If you scoop them while they’re piping hot, they’ll fall apart. Let them cool for at least 10 minutes. They should be cool enough to touch but still warm.
Use Thick-Cut Bacon
Thin bacon turns to ash in the oven. Thick-cut bacon stays chewy and crunchy. If you can’t find thick-cut, buy regular and cook it longer.
Make-Ahead Strategy
You can scoop and pre-bake the skins up to 24 hours in advance. Store them in an airtight container in the fridge. When you’re ready, just add toppings and broil. They’ll re-crisp beautifully.
Sauce on the Side
If you’re serving a crowd, put the sour cream and jalapeños in bowls on the side. Some people like it mild, some like it spicy. Let them customize.
Variations & Substitutions
Once you’ve nailed the basic version, here’s how you can mix it up. I’ve tried all of these.
BBQ Bacon Skins
Drizzle BBQ sauce on top before adding cheese. Use smoked gouda instead of cheddar. It’s smoky and sweet. This pairs perfectly with smoky bourbon BBQ ribs.
Spicy Jalapeño Skins
Add diced jalapeños with the cheese. Use pepper jack cheese. Top with hot sauce. Great for those who like a kick.
Vegetarian Version
Skip the bacon. Add sautéed mushrooms or caramelized onions. Use a plant-based cheese if needed. Still delicious.
Loaded Nacho Skins
Add black beans and corn with the cheese. Top with salsa instead of sour cream. It’s like a nacho in potato skin form.
Gluten-Free
Potatoes are naturally gluten-free. Just check your bacon and cheese labels to ensure no cross-contamination. These are safe for gluten-free friends.
Serving & Storage
How to Serve:
I usually serve these straight from the baking sheet at the party. It’s rustic and easy. But you can also arrange them on a platter. Pair them with a simple green salad or grilled peach burrata salad for a lighter option.
Storage:
Store leftovers in an airtight container in the fridge for up to 3 days. The skins will soften, which is sad. To re-crisp, pop them in the oven at 375°F for 5-7 minutes. Do not microwave—they will get chewy and tough.
Freezing:
You can freeze the pre-baked skins (without toppings) for up to 2 months. Thaw in the fridge, add toppings, and bake. They won’t be as crisp as fresh, but they’re still good.
Nutrition Information
I’m not a nutritionist, but here’s the breakdown if you’re tracking. This is comfort food, so it’s not diet food.
Per Serving (based on 8 skins):
- Calories: 320
- Protein: 12g
- Carbs: 28g
- Fiber: 3g
- Fat: 18g
- Sodium: 450mg
What’s Good:
Potatoes provide potassium and fiber. Cheese adds calcium and protein. Bacon adds flavor (and sodium).
What to Know:
High in saturated fat and sodium. Enjoy in moderation. If you’re watching sodium, use low-sodium bacon and skip the extra salt.
Final Thoughts
So that’s my go-to football party loaded baked potato skins with bacon! I’ve probably talked your ear off at this point, but when you make a recipe this often, you have a lot to say about it.
This has saved game days more times than I can count. It’s my answer to “what do I bring?” when I’m hosting. It’s reliable, it’s delicious, and it never fails to make people happy. My husband is happy, my friends are happy, and I’m happy because I’m not stressed about cooking.
Make it yours! Try different cheeses, add your favorite veggies, adjust the spice level. The best recipes are the ones you adapt to your family’s tastes.
If you make this, drop a comment and let me know what you think! I love hearing how recipes turn out in your kitchen. And if something doesn’t work, tell me that too—I’m here to help troubleshoot.
Happy cooking! And I hope your kitchen smells half as good as mine does right now.
Frequently Asked Questions
Can I make these ahead of time?
Yes! Scoop and pre-bake the skins up to 24 hours in advance. Store them in the fridge. When ready to serve, add toppings and broil for 2-3 minutes. They’ll be crispy and fresh-tasting.
Why are my skins soggy?
Usually means you didn’t pre-bake them long enough, or you scooped them too thin. Make sure to brush with butter and bake for 15 minutes before adding toppings. Also, don’t cover them with too much wet topping like sour cream until the very end.
Can I use air fryer instead of oven?
Absolutely. Air fry at 375°F for 10-12 minutes for the pre-bake. Then add toppings and air fry for 2-3 minutes more. Keep an eye on it—air fryers vary.
Can I use sweet potatoes?
You can, but they’re sweeter and softer. They won’t get as crispy. If you use sweet potatoes, bake them until very tender, and maybe add a pinch of cinnamon to the butter.
How do I reheat leftovers?
Oven or toaster oven at 375°F for 5-7 minutes. Do not microwave. Microwaving makes the skins chewy and rubbery. You want that crunch back.
Can I freeze these?
Freeze the pre-baked skins without toppings for up to 2 months. Thaw in the fridge, add toppings, and bake. Topped skins don’t freeze well because the cheese and bacon get weird.
Pin This Recipe!
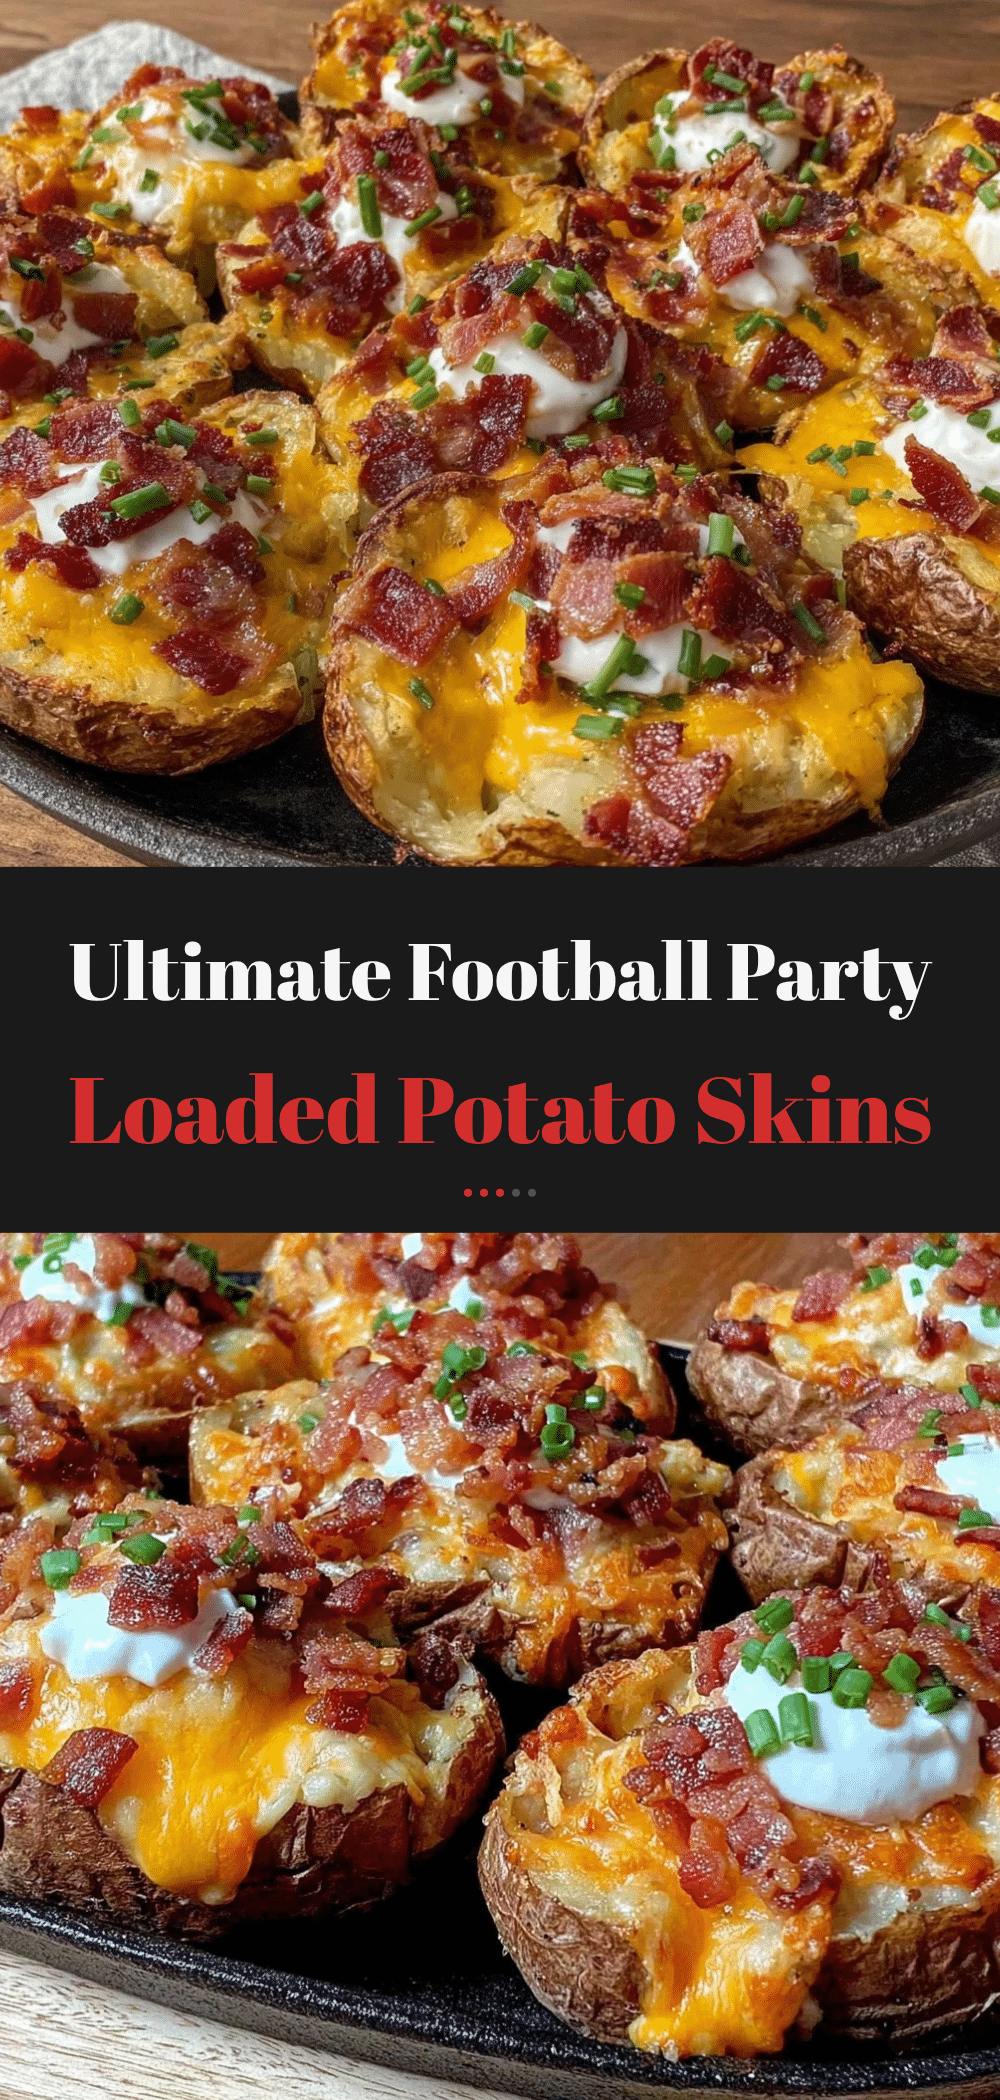

Football Party Loaded Baked Potato Skins with Bacon
- Total Time: 1 hour 15 minutes
- Yield: 8 servings 1x
Description
Crispy, loaded baked potato skins topped with cheddar cheese, bacon, sour cream, and green onions. A perfect, make-ahead game day snack that is easier to make than it looks.
Ingredients
- 4 large Russet potatoes
- 2 cups shredded cheddar cheese (or mix of cheddar and Monterey Jack)
- 12 slices thick-cut bacon, cooked and crumbled
- 1 cup full-fat sour cream
- 4 stalks green onions, thinly sliced
- 3 tablespoons unsalted butter, melted
- 1 teaspoon garlic powder
- Salt and black pepper to taste
- Flaky sea salt for finishing
- Optional: Sliced jalapeños, chives, or BBQ sauce
Instructions
- Preheat oven to 400°F (200°C). Wash and dry potatoes, prick with a fork, and bake directly on the rack for 45-60 minutes until soft. Let cool for 10 minutes.
- Slice potatoes in half lengthwise. Scoop out the insides, leaving about ¼ inch of potato attached to the skin. Save the insides for another use.
- Brush the inside of each skin with melted butter. Sprinkle with garlic powder, salt, and pepper.
- Place skins skin-side up on a parchment-lined baking sheet. Bake for 15 minutes to crisp the skins.
- Remove from oven and reduce heat to broil. Top skins with shredded cheese and crumbled bacon.
- Broil for 2-3 minutes until cheese is melted and bubbly. Watch closely to prevent burning.
- Remove from oven and immediately sprinkle with green onions and flaky sea salt. Drizzle with sour cream if desired. Serve hot.
Notes
For best results, shred your own cheese as pre-shredded cheese contains anti-caking agents that prevent proper melting. You can prep the skins up to 24 hours in advance by scooping and pre-baking them, then storing in the fridge. Re-crisp in the oven before adding toppings. Do not microwave leftovers as they will become chewy; reheat in the oven at 375°F for 5-7 minutes.
- Prep Time: 15 minutes
- Cook Time: 1 hour
- Category: Appetizer
- Cuisine: American
Nutrition
- Serving Size: 2 skins per serving
- Calories: 320
- Sodium: 450
- Fat: 18
- Carbohydrates: 28
- Fiber: 3
- Protein: 12
Keywords: potato skins, game day snack, football party food, bacon, cheddar cheese, easy appetizer, make-ahead snack, crispy potato skins