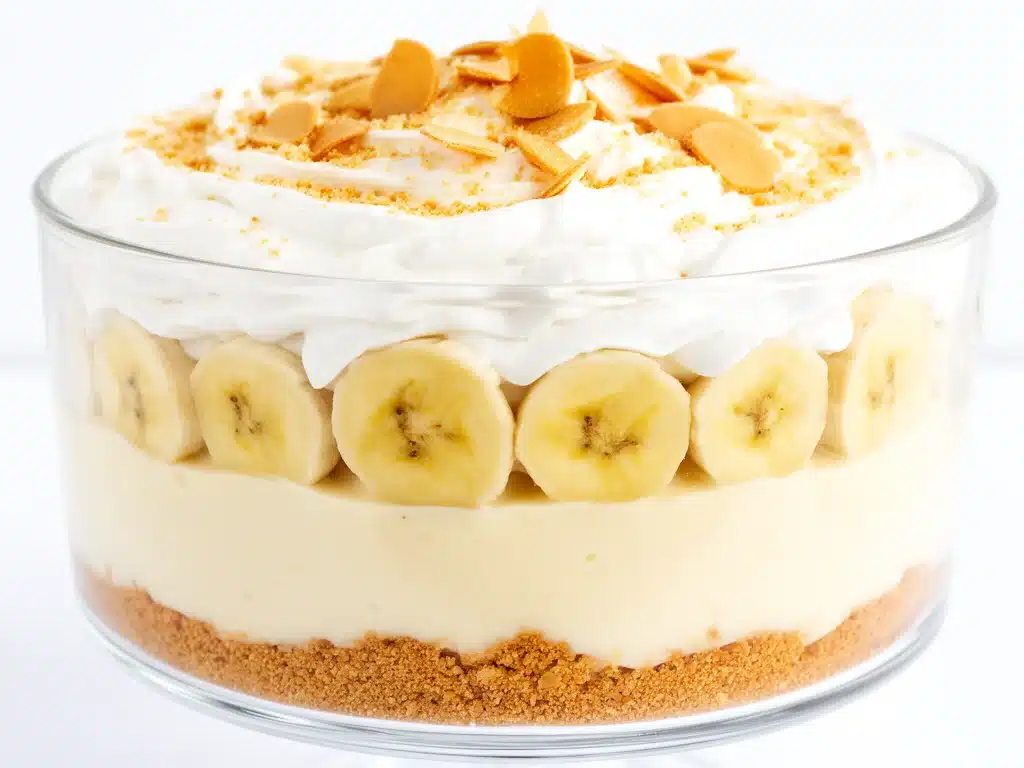
One late August afternoon a couple of years ago, I was scrambling to pull together a dessert for a last-minute Labor Day potluck. My fridge was looking pretty bare, and the last thing I wanted was to turn on the oven in the summer heat. I needed something simple, cool, and crowd-pleasing—because you know how picky people get when it comes to desserts at family gatherings. That’s when I remembered an old favorite from my childhood: banana pudding. But instead of the usual layered version, I decided to transform it into a no-bake cheesecake. I threw together a few pantry staples and fresh bananas, and voilà—a silky, creamy no bake banana pudding cheesecake that had everyone asking for the recipe. I’ve made it every Labor Day since, and honestly, it’s become my signature dessert for any hot-weather get-together.
This Labor Day No Bake Banana Pudding Cheesecake with simple ingredients is more than just a dessert—it’s a little moment of joy that’s easy to make and perfect for celebrations when you want to keep things chill (literally and figuratively). I’ve tested this recipe multiple times, tweaking the balance of banana flavor and creaminess until it hit that perfect spot. And the best part? You don’t need a dozen fancy ingredients or fancy equipment—just simple stuff you probably already have.
Why You’ll Love This Recipe
This no bake banana pudding cheesecake is one of those recipes that hits all the right notes, especially when you don’t want to fuss but still want to impress.
- Super Simple Ingredients — No weird or hard-to-find items here. Think vanilla wafers, ripe bananas, cream cheese, and a few pantry staples. I’ve made this with ingredients from a basic grocery run.
- Zero Oven Required — Labor Day weekends are for relaxing, not heating up the kitchen. This cheesecake sets up in the fridge, so you stay cool and stress-free.
- Kid-Approved — I’ve served this to my nieces and nephews after swimming, and it disappears faster than I can slice the bananas. Sweet but not too sweet, smooth but with texture from the wafers.
- Make-Ahead Friendly — You can prepare it a day or two in advance, which means less last-minute scrambling. It even tastes better the next day when the flavors meld.
- Elegant but Casual — Whether you’re hosting a backyard barbecue or bringing a dish to a potluck, this cheesecake looks impressive without any fancy plating skills.
Honestly, this recipe has saved me on more than one holiday weekend, and it’s so good that even dessert skeptics come back for seconds. It’s that perfect blend of creamy banana pudding nostalgia with a cheesecake twist—nothing complicated, just pure comfort.
Ingredients You’ll Need
Here’s where the magic happens: most of these ingredients are pantry basics or fresh items you can find anywhere. I’m picky about a few things, though, and I’ll share tips to make it even better.
- Vanilla wafers (about 2 cups crushed / 60g) — These form the base crust. I prefer crushed by hand for texture, but store-bought crumbs work too.
- Unsalted butter (6 tablespoons / 85g, melted) — Use unsalted so you control the saltiness. This binds the crust and gives it richness.
- Cream cheese (16 ounces / 450g, softened) — Full-fat only. I always leave it out for 30 minutes before mixing for smooth results.
- Sweetened condensed milk (14 ounces / 397g) — This adds sweetness and creaminess. Don’t substitute with evaporated milk—it won’t be sweet enough.
- Bananas (3 large, ripe but firm) — Riper bananas mean more flavor, but too mushy and the texture suffers. Slice just before assembling to avoid browning.
- Vanilla extract (2 teaspoons) — Use pure vanilla for the best flavor boost. It deepens the sweetness without overpowering.
- Whipped topping (8 ounces / 225g, thawed) — I use store-bought whipped topping for ease, but homemade whipped cream works great if you have time.
- Banana pudding mix (instant, 3.4 ounces / 96g) — This is the secret ingredient that gives the cheesecake that unmistakable banana pudding flavor. You can find it in the baking aisle.
- Milk (1 ½ cups / 360ml) — For the pudding mix. Whole milk makes it richer, but 2% works fine too.
If you want to get fancy, a pinch of cinnamon or nutmeg on top is lovely, but totally optional. I keep it straightforward because simple is the point here—and it still wows.
Equipment Needed
You don’t need anything fancy to whip this up. Here’s what I use and what can work instead:
- 9-inch springform pan — Perfect for no bake cheesecakes. If you don’t have one, a regular pie dish works, but the springform makes serving easier.
- Mixing bowls — One large for the cream cheese mixture and one medium for the pudding.
- Electric mixer or hand mixer — Makes the cream cheese super smooth. You can whisk by hand, but it takes longer and you might get lumps.
- Measuring cups and spoons — Standard kitchen tools. I keep these handy on my counter for quick access.
- Rubber spatula — For folding in whipped topping without deflating it.
- Food processor or resealable bag and rolling pin — To crush those vanilla wafers. I usually just pop them in a bag and smash with a rolling pin.
How to Make It: Step-by-Step
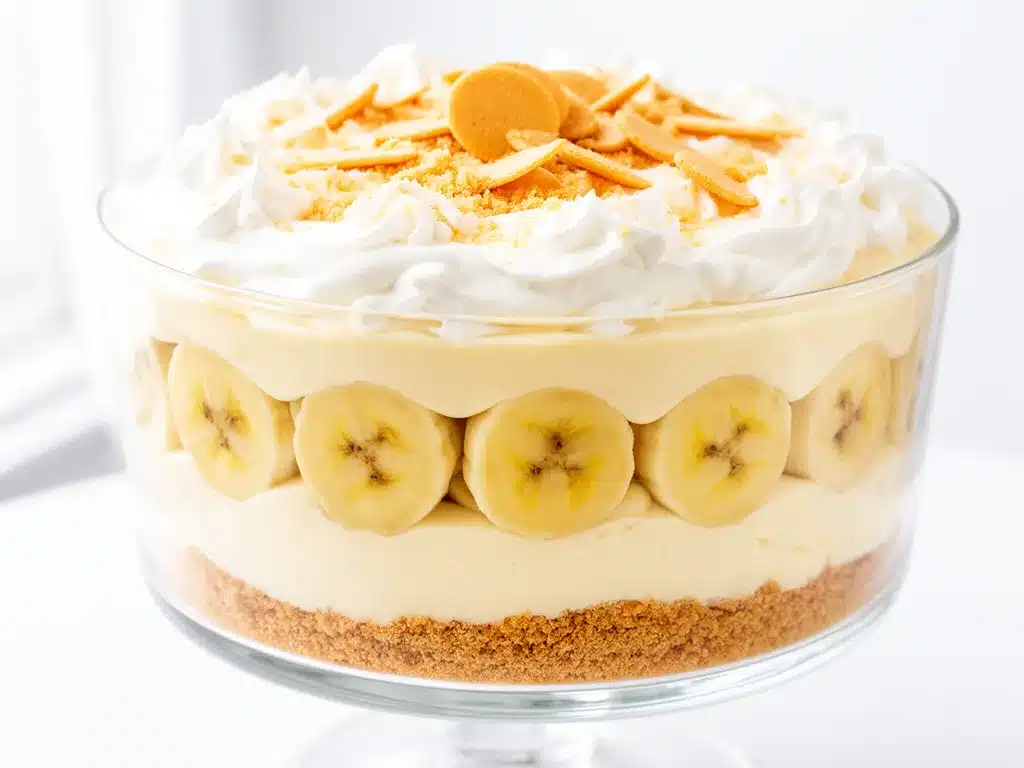
- Prep the crust (10 minutes)
Crush vanilla wafers until you have about 2 cups of crumbs. Mix them with the melted butter until evenly combined. Press this mixture firmly into the bottom of your springform pan to form an even layer. Pop it in the fridge while you make the filling to help it set. - Make the pudding (5 minutes)
In a medium bowl, whisk together the banana pudding mix and milk until smooth. Set aside to thicken while you prepare the cream cheese mixture. - Mix the cream cheese base (5-7 minutes)
In a large bowl, beat the softened cream cheese until creamy and smooth using your mixer. Slowly add sweetened condensed milk and vanilla extract, beating until fully combined and silky. No lumps here—patience pays off! - Combine pudding and cream cheese (2 minutes)
Fold the thickened pudding into the cream cheese mixture gently but thoroughly. - Fold in whipped topping and bananas (3 minutes)
Gently fold the whipped topping into the cream cheese and pudding mixture until smooth and fluffy. Then fold in about 2 sliced bananas. Reserve a few slices for garnish on top. - Assemble and chill (at least 4 hours, preferably overnight)
Pour the filling over the chilled crust, spreading evenly. Arrange the reserved banana slices on top for a pretty finish. Cover with plastic wrap and refrigerate until firm—this usually takes about 4 hours but overnight is best. - Serve and enjoy!
Release the springform and slice carefully. For extra flair, sprinkle crushed vanilla wafers or a tiny dusting of cinnamon on top before serving.
Pro tip: If your bananas brown a bit while chilling, don’t stress. It happens. Just give the top a gentle wipe with a damp paper towel or add a few fresh slices before serving.
Expert Tips & Tricks
- Use ripe but firm bananas — Overripe bananas make the filling too watery and mushy. I learned this the hard way when my cheesecake was more pudding than cake.
- Don’t skip chilling time — The cheesecake needs time to set up and firm. I often make it the night before a party so it’s perfectly sliceable.
- Softened cream cheese is non-negotiable — If it’s cold, you’ll have lumps. I let mine sit on the counter for at least 30 minutes, or zap it in the microwave for 15 seconds if I’m in a hurry.
- Fold, don’t beat, the whipped topping — This keeps the filling light and airy. If you mix too vigorously, it deflates and the cheesecake feels dense.
- Crush vanilla wafers by hand for texture — I love a bit of crunch in the crust. Using a food processor makes it too fine, which turns mushy after chilling.
- Make it ahead — This cheesecake tastes even better the next day, so plan ahead if you can. Plus, you’ll thank yourself when Labor Day rolls around and you’re ready to relax.
Variations & Substitutions
Once you’ve got the basic recipe down, it’s fun to switch things up a bit. Here are some ideas I’ve tried and loved:
- Chocolate Banana Twist — Add ½ cup mini chocolate chips into the filling or sprinkle on top. It’s an instant crowd-pleaser and adds a fun texture.
- Peanut Butter Swirl — Gently swirl ¼ cup creamy peanut butter into the cream cheese mixture before folding in pudding and bananas. The combo of banana and peanut butter is unbeatable.
- Gluten-Free Crust — Swap vanilla wafers for gluten-free cookies or graham crackers. I’ve used almond flour crust for a low-carb twist, and it worked well.
- Fresh Fruit Add-In — Mix in some diced strawberries or blueberries with the bananas for a berry-banana pudding vibe.
- Dairy-Free Version — Use dairy-free cream cheese and coconut whipped topping. Use coconut milk with the pudding mix. I’ve made this for a lactose-intolerant friend, and it’s surprisingly good.
Serving & Storage
This no bake banana pudding cheesecake is best served chilled straight from the fridge. I like to slice it with a knife warmed under hot water to get clean edges. It pairs beautifully with a strong cup of coffee or a simple iced tea on a warm afternoon.
For sides, I often keep it casual with fresh fruit salad or a light green salad dressed with lemon vinaigrette to balance the richness. If you’re bringing it to a barbecue, garlic bread or corn on the cob with butter are great mains to complement this dessert.
Store any leftovers in an airtight container in the fridge for up to 4 days. When reheating (if you must), avoid the microwave because it changes the texture. Instead, let it sit at room temperature for 15 minutes before serving for the best taste.
Nutrition Information
| Nutrient | Per Serving (1/12th) |
|---|---|
| Calories | 320 |
| Protein | 5g |
| Carbohydrates | 38g |
| Fat | 16g |
| Saturated Fat | 9g |
| Sugar | 25g |
| Fiber | 1g |
| Sodium | 210mg |
This dessert has a nice balance of carbs and fat, thanks to the bananas and cream cheese. It’s not a diet food by any means, but it’s a sweet treat that feels homemade and indulgent without being over the top. Adding fresh fruit on the side can help add fiber and nutrients.
Final Thoughts
So that’s my tried-and-true Labor Day No Bake Banana Pudding Cheesecake recipe with simple ingredients that actually taste like a dream. I probably talk about this cheesecake every Labor Day because it’s one of those recipes that just clicks—easy to make, loved by everyone, and perfect for those warm summer weekends when you want to keep things fuss-free.
It’s saved me more than once from last-minute dessert panic, and I hope it does the same for you. Whether you stick to the classic version or try one of the variations, this cheesecake invites you to relax and enjoy the holiday with family and friends.
If you give it a try, I’d love to hear how it turned out for you. And if you have questions or run into any hiccups, just drop a comment—I’m here to help. Happy Labor Day and happy cheesecake-making!
Frequently Asked Questions
Q: Can I use regular pudding mix instead of banana pudding mix?
A: You could, but you’ll lose that distinct banana flavor that makes this cheesecake special. If you want to experiment, try adding a bit of banana extract or extra sliced bananas to boost the taste.
Q: How long does this cheesecake need to chill?
A: At least 4 hours, but overnight chilling is best. This gives the crust time to firm up and the filling to set properly, so you get nice clean slices.
Q: Can I freeze the cheesecake?
A: I don’t recommend freezing this one. The texture of the bananas and the creamy filling changes when thawed, often becoming watery. It’s best enjoyed fresh or refrigerated.
Q: My bananas browned while chilling—is it still okay to eat?
A: Totally! Brown bananas don’t affect the taste much, just the appearance. If you want a fresher look, add a few freshly sliced bananas right before serving.
Q: Can I make this without sweetened condensed milk?
A: Sweetened condensed milk is key for sweetness and texture. You could try substituting with a mix of cream and sugar, but it won’t have quite the same creamy consistency or flavor.
Q: What if I don’t have a springform pan?
A: A regular pie plate or cake pan can work, but serving might be trickier. Just be gentle when slicing and use a wide spatula to lift pieces out.
Q: Can I double this recipe for a larger group?
A: Absolutely! Double the ingredients and use a larger pan or two pans to accommodate. Just keep the chilling time the same.
And hey, if you’re juggling busy weeknights or looking for easy crowd-pleasers, you might enjoy my crispy baked chicken nuggets or these cheesy ham and cheddar quesadillas too—both are simple, family-friendly hits.
Pin This Recipe!
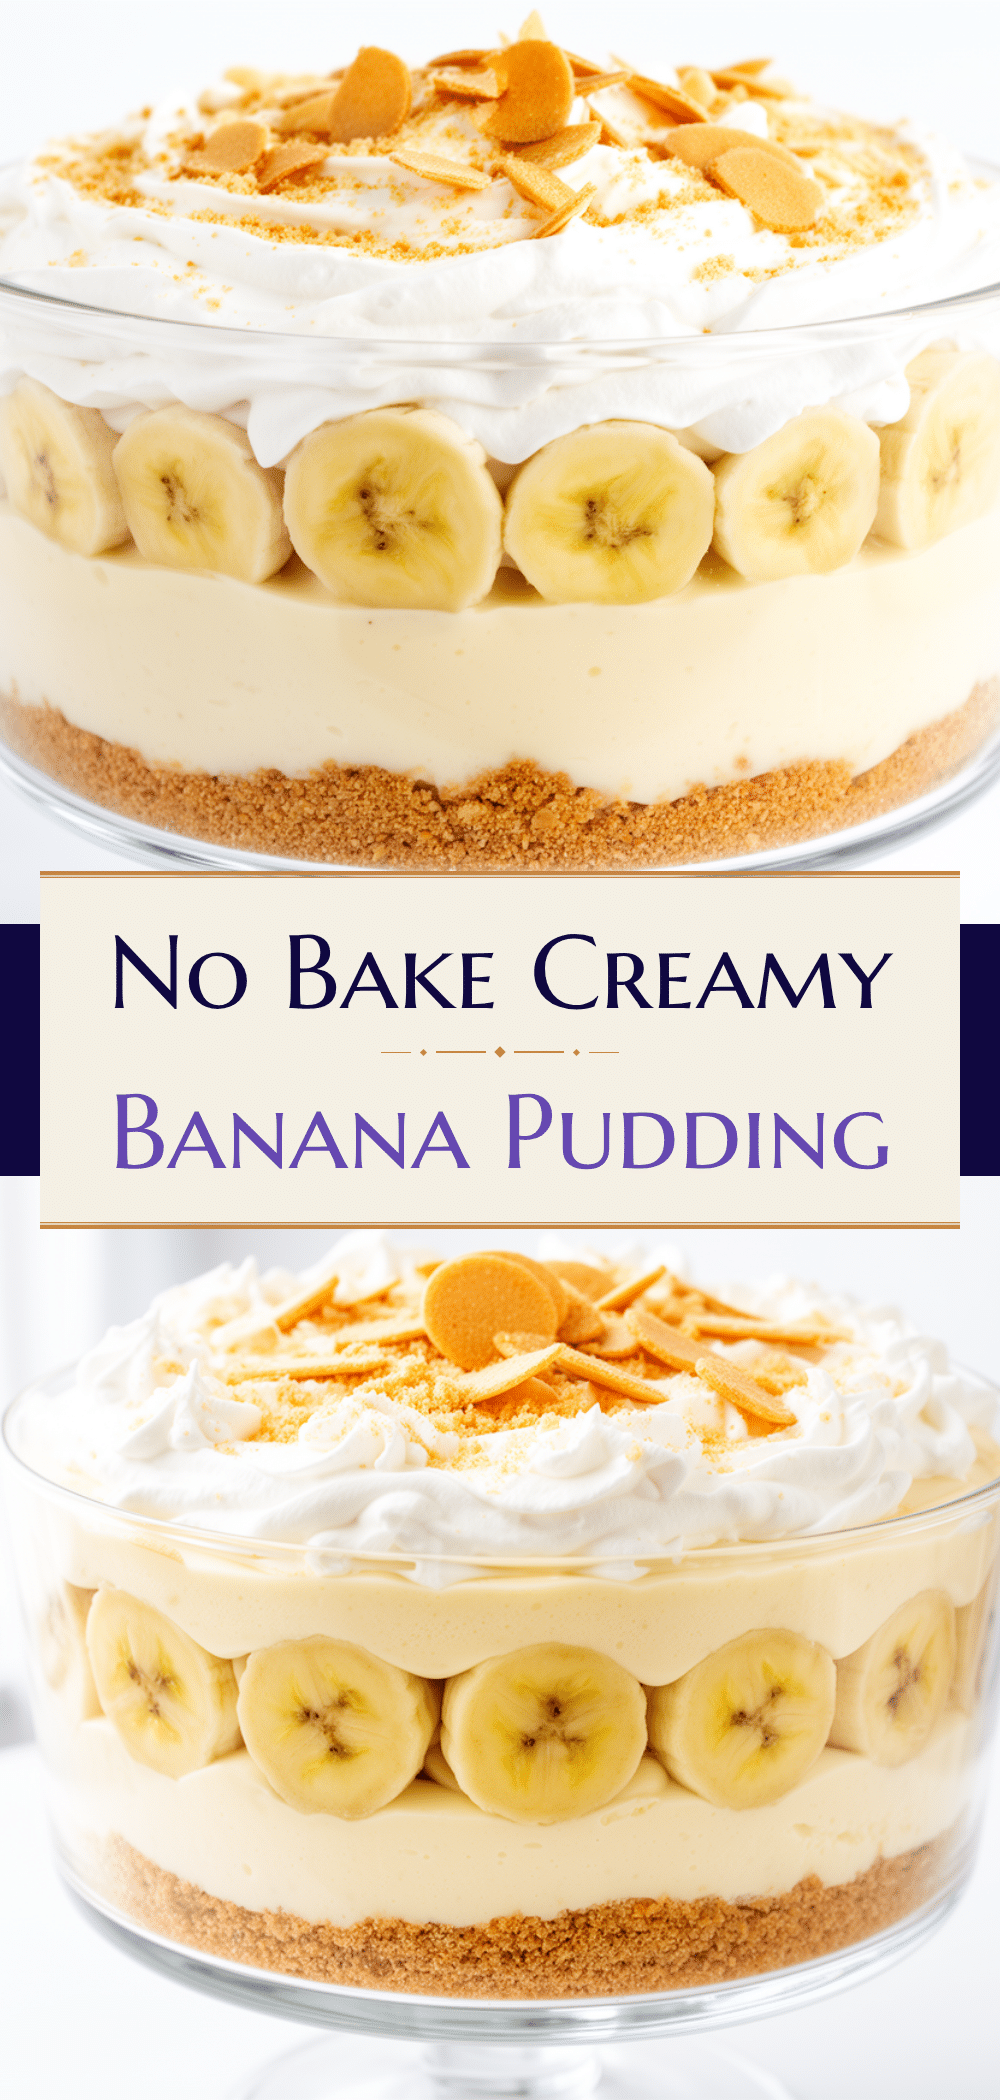
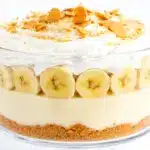
Labor Day No Bake Banana Pudding Cheesecake
- Total Time: 4 hours 20 minutes
- Yield: 12 servings 1x
Description
A silky, creamy no bake banana pudding cheesecake that is simple to make with pantry staples and fresh bananas. Perfect for hot-weather get-togethers and requires no oven.
Ingredients
- 2 cups vanilla wafers, crushed (about 60g)
- 6 tablespoons unsalted butter, melted (85g)
- 16 ounces cream cheese, softened (450g)
- 14 ounces sweetened condensed milk (397g)
- 3 large ripe but firm bananas
- 2 teaspoons vanilla extract
- 8 ounces whipped topping, thawed (225g)
- 3.4 ounces instant banana pudding mix (96g)
- 1 ½ cups milk (360ml), whole or 2%
Instructions
- Crush vanilla wafers until you have about 2 cups of crumbs. Mix them with the melted butter until evenly combined. Press this mixture firmly into the bottom of your 9-inch springform pan to form an even layer. Refrigerate while making the filling.
- In a medium bowl, whisk together the banana pudding mix and milk until smooth. Set aside to thicken.
- In a large bowl, beat the softened cream cheese until creamy and smooth using a mixer. Slowly add sweetened condensed milk and vanilla extract, beating until fully combined and silky.
- Fold the thickened pudding into the cream cheese mixture gently but thoroughly.
- Gently fold the whipped topping into the cream cheese and pudding mixture until smooth and fluffy. Then fold in about 2 sliced bananas, reserving a few slices for garnish.
- Pour the filling over the chilled crust, spreading evenly. Arrange reserved banana slices on top. Cover with plastic wrap and refrigerate for at least 4 hours or preferably overnight until firm.
- Release the springform and slice carefully. Optionally, sprinkle crushed vanilla wafers or a dusting of cinnamon on top before serving.
Notes
Use ripe but firm bananas to avoid watery filling. Soften cream cheese before mixing to prevent lumps. Fold whipped topping gently to keep filling light and airy. Crush vanilla wafers by hand for better texture. Chill cheesecake overnight for best slicing results. If bananas brown during chilling, wipe gently or add fresh slices before serving.
- Prep Time: 20 minutes
- Cook Time: 0 minutes
- Category: Dessert
- Cuisine: American
Nutrition
- Serving Size: 1 slice (1/12th of c
- Calories: 320
- Sugar: 25
- Sodium: 210
- Fat: 16
- Saturated Fat: 9
- Carbohydrates: 38
- Fiber: 1
- Protein: 5
Keywords: banana pudding cheesecake, no bake cheesecake, Labor Day dessert, easy cheesecake, no oven dessert, banana dessert, summer dessert