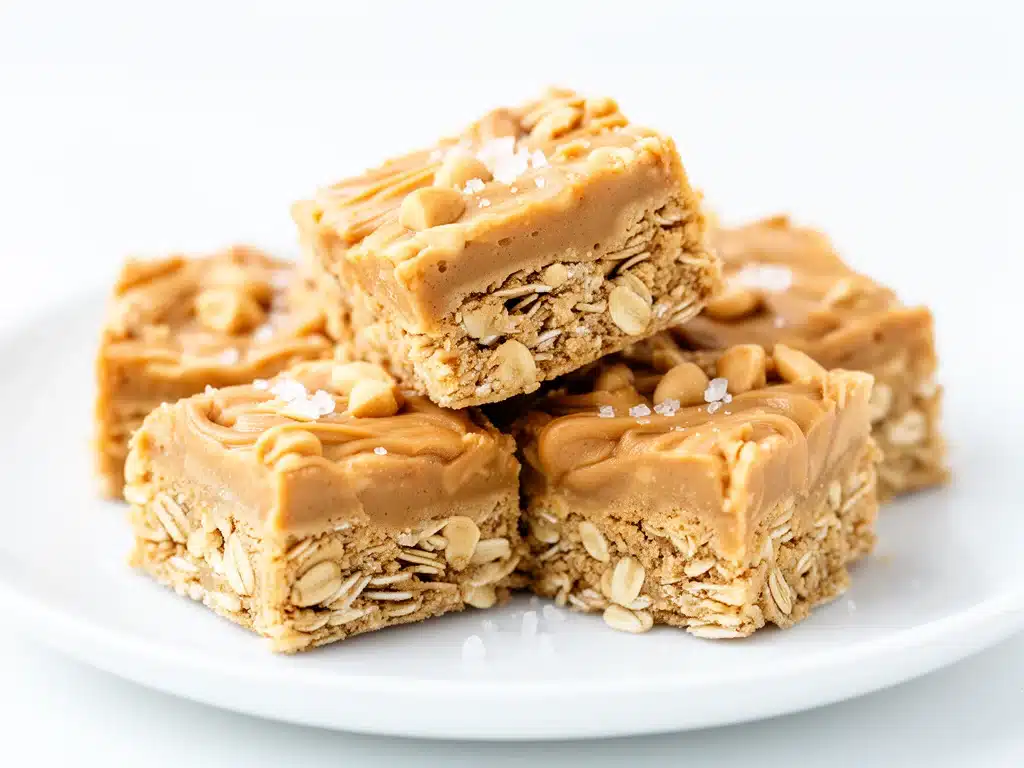
One hectic September afternoon, I found myself scrambling to pack lunchboxes while trying to get dinner on the table and keep an eye on two hyper kids bouncing off the walls. I knew I needed a quick, no-fuss snack that could keep up with their energy and survive the school day without turning into a crumbly mess. That’s when I stumbled on this back to school no bake peanut butter oat bars, and honestly, they’ve been a game-changer in my kitchen ever since.
Here’s the thing: I’ve tried a million snack bars over the years, but most either fall apart, taste like a sugar bomb, or take forever to make. These bars? They’re ridiculously simple, hold together like a charm, and pack just the right balance of peanut butter goodness and chewy oats. I’ve made them so many times that my kids ask for them before school every morning, and my husband sneaks them as an afternoon pick-me-up.
If you’re juggling back-to-school chaos and need a snack that’s fast, wholesome, and loved by the whole family, keep reading. This recipe is about to be your new best friend.
Why You’ll Love This Recipe
This recipe has transformed my snack game, and there are a bunch of reasons why you’ll be making these bars on repeat.
- Easy and No Bake — No oven required means you can whip these up anytime, even when the kitchen is already chaotic. I made a batch during a power outage once, and they still turned out perfectly.
- Family-Approved — From my toddler to my picky teenager, everyone loves these bars. I even packed them in my daughter’s lunch alongside turkey and cheese kabobs, and she came home with an empty lunchbox.
- Wholesome Ingredients — These bars use pantry staples like oats, peanut butter, and honey—ingredients you probably already have. No weird additives or preservatives.
- Perfect Portion Size — They’re just right for little hands and hungry after-school mouths without feeling too heavy.
- Make-Ahead Friendly — I batch-make these on Sunday evenings, so I have a stash ready to grab all week. They keep well in the fridge for days and freeze beautifully.
Honestly, these bars have saved me more times than I can count during busy mornings and after-school chaos. They’re a simple snack that actually satisfies, and that’s rare in the world of quick bites.
Ingredients You’ll Need
This recipe looks straightforward because it is, but I’m picky about a few ingredients that really make a difference.
- Old-fashioned rolled oats (2 cups / 180g) — Not instant oats! Rolled oats give the perfect chewy texture.
- Natural peanut butter (1 cup / 250g) — I always use natural, no-stir peanut butter for a rich, nutty flavor. Creamy or chunky works depending on your preference.
- Honey (½ cup / 120ml) — This is the glue that holds everything together and adds just enough sweetness. You can substitute with maple syrup if you want a different twist.
- Vanilla extract (1 teaspoon) — A little splash brightens up the flavors.
- Salt (¼ teaspoon) — Balances the sweetness and brings out the peanut butter’s richness.
- Mini chocolate chips (½ cup / 90g, optional) — Because, well, chocolate makes everything better. I add these only after the mixture cools a bit to prevent melting.
- Ground flaxseed (2 tablespoons, optional) — Adds fiber and a subtle nutty flavor. I toss this in for a nutrition boost.
If you don’t have some ingredients like flaxseed or chocolate chips, no worries. The bars are delicious without them. I’ve made this recipe with just oats, peanut butter, and honey during lazy pantry days, and it still hit the spot.
Equipment Needed
You really don’t need anything fancy to pull this together.
- Mixing bowl — A large one to toss everything together comfortably.
- Wooden spoon or spatula — For mixing. Silicone spatulas work great to scrape the sides.
- 8×8-inch baking pan — Line it with parchment paper for easy removal. I sometimes use a 9×9 pan, but the bars turn out a little thinner.
- Measuring cups and spoons — Accurate measurements keep the texture spot on.
- Microwave-safe bowl — To warm the peanut butter and honey so they mix smoothly.
- Refrigerator — For chilling the bars until they set perfectly.
Seriously, if you’ve got these basics, you’re all set. I even made a batch once with a mixing bowl and spatula I borrowed from a neighbor because I forgot mine!
How to Make It: Step-by-Step
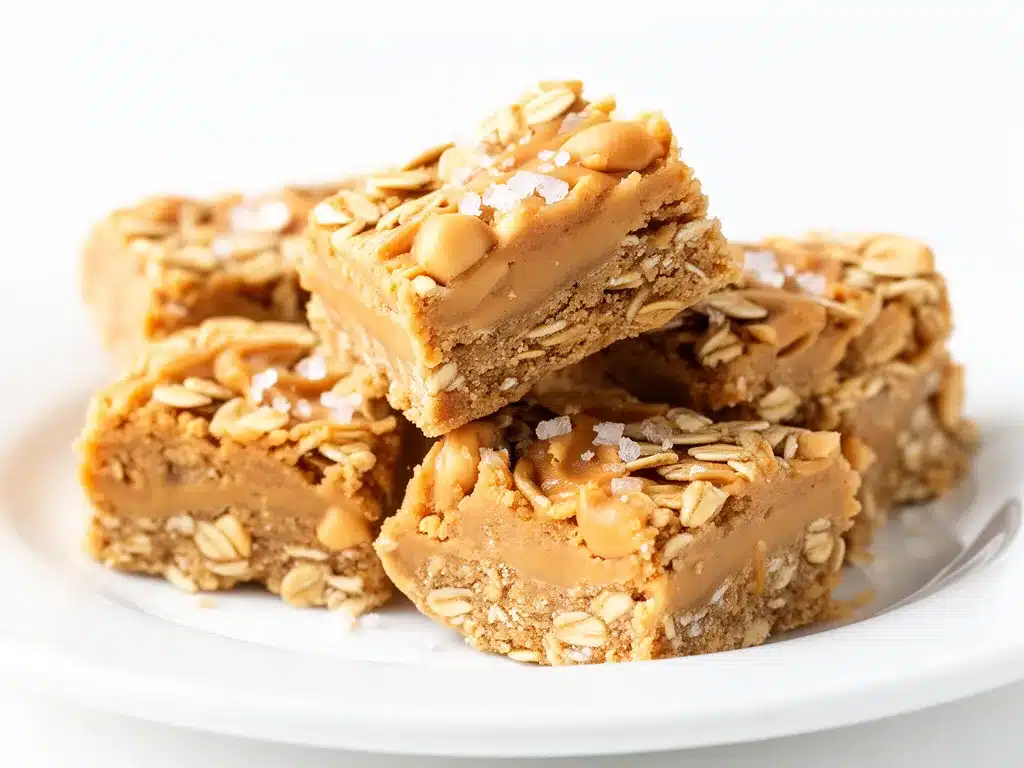
Alright, here’s the easy, no-nonsense way I make these bars every time.
Step 1: Prep Your Pan (5 minutes)
Line your 8×8-inch pan with parchment paper, leaving an overhang on two sides. This makes it a breeze to lift the bars out later without sticking. Set aside.
Step 2: Warm Peanut Butter and Honey (2-3 minutes)
In a microwave-safe bowl, combine the peanut butter and honey. Microwave in 20-second bursts, stirring in between, until the mixture is warm and easy to stir together. This step ensures everything blends smoothly without clumps.
Step 3: Mix Dry Ingredients (2 minutes)
In your large mixing bowl, toss the rolled oats, salt, and flaxseed (if using). Make sure everything is evenly distributed.
Step 4: Combine Wet and Dry (2 minutes)
Pour the warm peanut butter and honey mixture over the oats. Add the vanilla extract. Stir with a wooden spoon or spatula until all the oats are coated and the mixture is sticky and well combined. It should feel thick but pliable.
Step 5: Add Chocolate Chips (Optional, 1 minute)
Let the mixture cool for a minute so the chocolate chips won’t melt completely when you add them. Fold in half of the mini chocolate chips gently.
Step 6: Press Mixture Into Pan (3 minutes)
Transfer the mixture to your prepared pan. Using a piece of parchment paper or your clean hands, press the mixture firmly and evenly into the pan. This step is key — the firmer you press, the better the bars hold together.
Step 7: Chill Until Set (1 hour minimum)
Refrigerate the pan for at least one hour. This lets the bars firm up so you can cut them neatly. I usually make them in the evening and cut them the next morning.
Step 8: Cut and Serve
Using the parchment overhang, lift the bars out of the pan and place on a cutting board. Cut into 12 even bars. Sprinkle the remaining chocolate chips on top if you want an extra chocolate touch, and gently press them in.
These bars keep well in an airtight container in the fridge for up to 5 days, and they’re perfect for lunchboxes or quick snacks.
Expert Tips & Tricks
- Firm Pressing Is Key: Don’t be shy when pressing the mixture into the pan. I learned the hard way that loose pressing leads to crumbly bars.
- Warm the Peanut Butter and Honey: This makes mixing a breeze and ensures every oat is coated.
- Use Natural Peanut Butter: It’s less sweet and more flavorful. Plus, it keeps the bars from getting too greasy.
- Chill Time: If you’re in a rush, pop the bars in the freezer for 30 minutes. They’ll firm up faster, but I prefer the fridge method for the best texture.
- Substitutions: No peanut butter? Almond or sunflower seed butter works well. Just make sure it’s creamy and not too dry.
- Customize: Toss in dried fruit, nuts, or seeds. I sometimes add chopped almonds or dried cranberries for variety.
Variations & Substitutions
Once you’ve nailed the classic version, try these twists to keep things interesting.
- Chocolate Lover’s Dream: Add ¼ cup cocoa powder to the dry ingredients and increase honey slightly to keep the bars moist.
- Vegan Friendly: Use maple syrup instead of honey and a nut butter that suits your diet.
- Protein Boost: Stir in ¼ cup protein powder (vanilla or unflavored). I sometimes mix these bars with my mini egg and cheese breakfast muffins for a post-workout snack.
- Nut-Free: Swap peanut butter for sunflower seed butter and skip any nuts in add-ins.
- Extra Crunch: Fold in ½ cup chopped toasted nuts or seeds.
Serving & Storage
This recipe is super versatile when it comes to serving. I usually pack these bars in lunchboxes alongside some fresh fruit or a simple sandwich like the cheesy ham and cheddar quesadilla for a complete meal on busy school days.
Store bars in an airtight container in the fridge for up to 5 days. They keep surprisingly well and stay chewy, not hard. For longer storage, wrap bars individually and freeze up to 2 months. Thaw overnight in the fridge or pop in the microwave for 15 seconds before eating.
These bars are perfect for snacking right out of hand, but they also pair wonderfully with a glass of cold milk or a cup of hot tea for a quick energy boost.
Nutrition Information
| Nutrient | Per Serving (1 bar, 12 bars total) |
|---|---|
| Calories | 190 |
| Protein | 6g |
| Carbohydrates | 22g |
| Fiber | 3g |
| Sugar | 10g |
| Fat | 9g |
| Saturated Fat | 1.5g |
| Cholesterol | 0mg |
| Sodium | 80mg |
| Calcium | 20mg |
Look, these bars are a snack, not a health food miracle. But they offer a decent protein boost from peanut butter and oats, fiber from flaxseed and oats, and energy from natural sugars. Plus, they’re homemade, so you know exactly what’s going in.
Final Thoughts
So that’s the story behind my back to school no bake peanut butter oat bars. I’ve probably made these bars every week during the school year for the past two years, and I’m still not tired of them. They’re quick, fuss-free, and hit that sweet spot between kid-friendly and grown-up-approved.
If you’re juggling school lunches, after-school snacks, or just need a reliable energy boost during a busy day, these bars have you covered. Customize them, make a big batch, and watch your family devour them faster than you can say “snack time.”
Try making these alongside other easy school-friendly recipes like the crispy baked chicken nuggets for a full week of tasty, stress-free meals.
When you make these bars, drop a comment and let me know how they turned out or any fun variations you tried. I love hearing from you and helping you tweak recipes to fit your family’s tastes.
Happy snacking, and may your school mornings be a little less crazy!
Frequently Asked Questions
Q: Can I use almond butter instead of peanut butter?
A: Absolutely! Almond butter works great in this recipe. It’s a bit milder in flavor but still gives you that creamy texture and healthy fats. Just make sure it’s natural almond butter without added sugar.
Q: Do these bars freeze well?
A: Yes! I wrap individual bars in plastic wrap and store them in a freezer-safe bag for up to 2 months. Thaw overnight in the fridge or microwave for a quick snack.
Q: Can I reduce the honey to make these less sweet?
A: You can try reducing honey by up to 1/4 cup, but keep in mind it helps bind the bars together. If you reduce too much, the bars might be crumbly. You can compensate by pressing harder and chilling longer.
Q: My bars are too crumbly and falling apart—what did I do wrong?
A: Most likely, the peanut butter and honey weren’t warm enough or you didn’t press the mixture firmly into the pan. Warm the peanut butter and honey until smooth and be generous with the pressing. Chilling the bars fully before cutting helps too.
Q: Is it okay to use quick oats instead of rolled oats?
A: Quick oats are more processed and can make the bars a bit mushy. Rolled oats provide the best chewy texture, but if you only have quick oats, they’ll still work—just expect a softer bar.
Q: Can I add protein powder to this recipe?
A: Yes! Adding ¼ cup of vanilla or unflavored protein powder is a great way to boost protein. Just be sure to mix it well with the oats before adding wet ingredients to avoid clumps.
Q: What’s the best way to store these bars if I’m taking them to school?
A: I recommend wrapping bars individually in parchment paper or reusable wraps and packing them in an airtight container or lunchbox with an ice pack to keep them fresh and firm throughout the day.
Pin This Recipe!
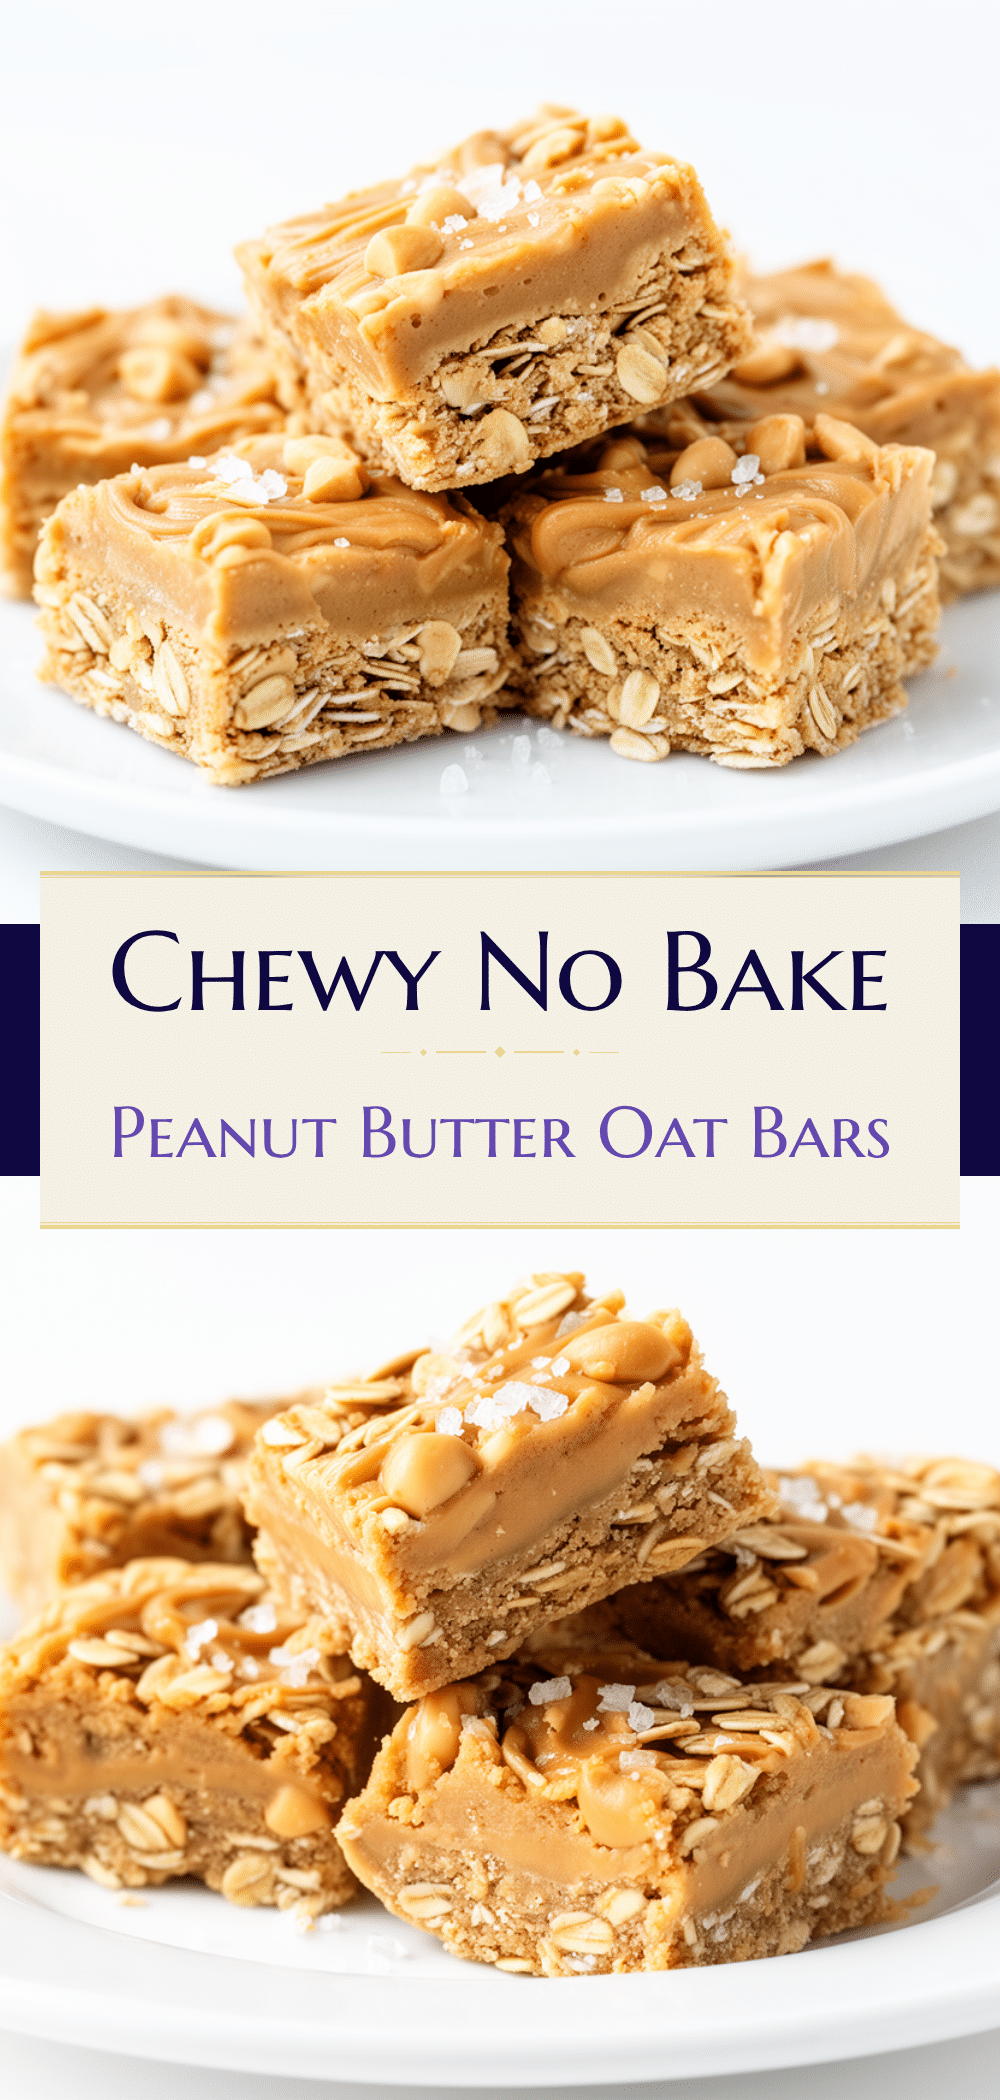
Back to School No Bake Peanut Butter Oat Bars
- Total Time: 1 hour 10 minutes
- Yield: 12 bars 1x
Description
Quick, no-bake peanut butter oat bars that are easy to make, family-approved, and perfect for school lunches or snacks. These bars hold together well and offer a wholesome, chewy texture.
Ingredients
- 2 cups old-fashioned rolled oats (180g)
- 1 cup natural peanut butter (250g)
- ½ cup honey (120ml)
- 1 teaspoon vanilla extract
- ¼ teaspoon salt
- ½ cup mini chocolate chips (90g, optional)
- 2 tablespoons ground flaxseed (optional)
Instructions
- Line an 8×8-inch pan with parchment paper, leaving an overhang on two sides. Set aside.
- In a microwave-safe bowl, combine peanut butter and honey. Microwave in 20-second bursts, stirring in between, until warm and smooth.
- In a large mixing bowl, combine rolled oats, salt, and flaxseed if using. Mix evenly.
- Pour the warm peanut butter and honey mixture over the oats. Add vanilla extract and stir until all oats are coated and mixture is sticky and well combined.
- Let the mixture cool for a minute, then fold in half of the mini chocolate chips gently.
- Transfer the mixture to the prepared pan. Press firmly and evenly into the pan using parchment paper or clean hands.
- Refrigerate for at least 1 hour until set.
- Lift bars out using parchment overhang and cut into 12 even bars. Sprinkle remaining chocolate chips on top and gently press them in if desired.
Notes
Press the mixture firmly into the pan to prevent crumbly bars. Warm peanut butter and honey before mixing for smooth coating. Bars keep well in the fridge for up to 5 days and freeze up to 2 months. Optional add-ins include chocolate chips and ground flaxseed for extra nutrition.
- Prep Time: 10 minutes
- Cook Time: 0 minutes
- Category: Snack
- Cuisine: American
Nutrition
- Serving Size: 1 bar
- Calories: 190
- Sugar: 10
- Sodium: 80
- Fat: 9
- Saturated Fat: 1.5
- Carbohydrates: 22
- Fiber: 3
- Protein: 6
Keywords: no bake bars, peanut butter bars, oat bars, school snacks, easy snack recipe, healthy snack, family favorite